Woodland Carpet

Spring time brings with it a beautiful display of woodland flowers in the woods surrounding our house.  Wildflowers carpet the ground and because the mosquitos haven not yet hatched, it is still enjoyable to stroll through the woods and take in the views.
DSC_0356

I wrote a post a few years back in which I identified some of the flowers growing in the woods.(Woodland Wildflowers)  I could not resist photographing them again though. They are just too inviting.

Sanguinaria canadensis, or Bloodroot.
DSC_0332

Claytonia virginica, or Virginia Spring Beauty.DSC_0333

At the time I took the photos in my earlier post, the Trilliums had not yet bloomed, so I did a later post featuring them. (Trillium’s Turn).

For some reason, this year all the flowers seem to be blooming at the same time.  Maybe the late spring?

Trillium grandiflorum, or Trillium (Large-flowered Trillium).

DSC_0344

I came across one flower that I did not photograph or identify in my earlier post.  I headed over to the Minnesota Wildflower website again to help with identification.

Uvularia grandiflora, or Large-flowered Bellwort.

DSC_0350

I spent some time photographing this flower when I noticed this big bumble-bee enjoying it.  I found it very relaxing to sit quietly among the flowers in the woods watching the slow and methodical work of the bumble-bee.DSC_0348

And finally…a stroll in the woods with my camera is always peaceful, but rarely solitary.  Eventually the animals always decide to check on me and see what I am doing.

DSC_0359I don’t mind though.  After all, keeping us company is what pets are for, right?

Lynell

Leave a comment

Filed under Animals, Daily life, Flower, Miscellaneous

First Harvest of Spring – Asparagus

Spring is rolling along here on the farm and we have been busy digging around in the gardens.  Our asparagus patch is booming this year and I noticed a few days ago that several spears had poked through the soil.  We have had very warm temperatures the last few days and when I went out to the garden today there were loads of spears to harvest!
asparagus

Because we have struggled with asparagus beetles damaging our crop in the past, I started checking the spears for signs of this pesky bug.  It didn’t take long and I spotted a sign of the beetles…the tiny beetle eggs protruding from a spear.
asparagus2

We noticed these eggs for the first time several years ago and started researching what they could be.  One of my favorite resources, the University of Minnesota Extension website, had a great article about asparagus beetles.  Here is a picture of this pest from the website:

asparagus-beetles-1-sm

Besides the disgusting eggs on the spears, the big problem with these beetles is that they damage the spears, causing the tips to brown or curl into a deformed shape.  We had noticed these problems before with our asparagus and were glad to identify the source.  The advice in the article for controlling the beetles recommended handpicking them in smaller gardens like ours and that is the method that we have used.

Handpicking, especially in small gardens, can be effective. Drop adults and larvae in a pail filled with soapy water. Also remove the dark brown eggs from the spears. New adult beetles can fly into the garden, so be sure to check your asparagus regularly.

I am hoping we can get the beetles under control right away this spring.  We checked them this evening and found three adults on one of the spears.  They squish really easily between your fingers.  🙂

Battling the asparagus beetles is well worth the effort because there is nothing that says spring  like fresh asparagus out of the garden.  Our favorite way to cook asparagus is to place it on a cookie sheet, drizzle with olive oil, sprinkle with sea salt, and broil in the oven until it is softened.  It was a real treat tonight to enjoy our first harvest from the garden this spring.

Lynell

4 Comments

Filed under Gardens, Vegetable

Love my Magnolia Tree

We are loving spring around the farm.  We are getting in the gardens, raking the leaves out and tilling up the soil.  My Star Magnolia tree is bursting with its showy blooms.
photo-1aIt is such a beautiful sight.  I love this magnolia tree.

-Lynell

3 Comments

Filed under Daily life, Flower, Gardens

Spring? Finally.

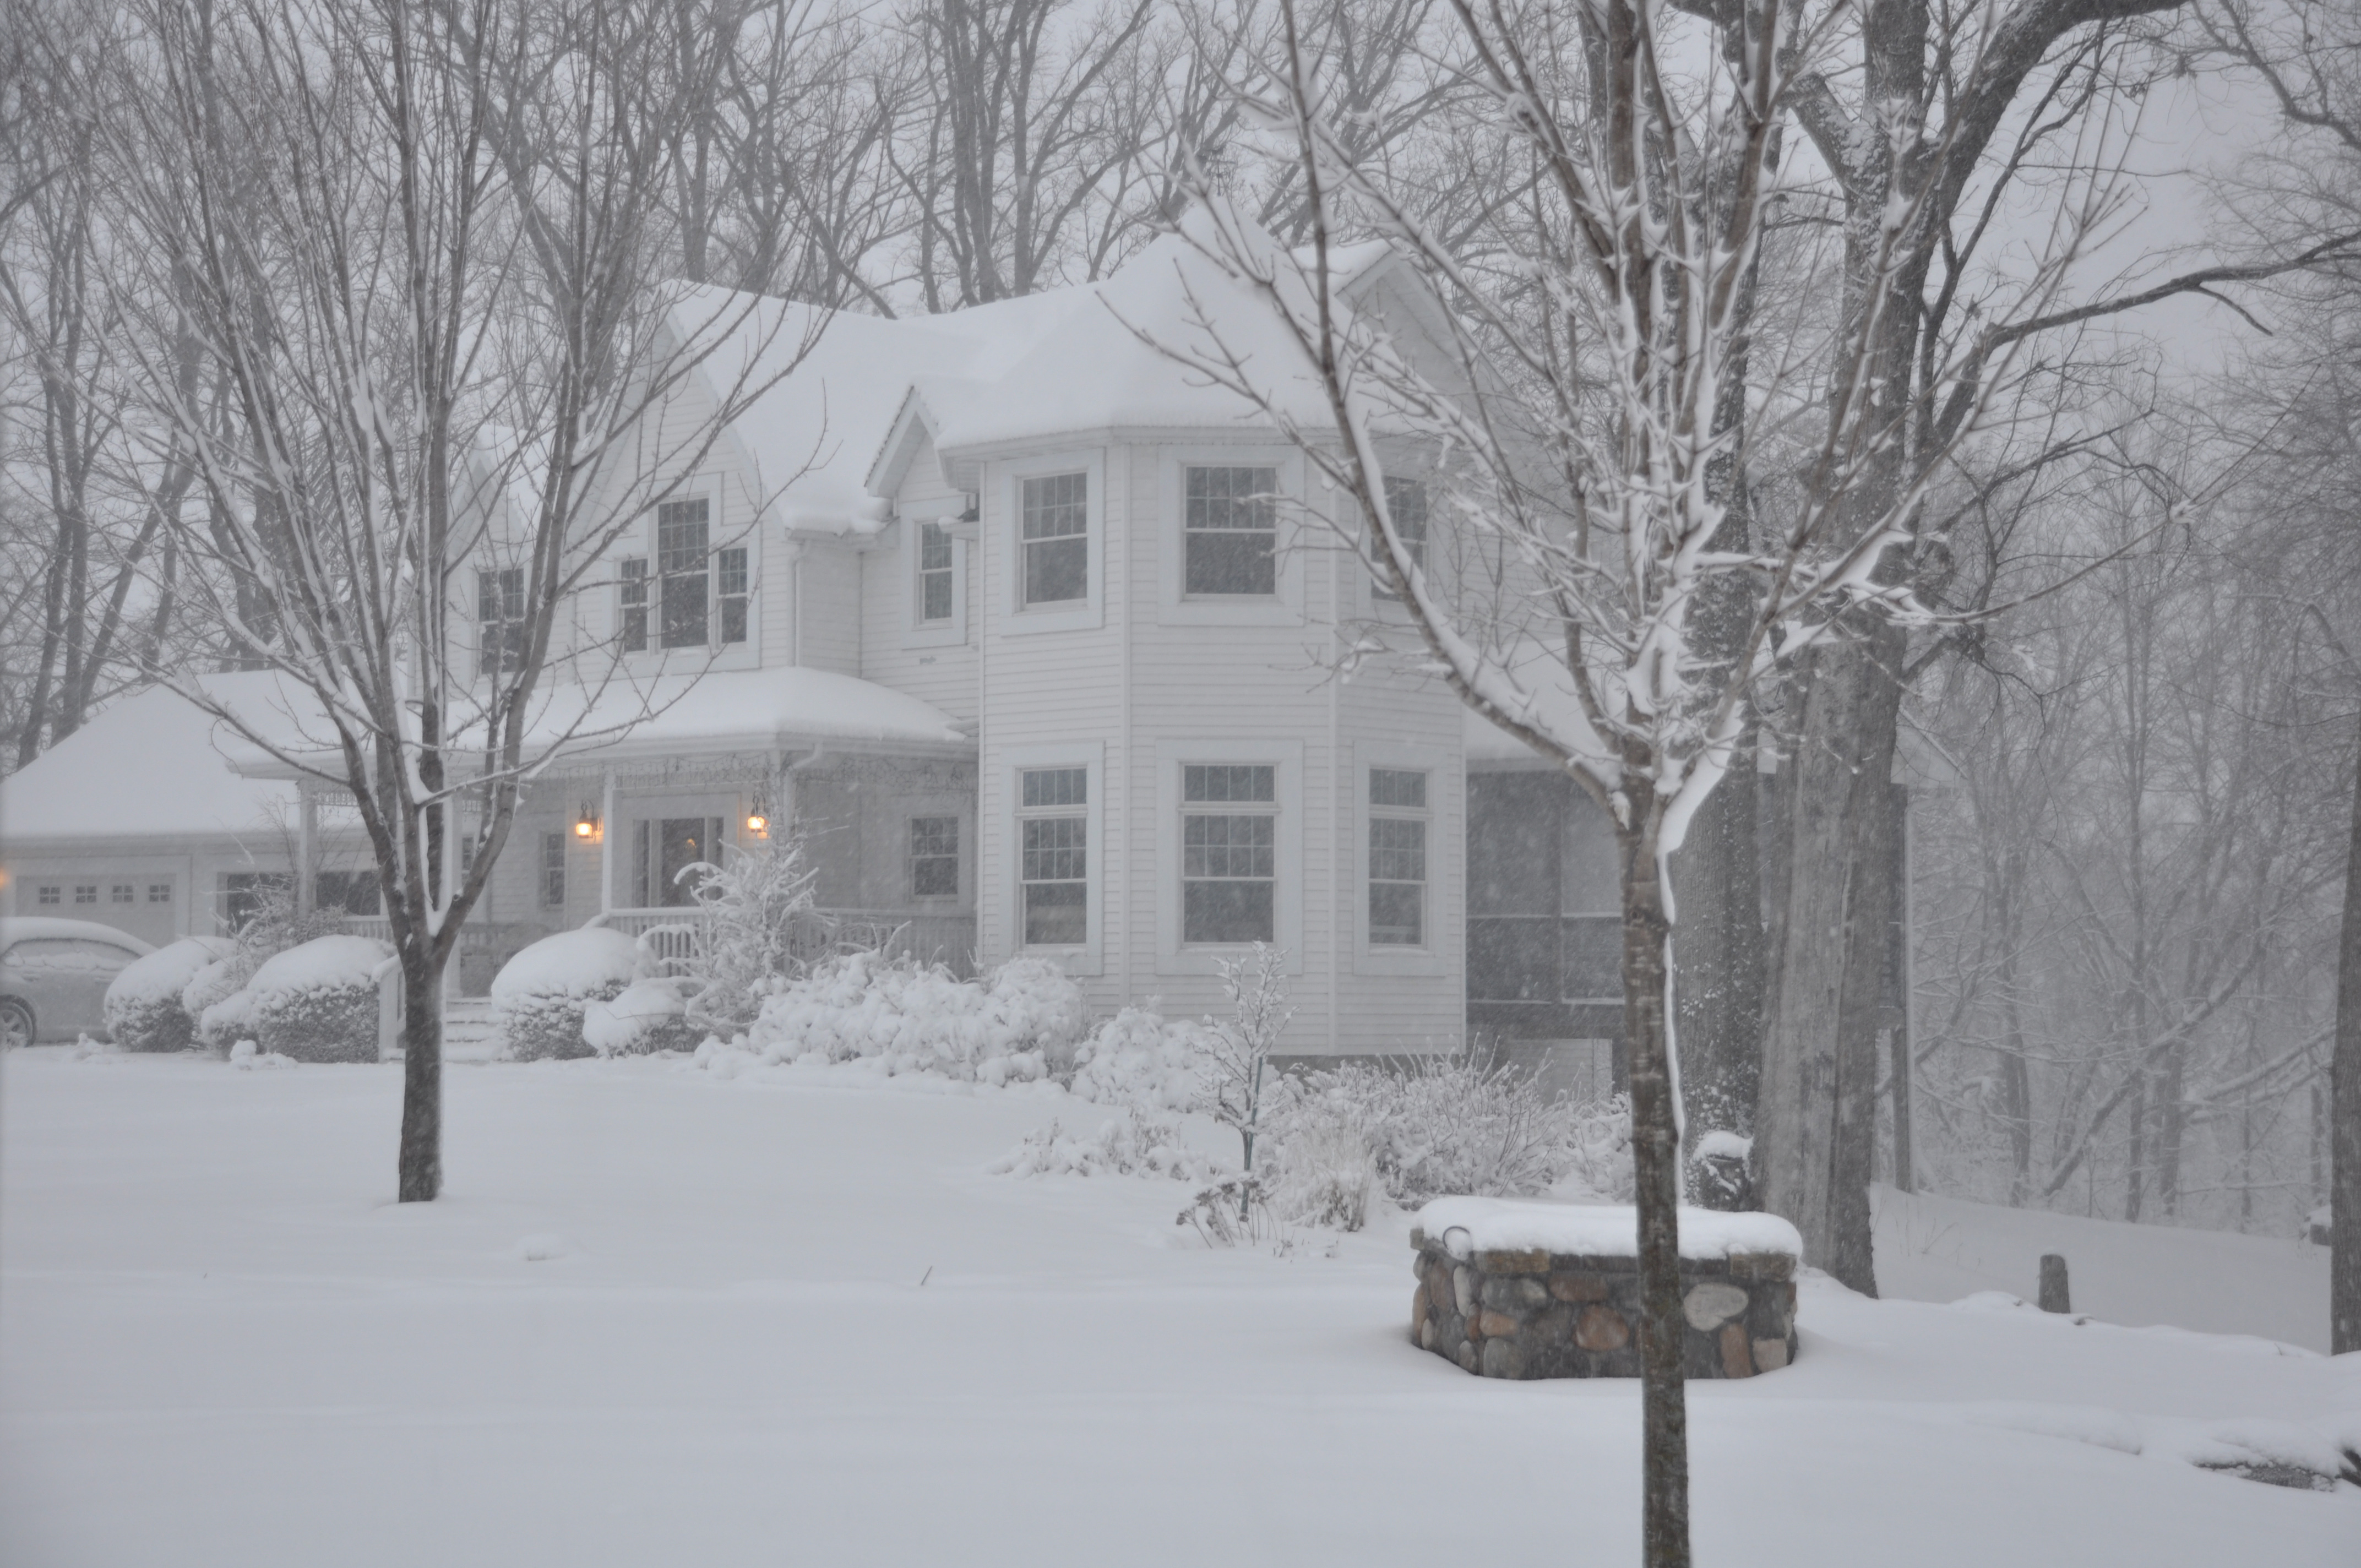
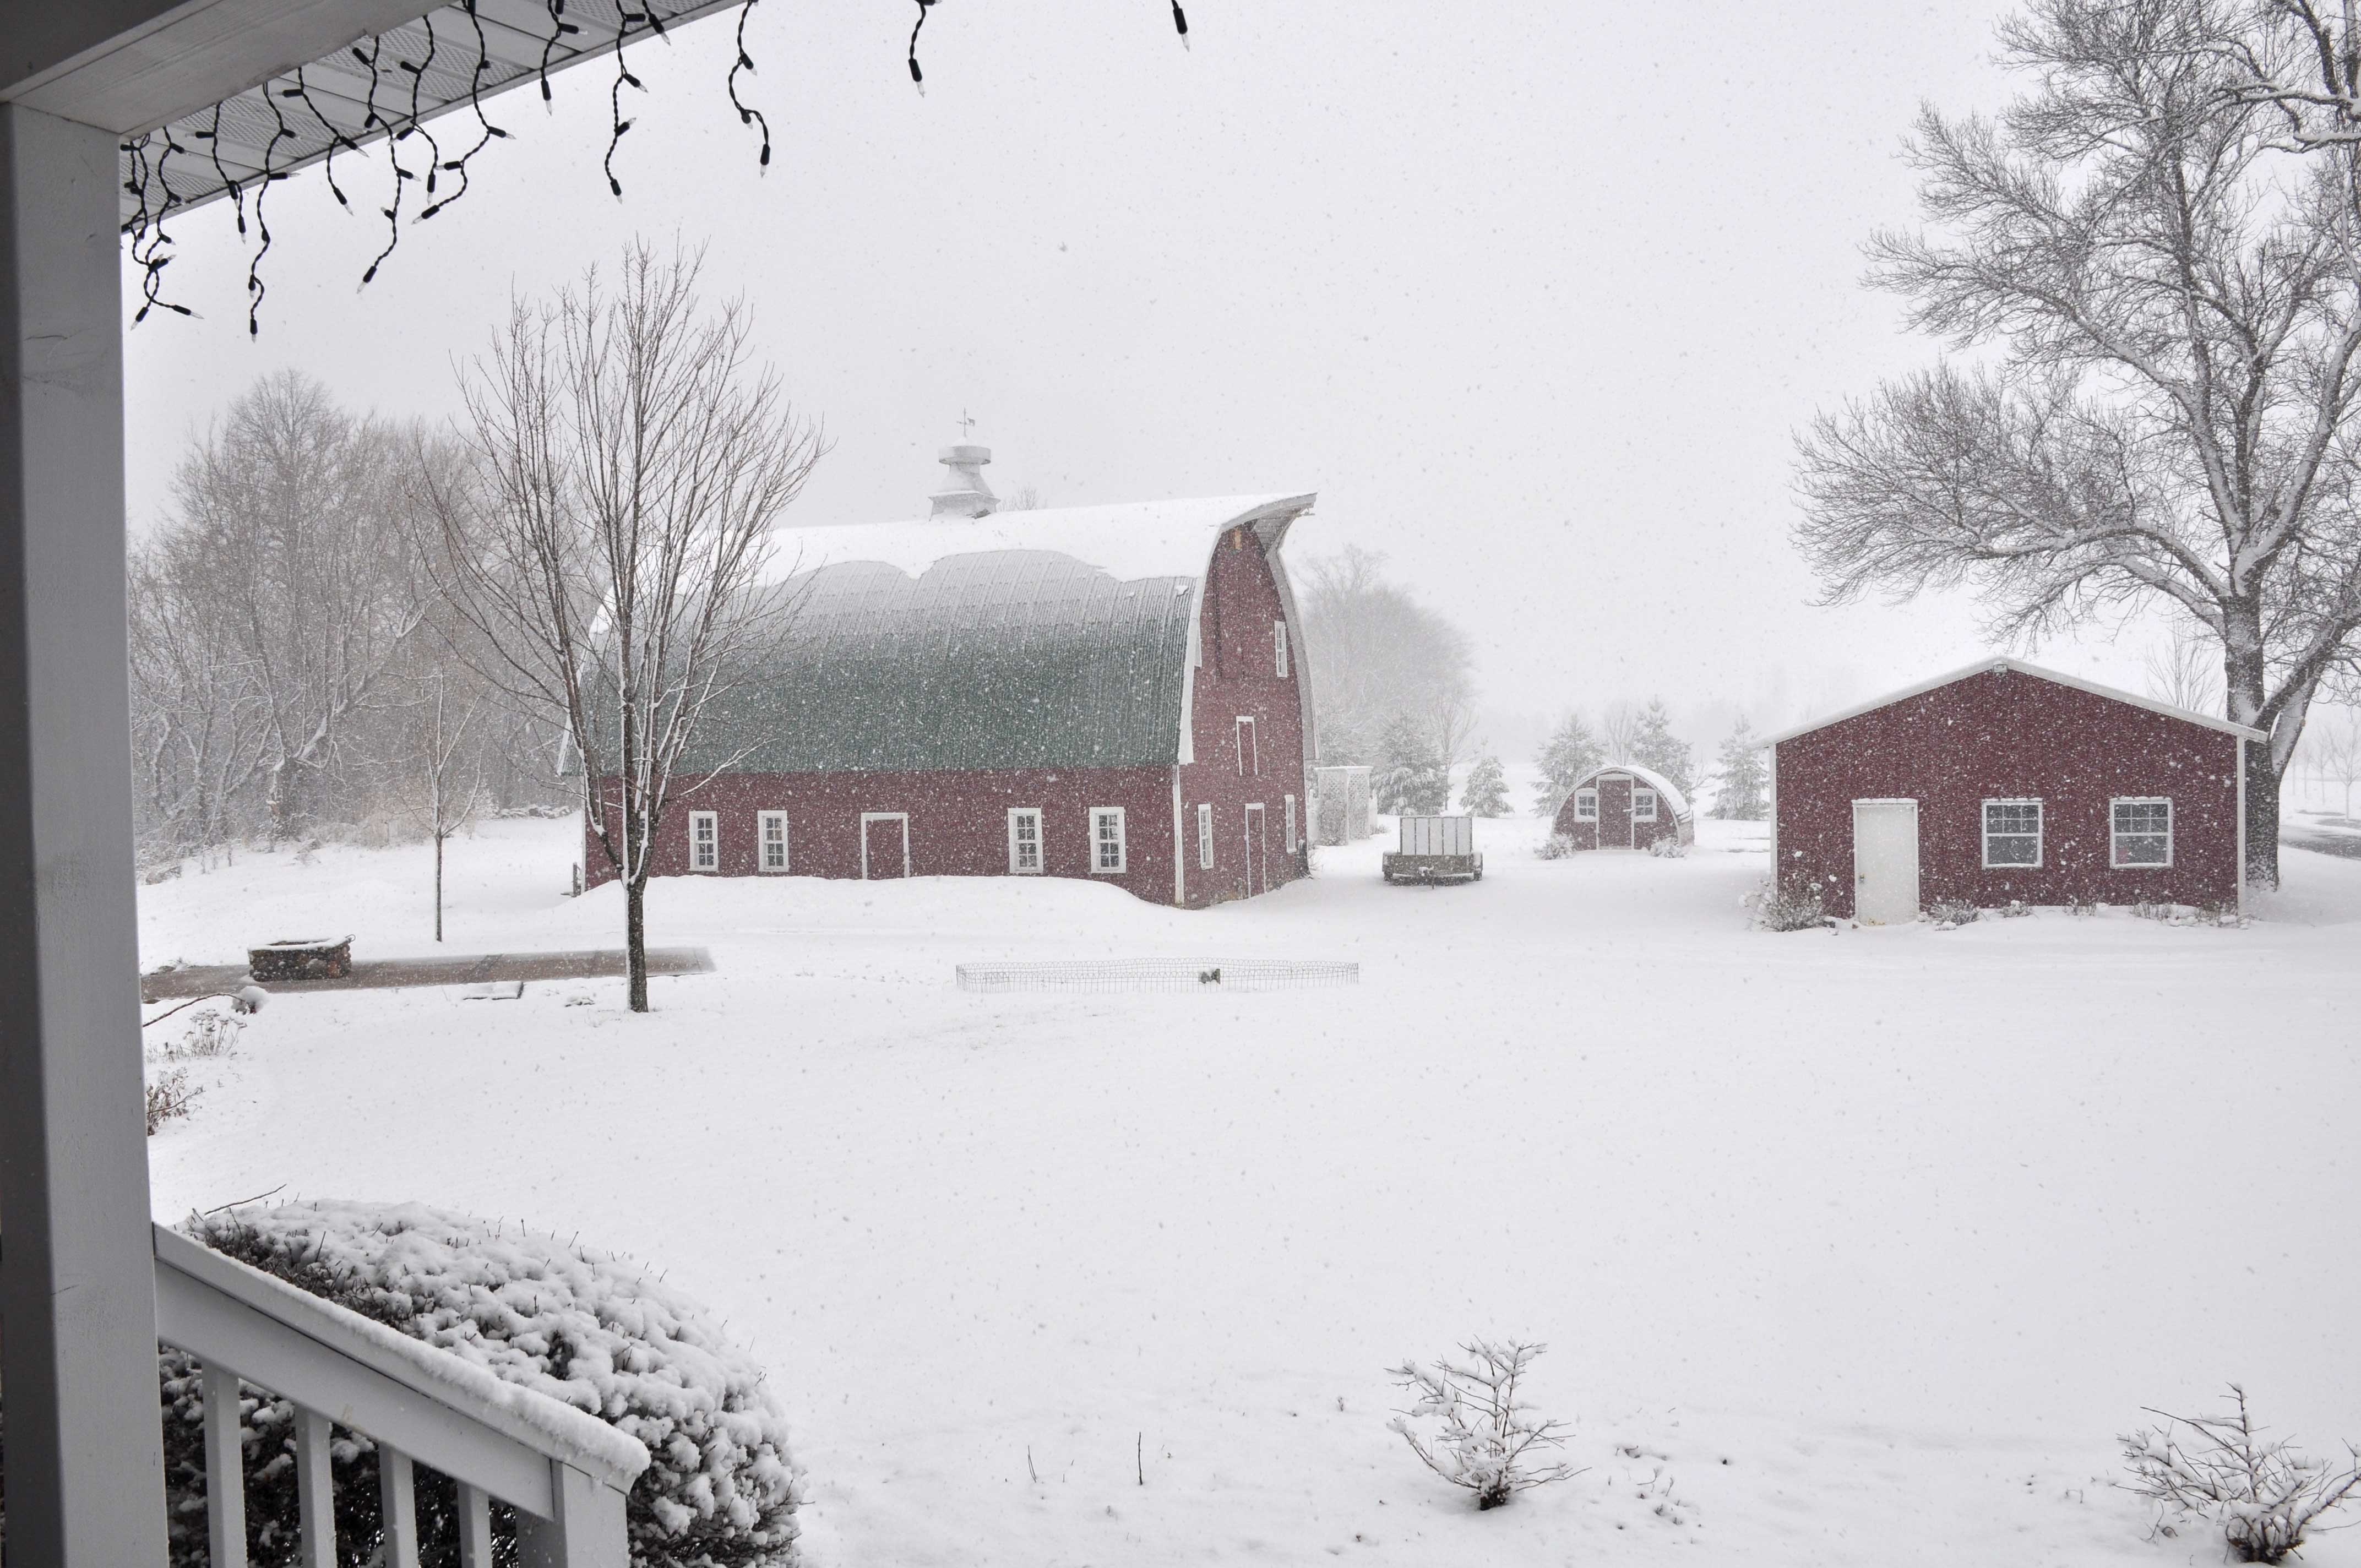
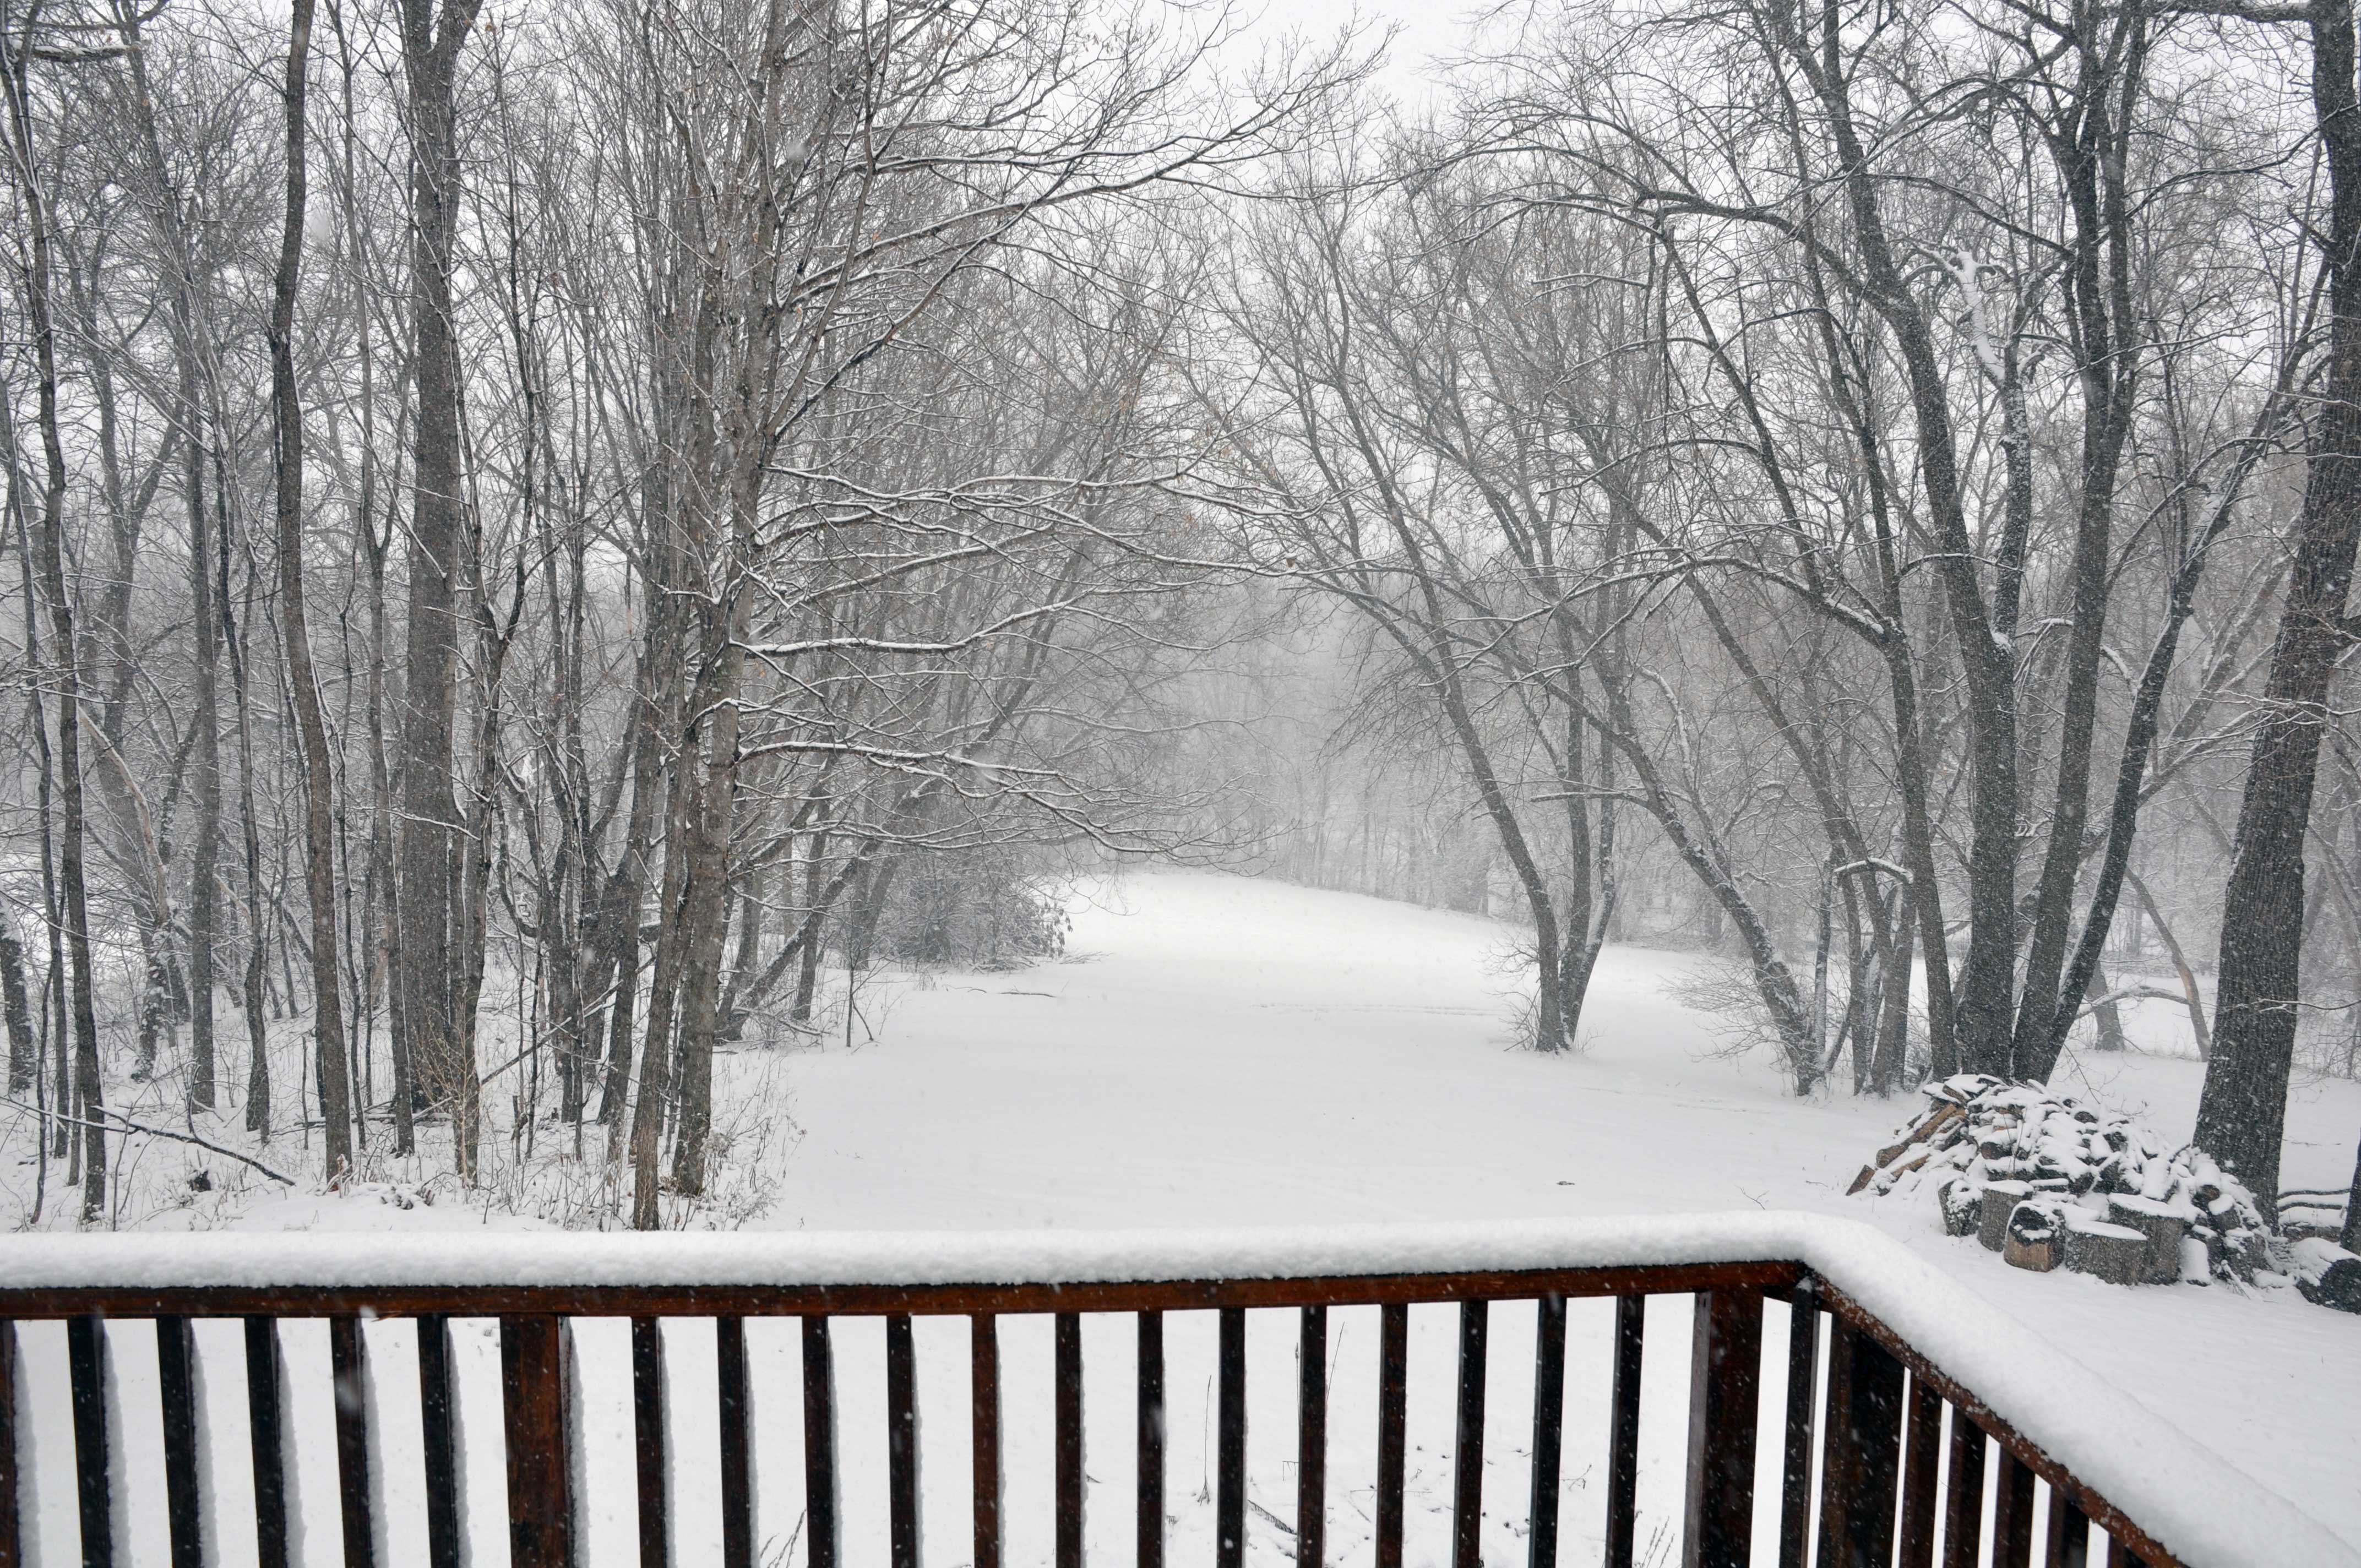
Last Friday we received about a foot of heavy wet snow.  It was depressing and everyone was complaining and crabby, including me.  It felt like spring would never arrive.  April has been a strange and very snowy month.spring1

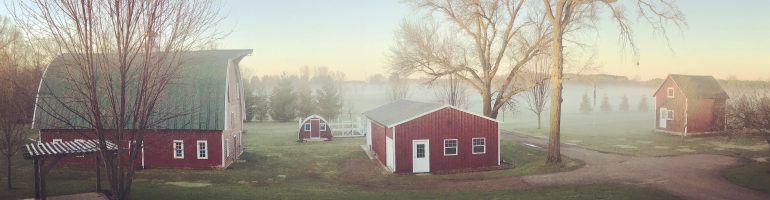
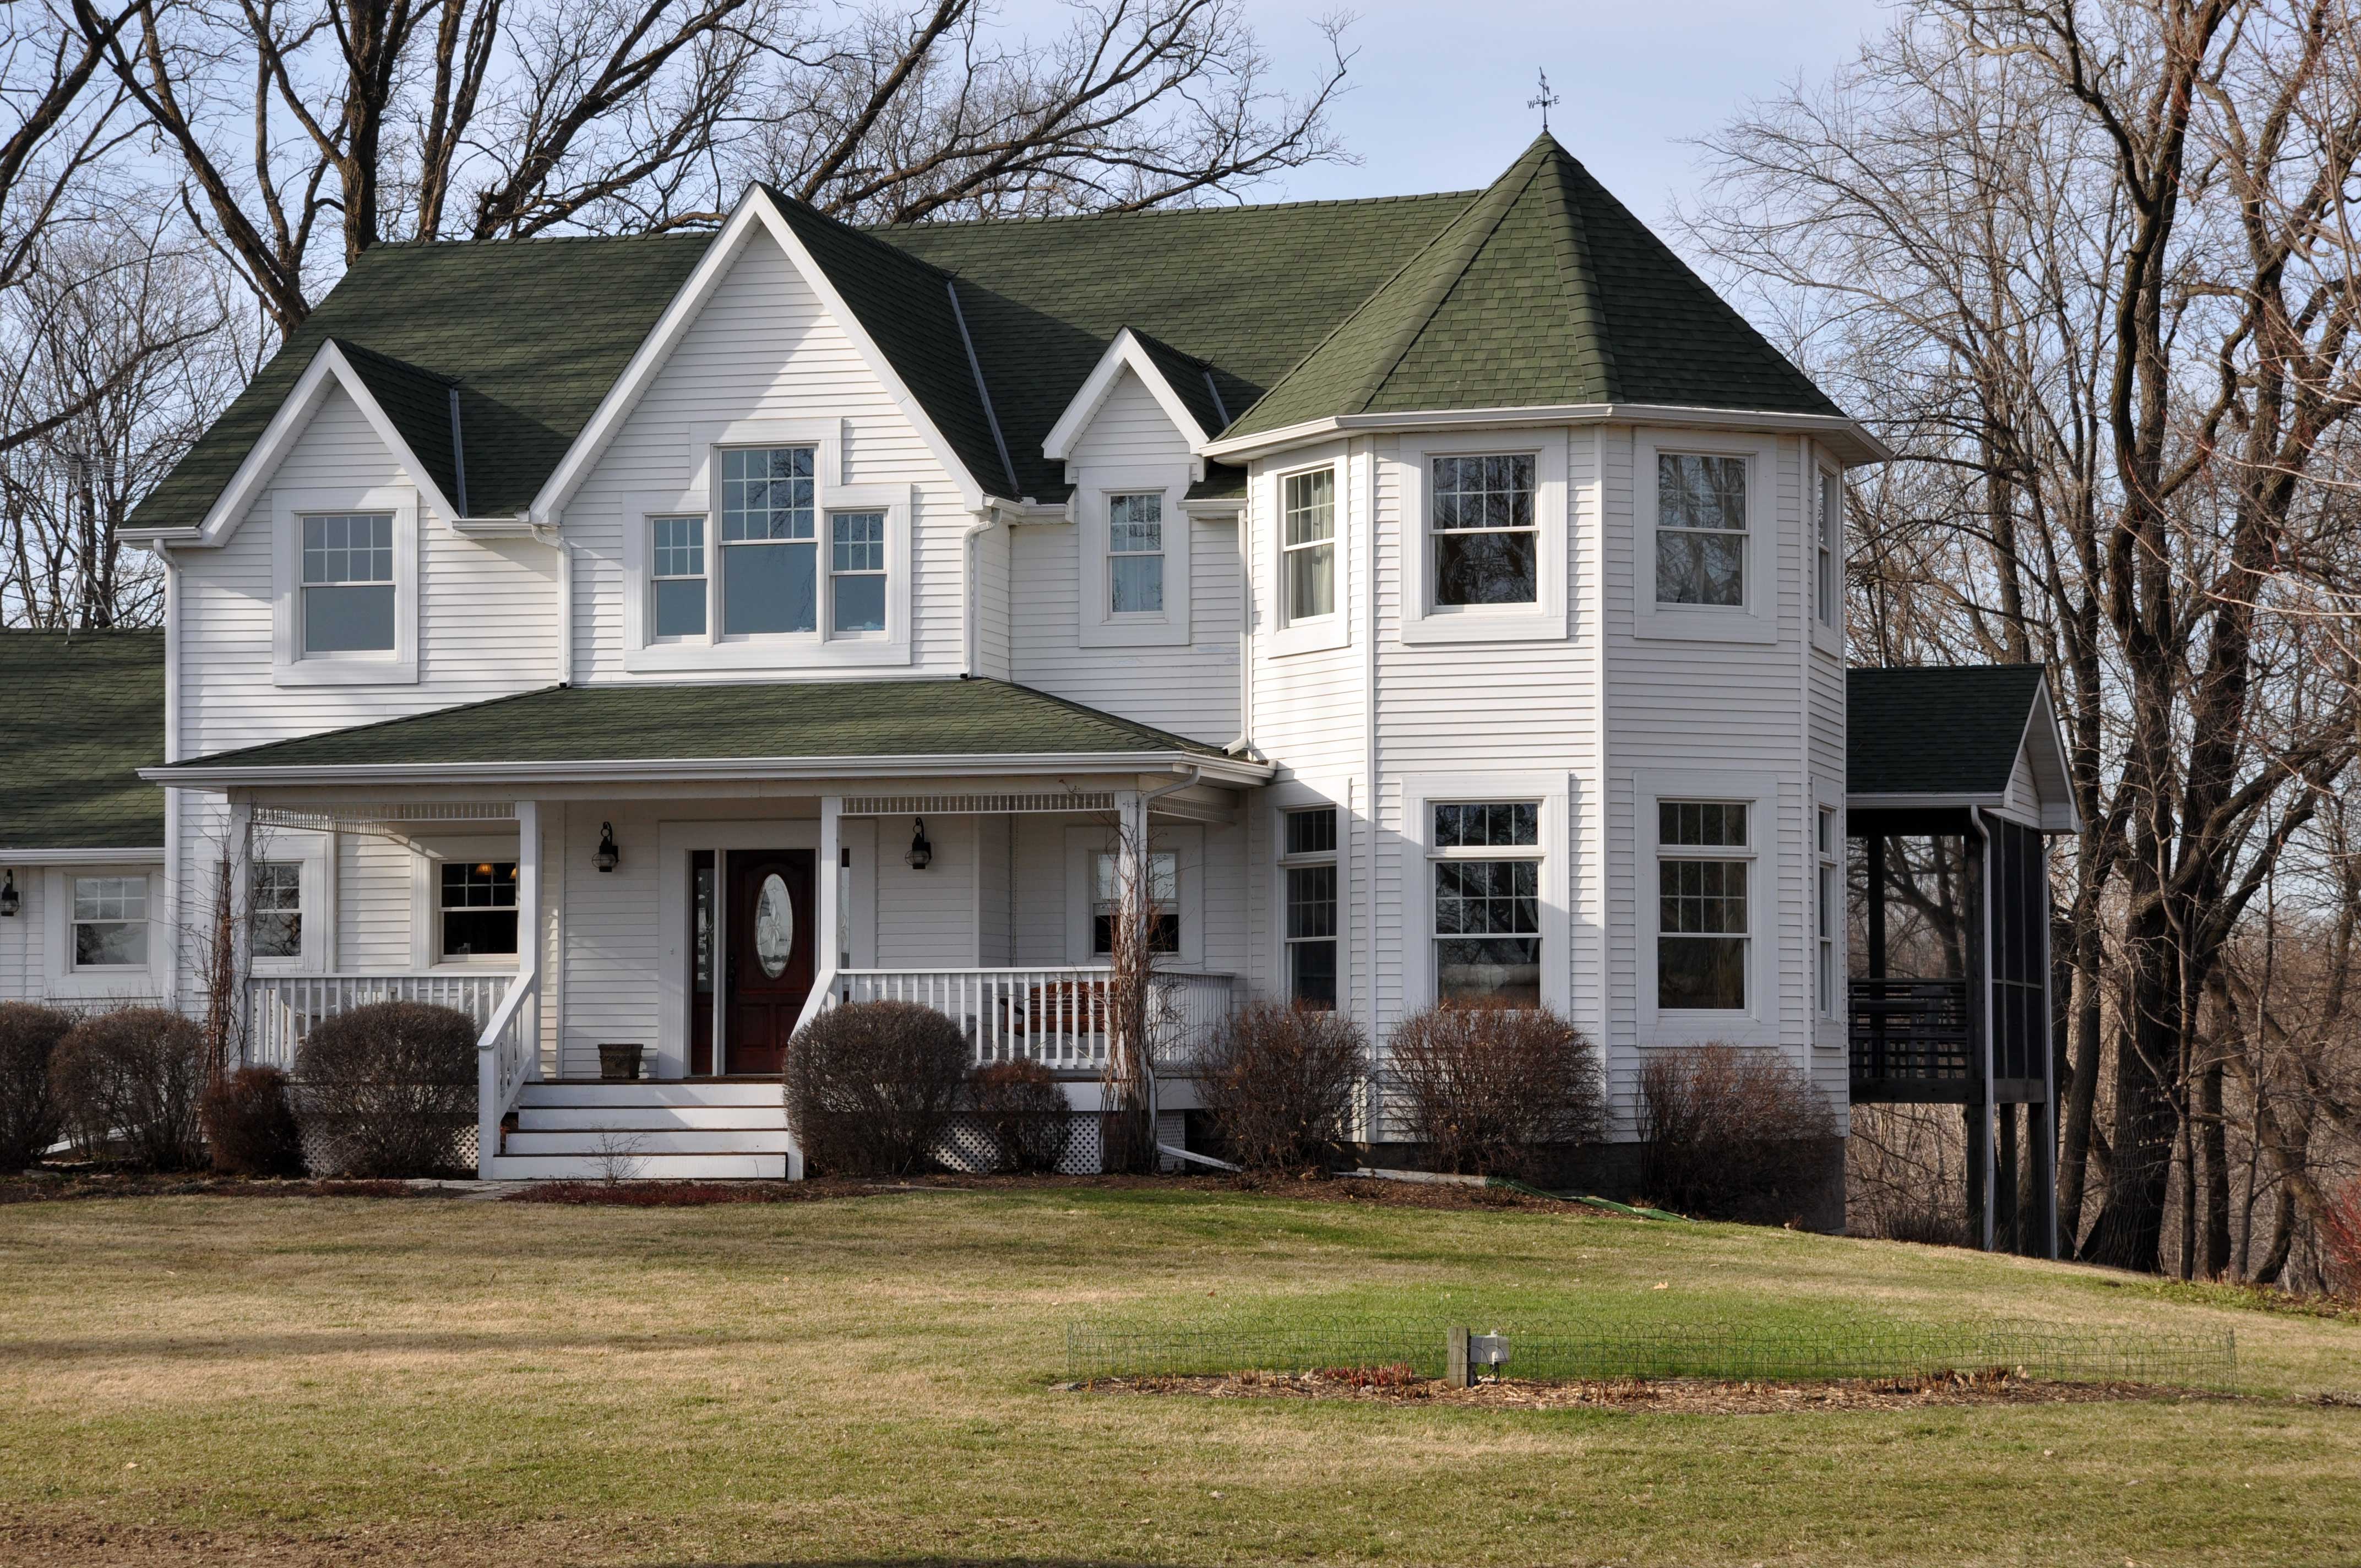
One week later and it looks like this…

spring11

Yes, I think spring has finally arrived.  The last two days we have enjoyed temperatures in the low 70’s.  It is not expected to last all week, but it sure has helped to melt the snow and get spring kicked into gear.

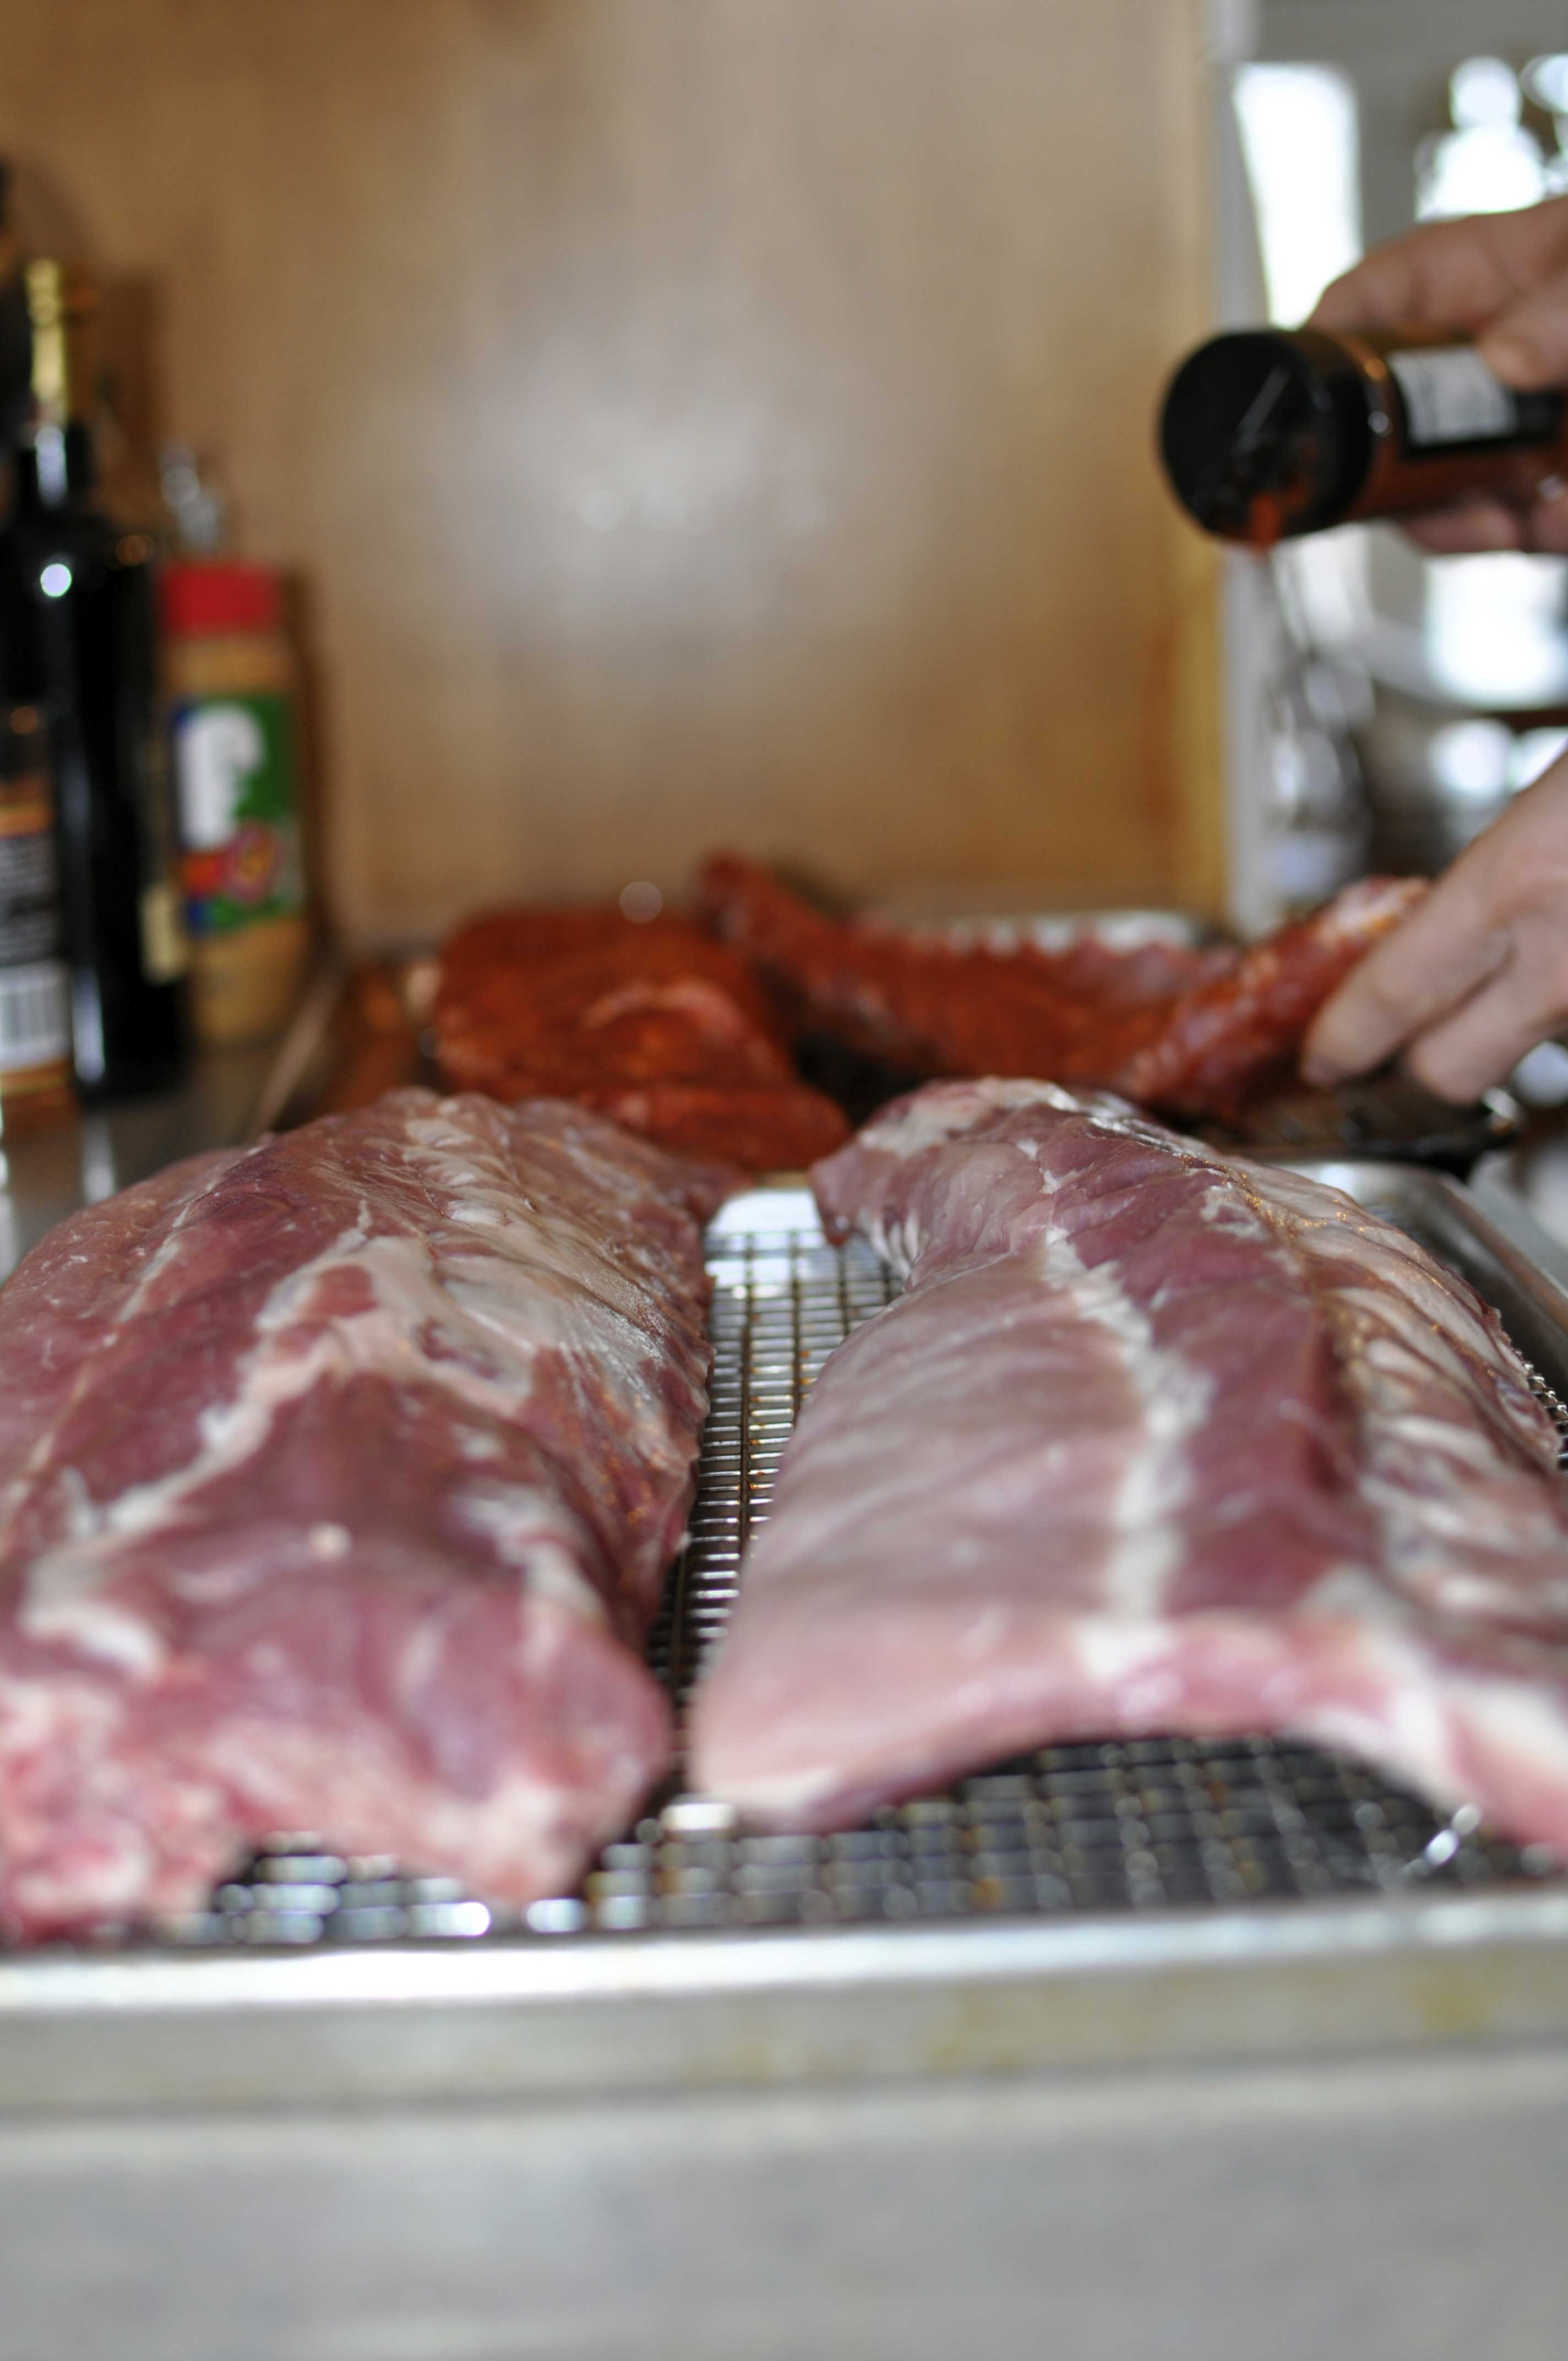
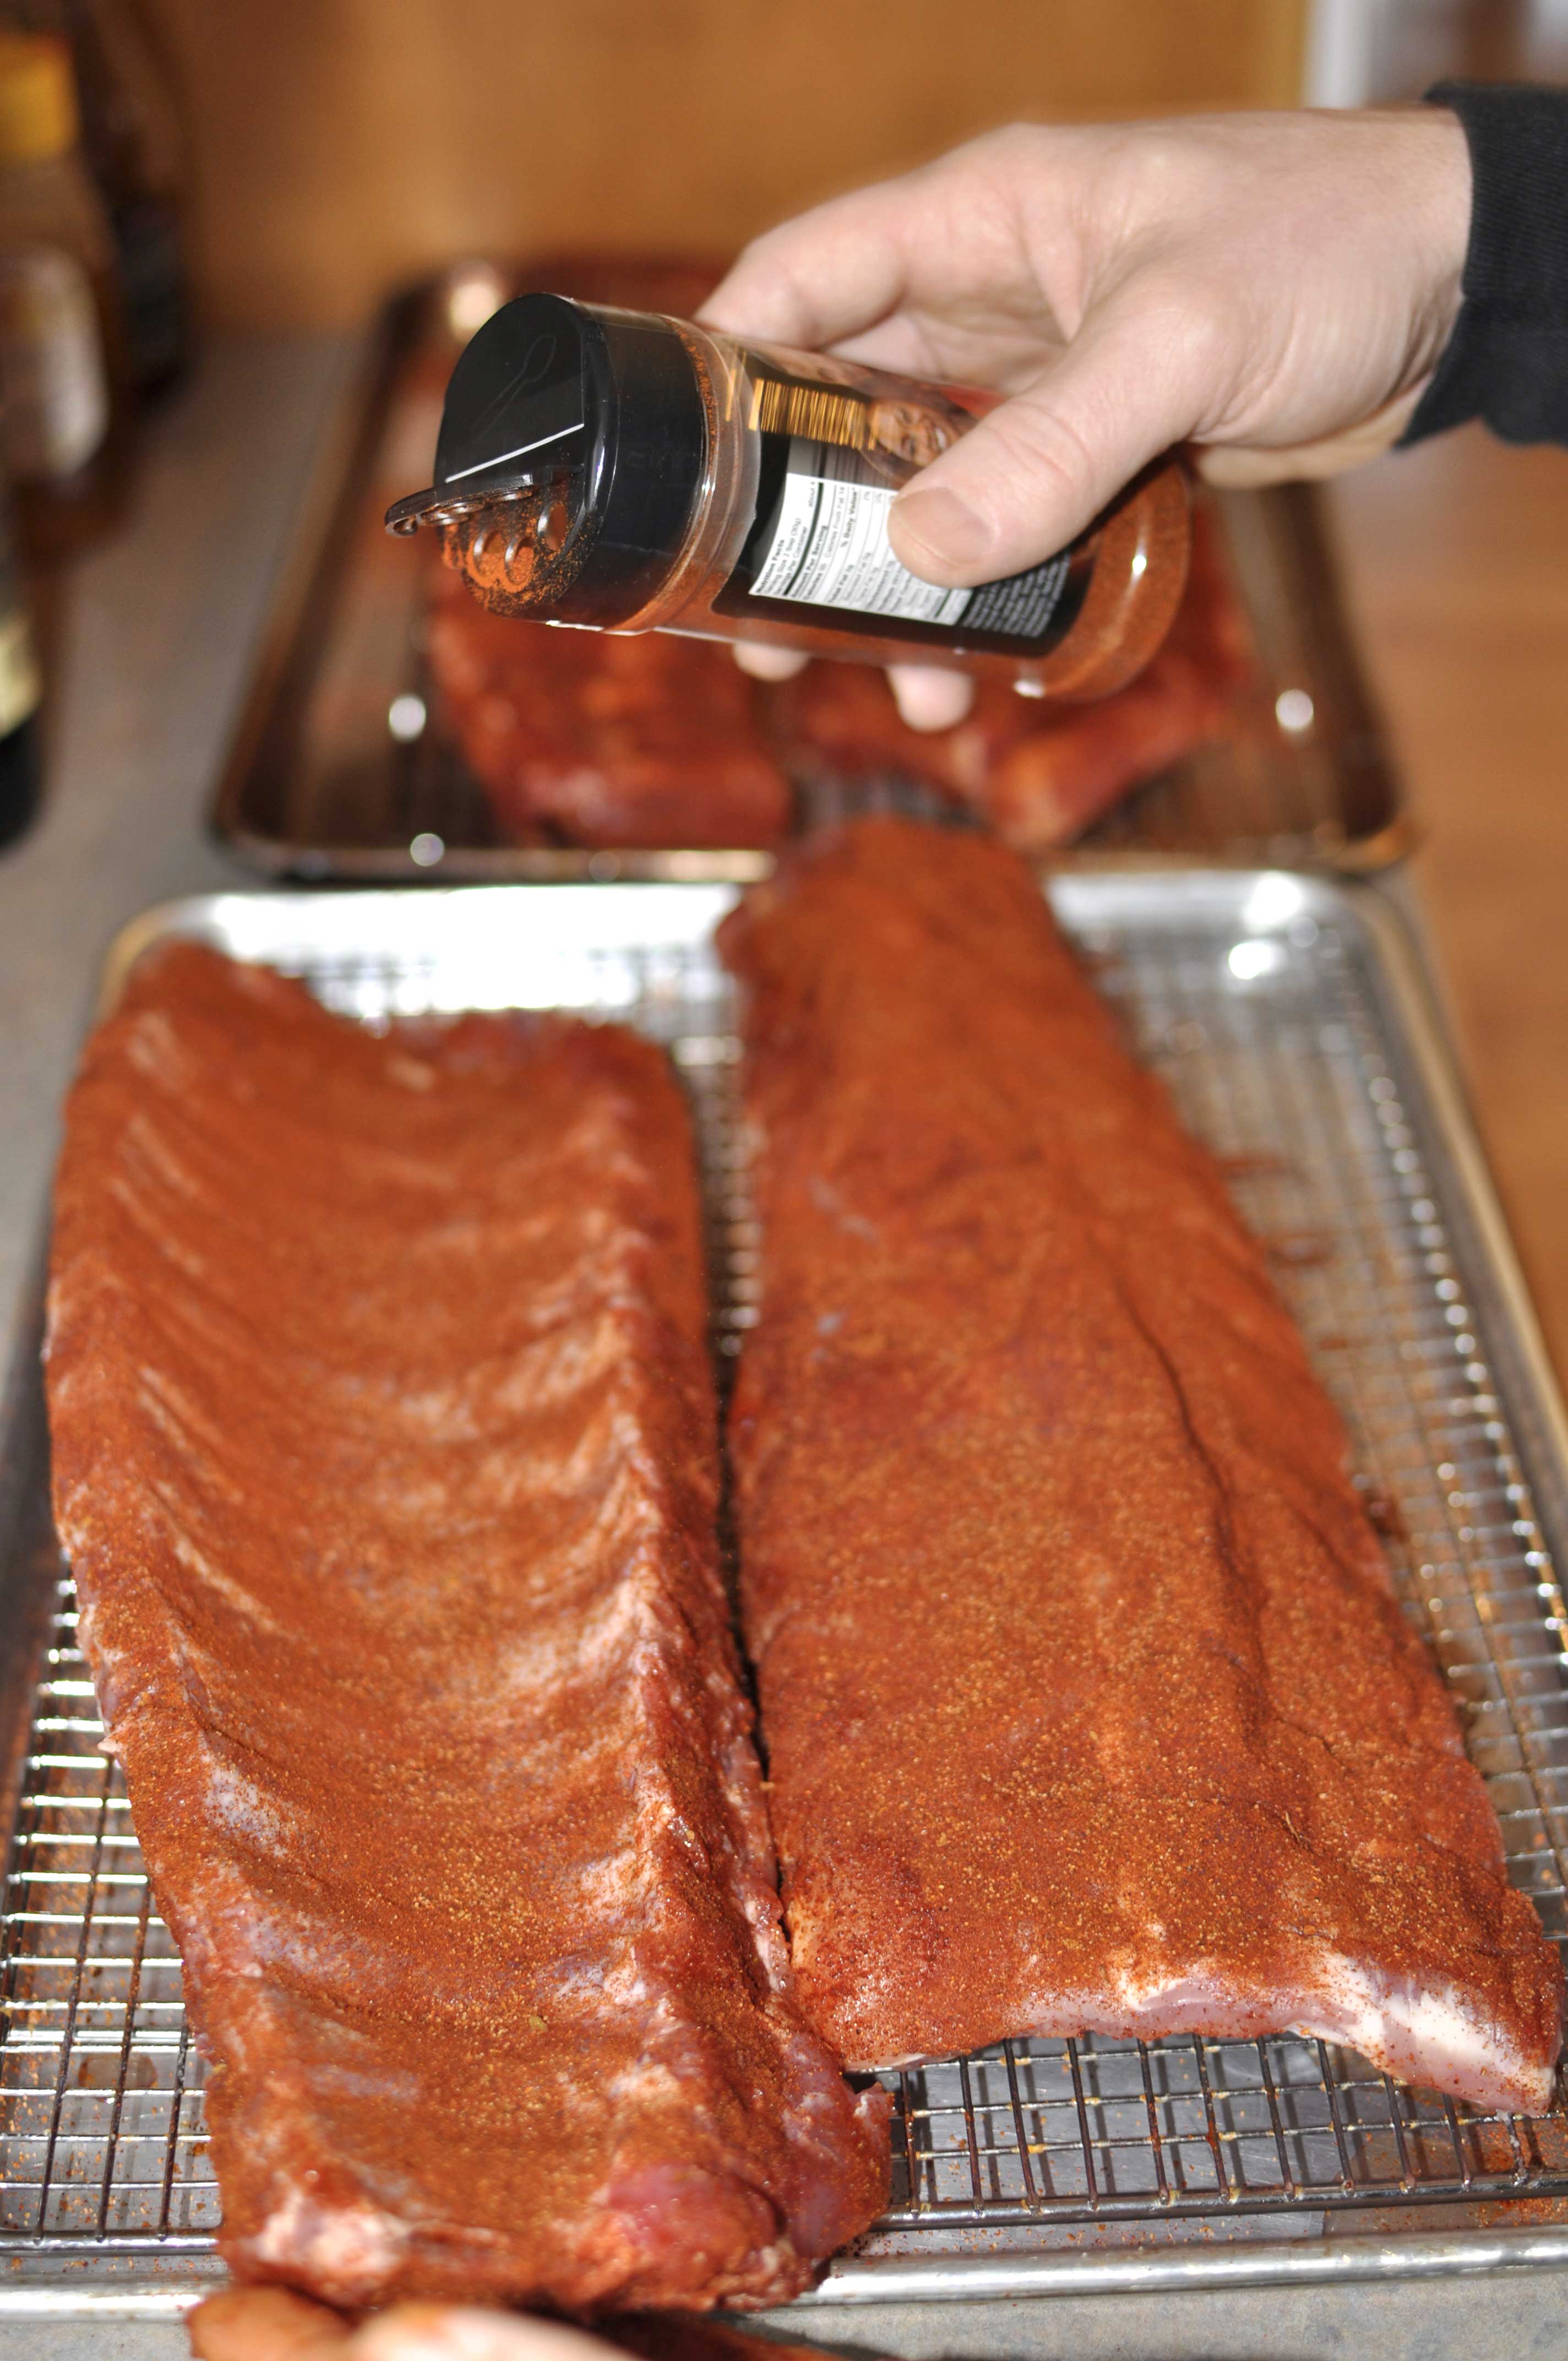
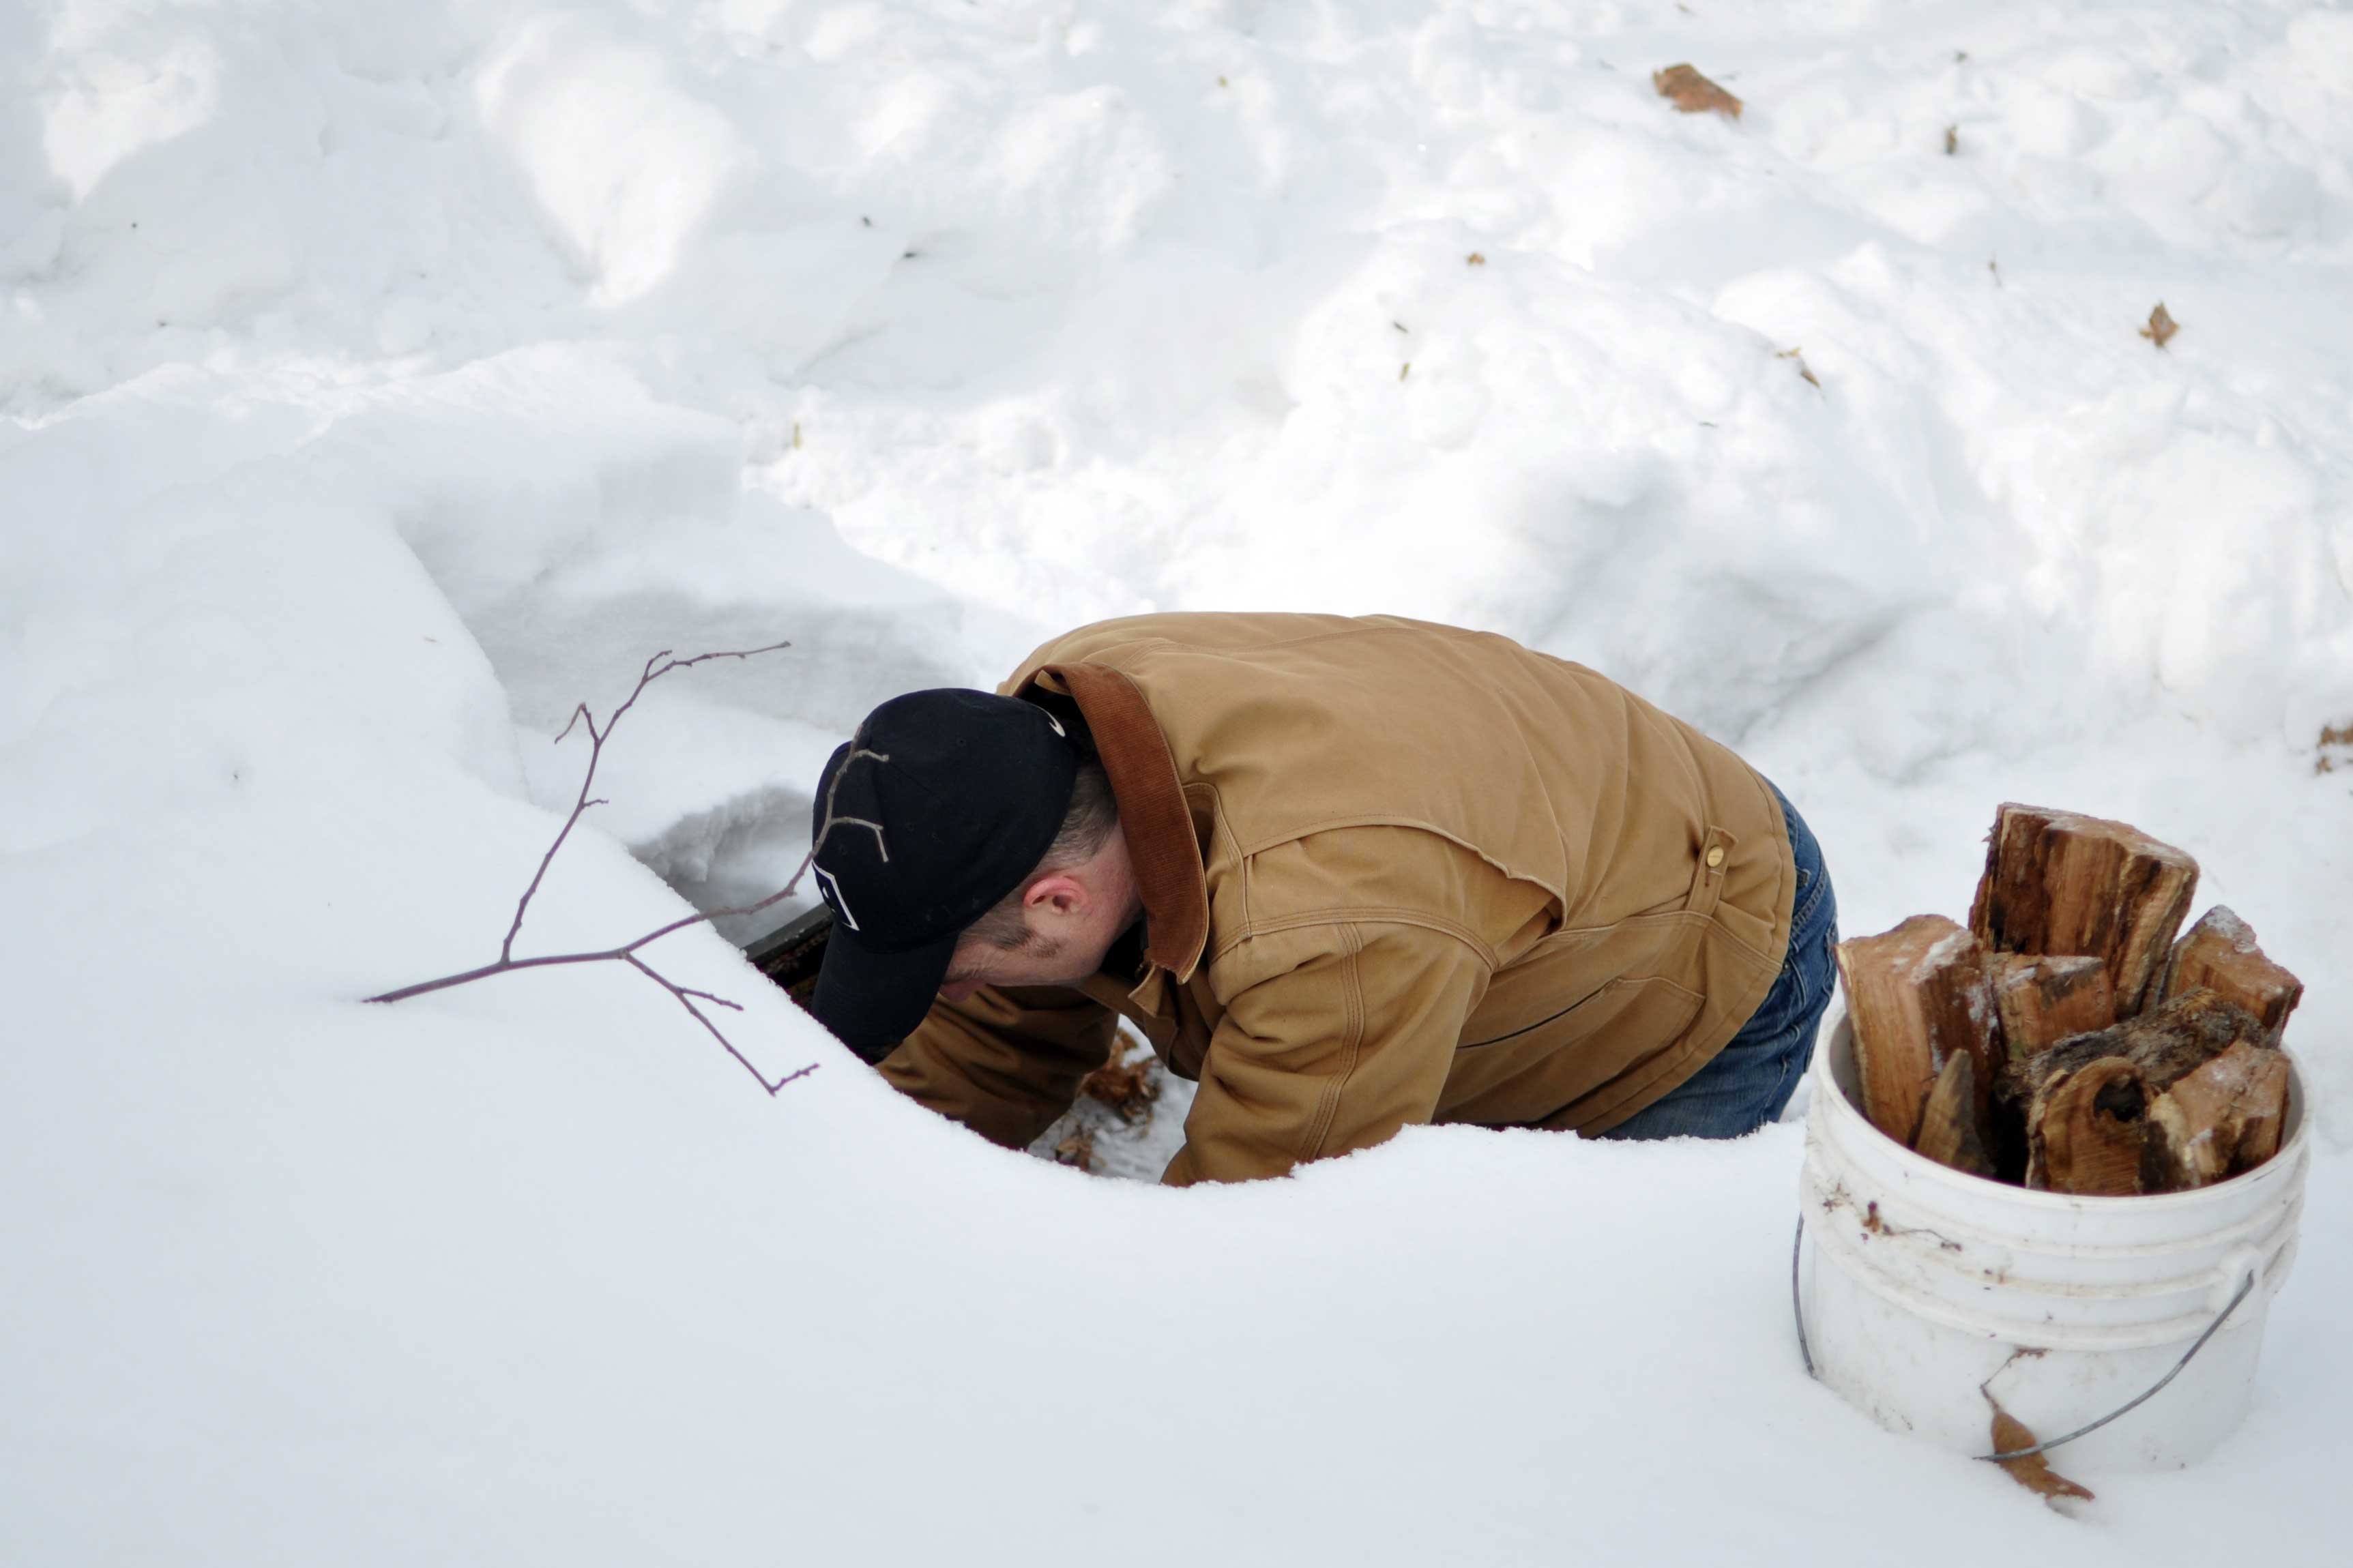
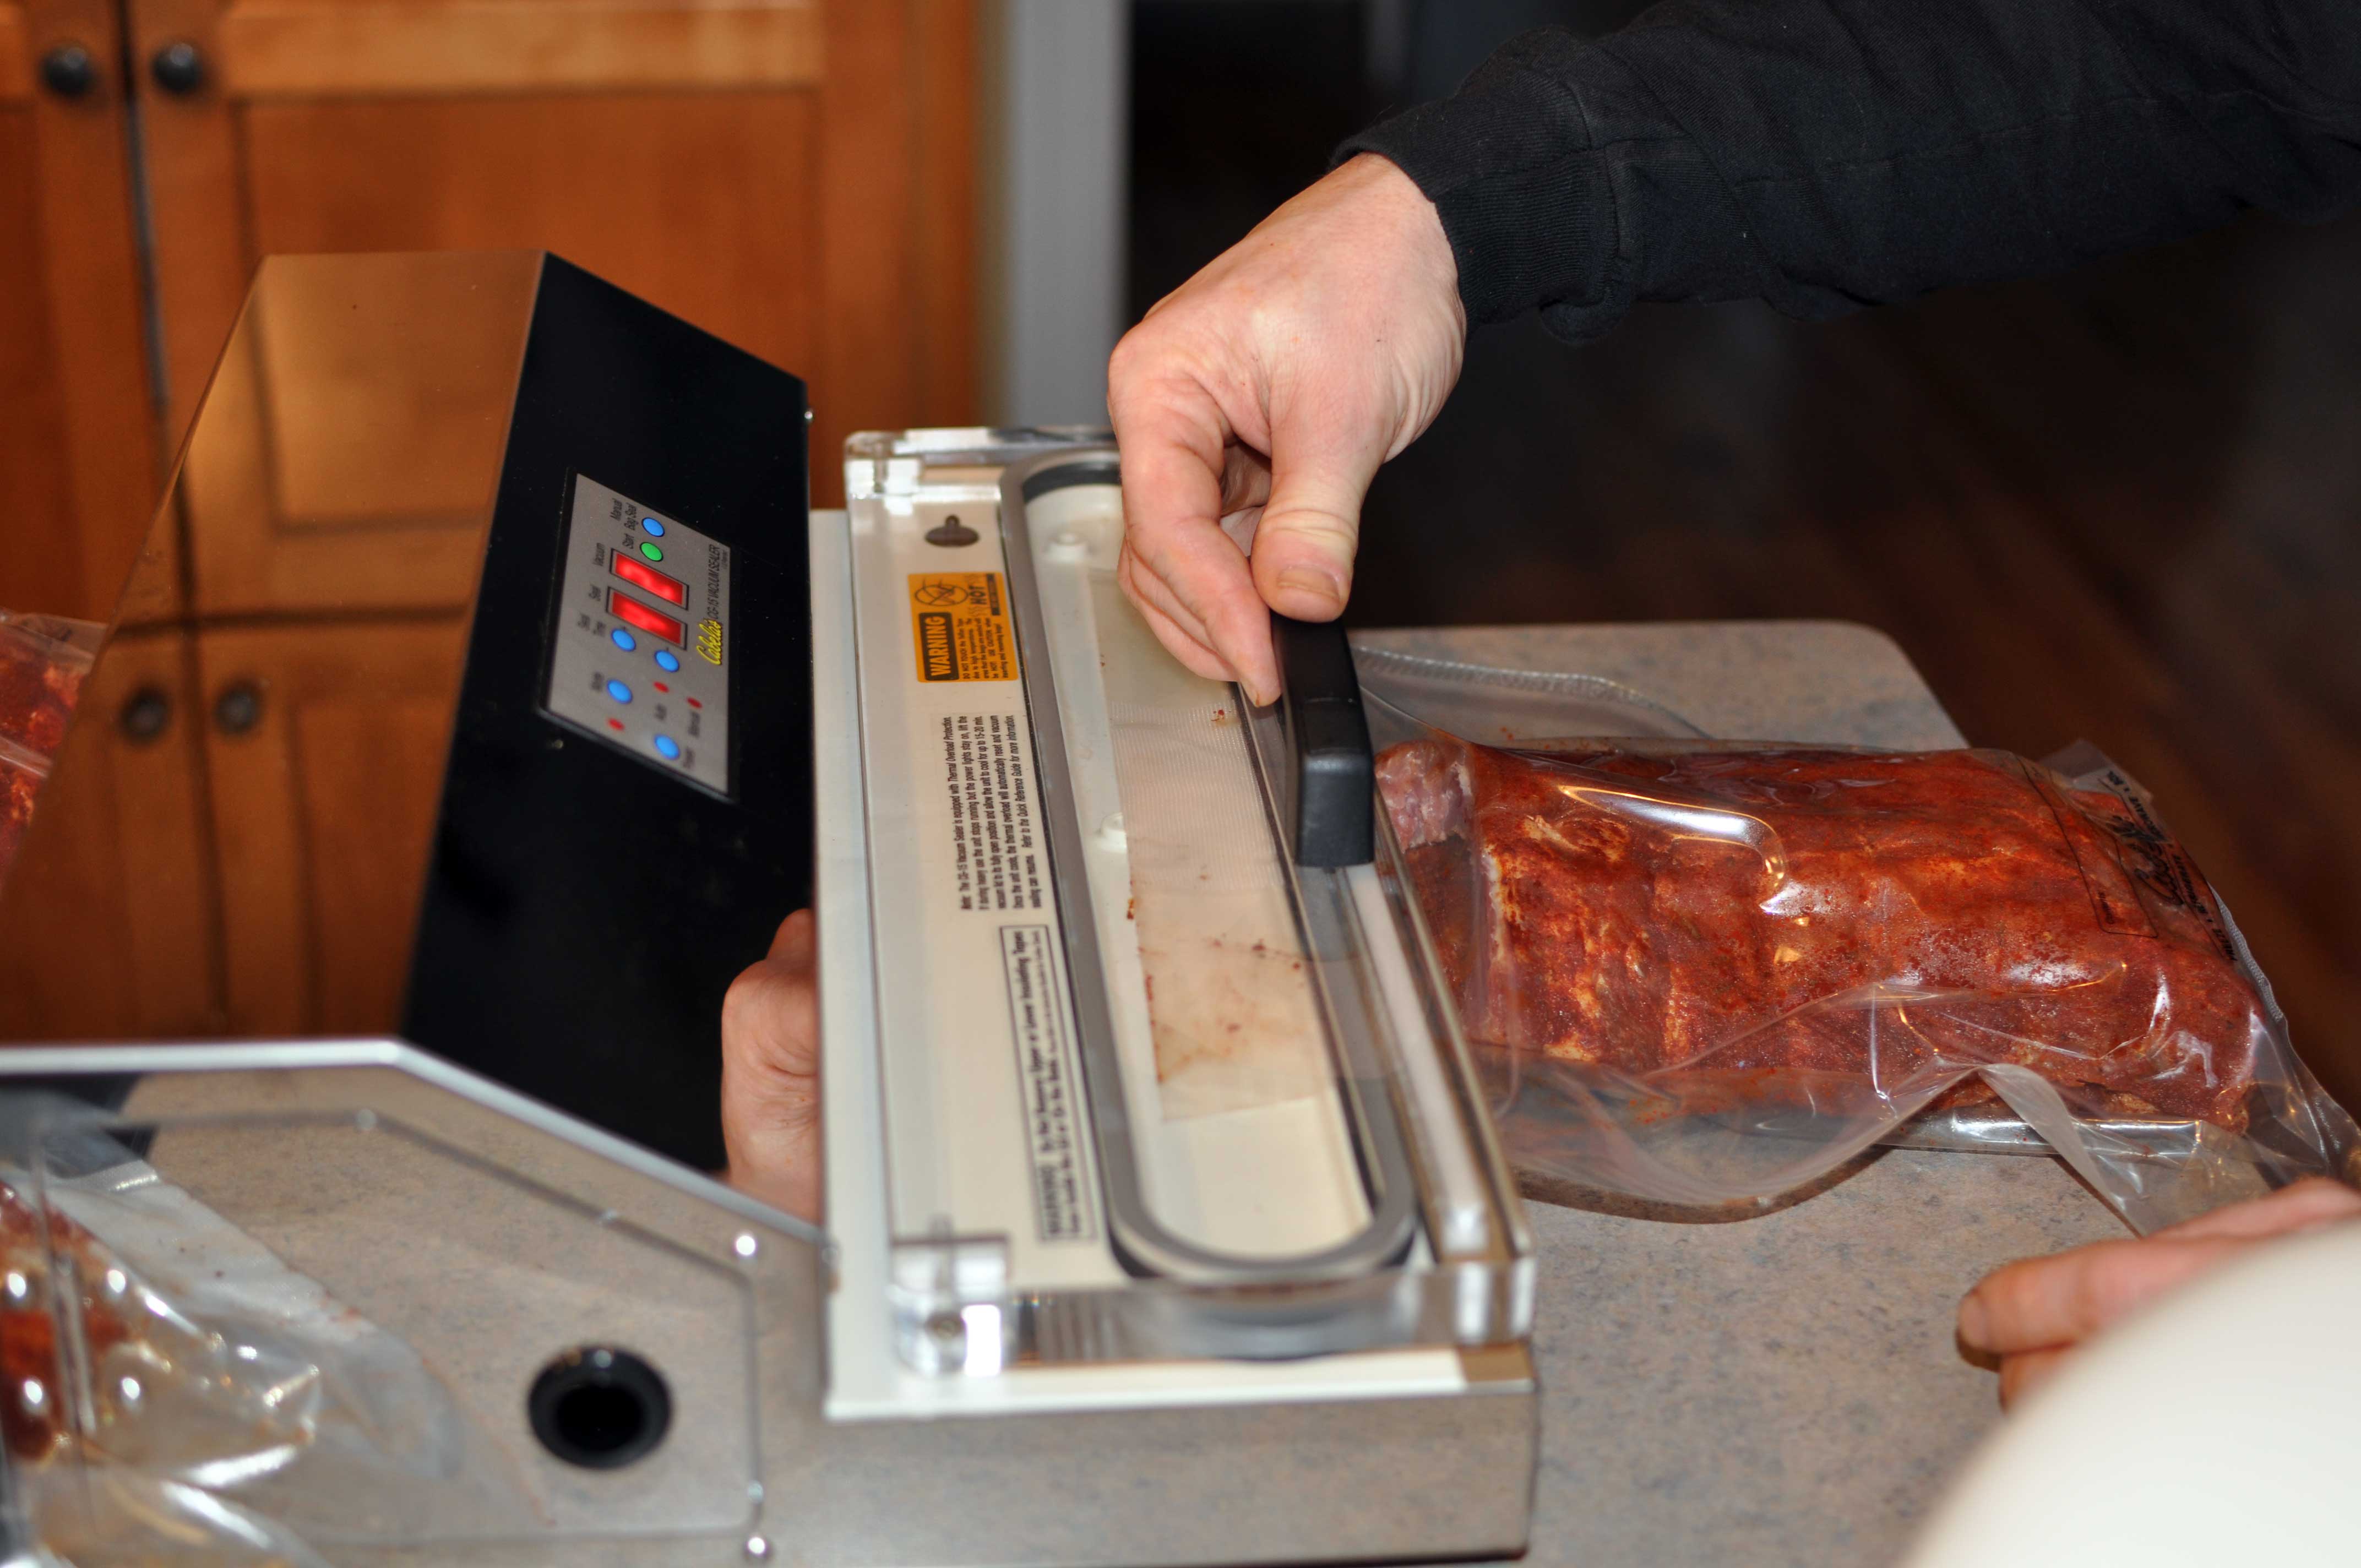
Last weekend, when it was still cold, we hosted a smoking party at our house.  Jesse was going to fire up the smokehouse while the temperatures were still cool with the snow on the ground, so he invited friends to bring over anything they wanted to smoke.  We had a real assortment of good stuff:  almonds, peanuts, cheese, cheese curds, leg of lamb, pork chops, pork roasts, ribs, and chickens.  Once the smokehouse was loaded up, we enjoyed chatting and having some beverages while we waited for the smokehouse to work its cold-smoking magic.

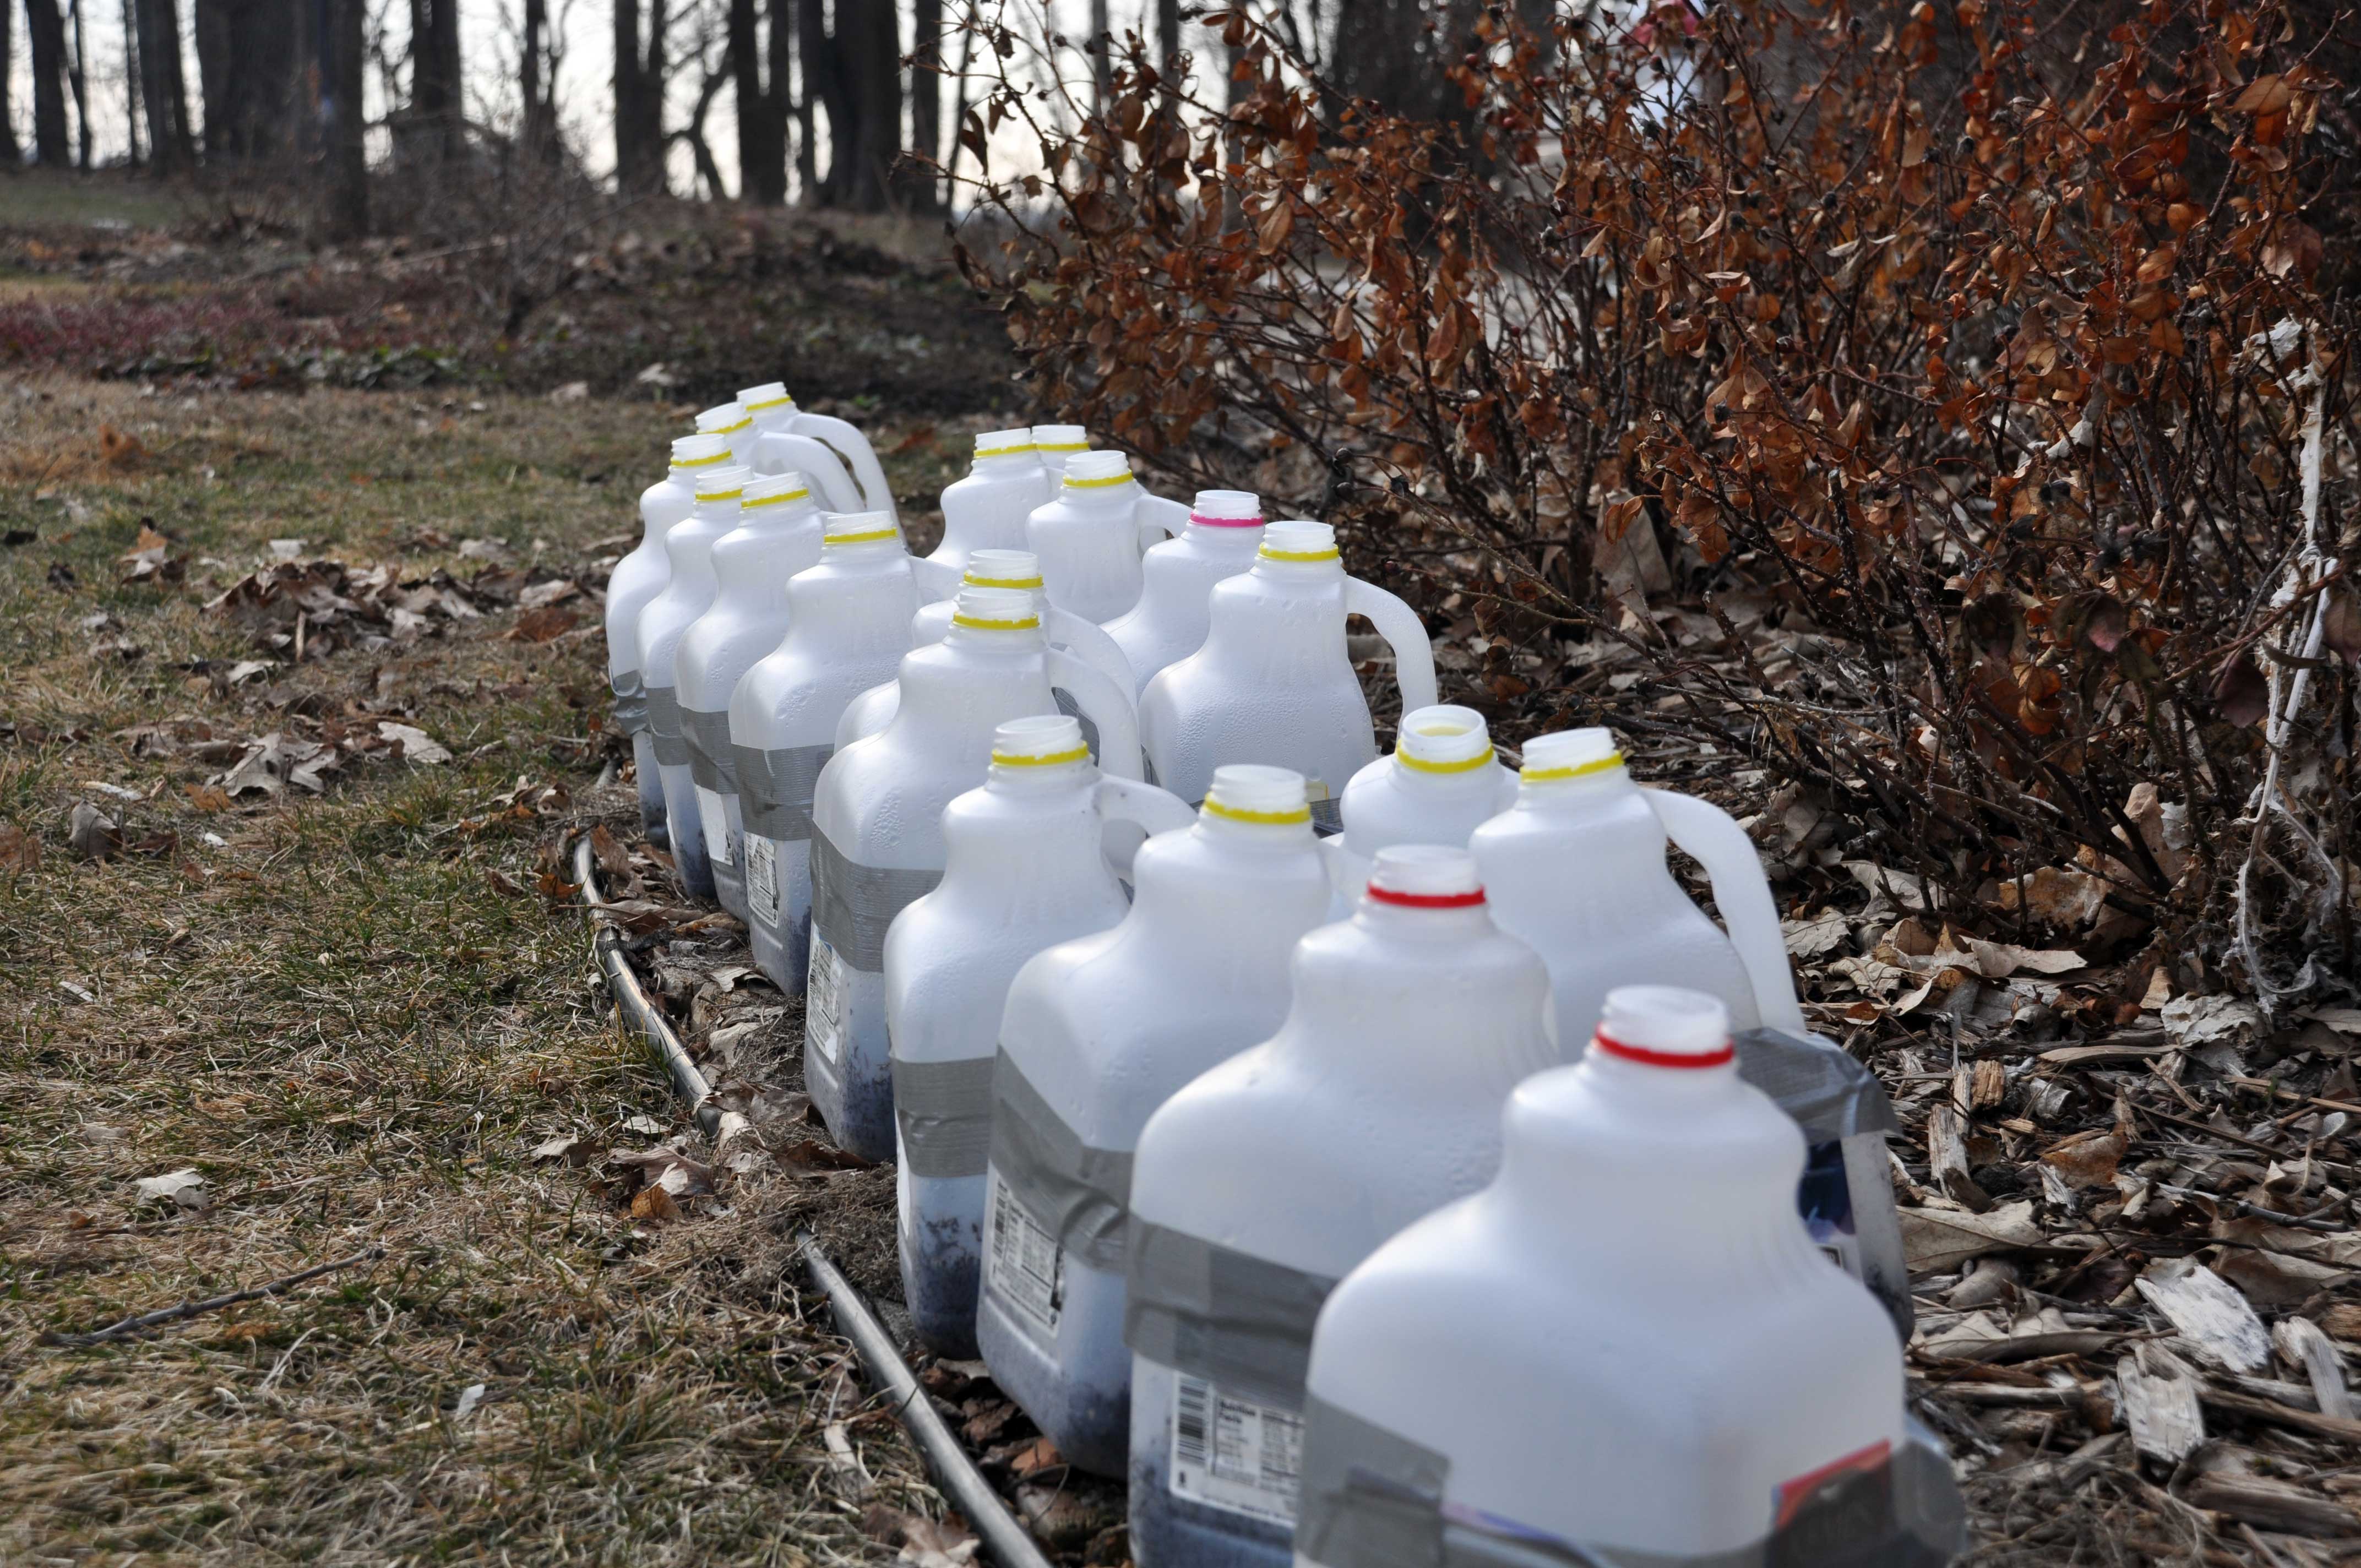
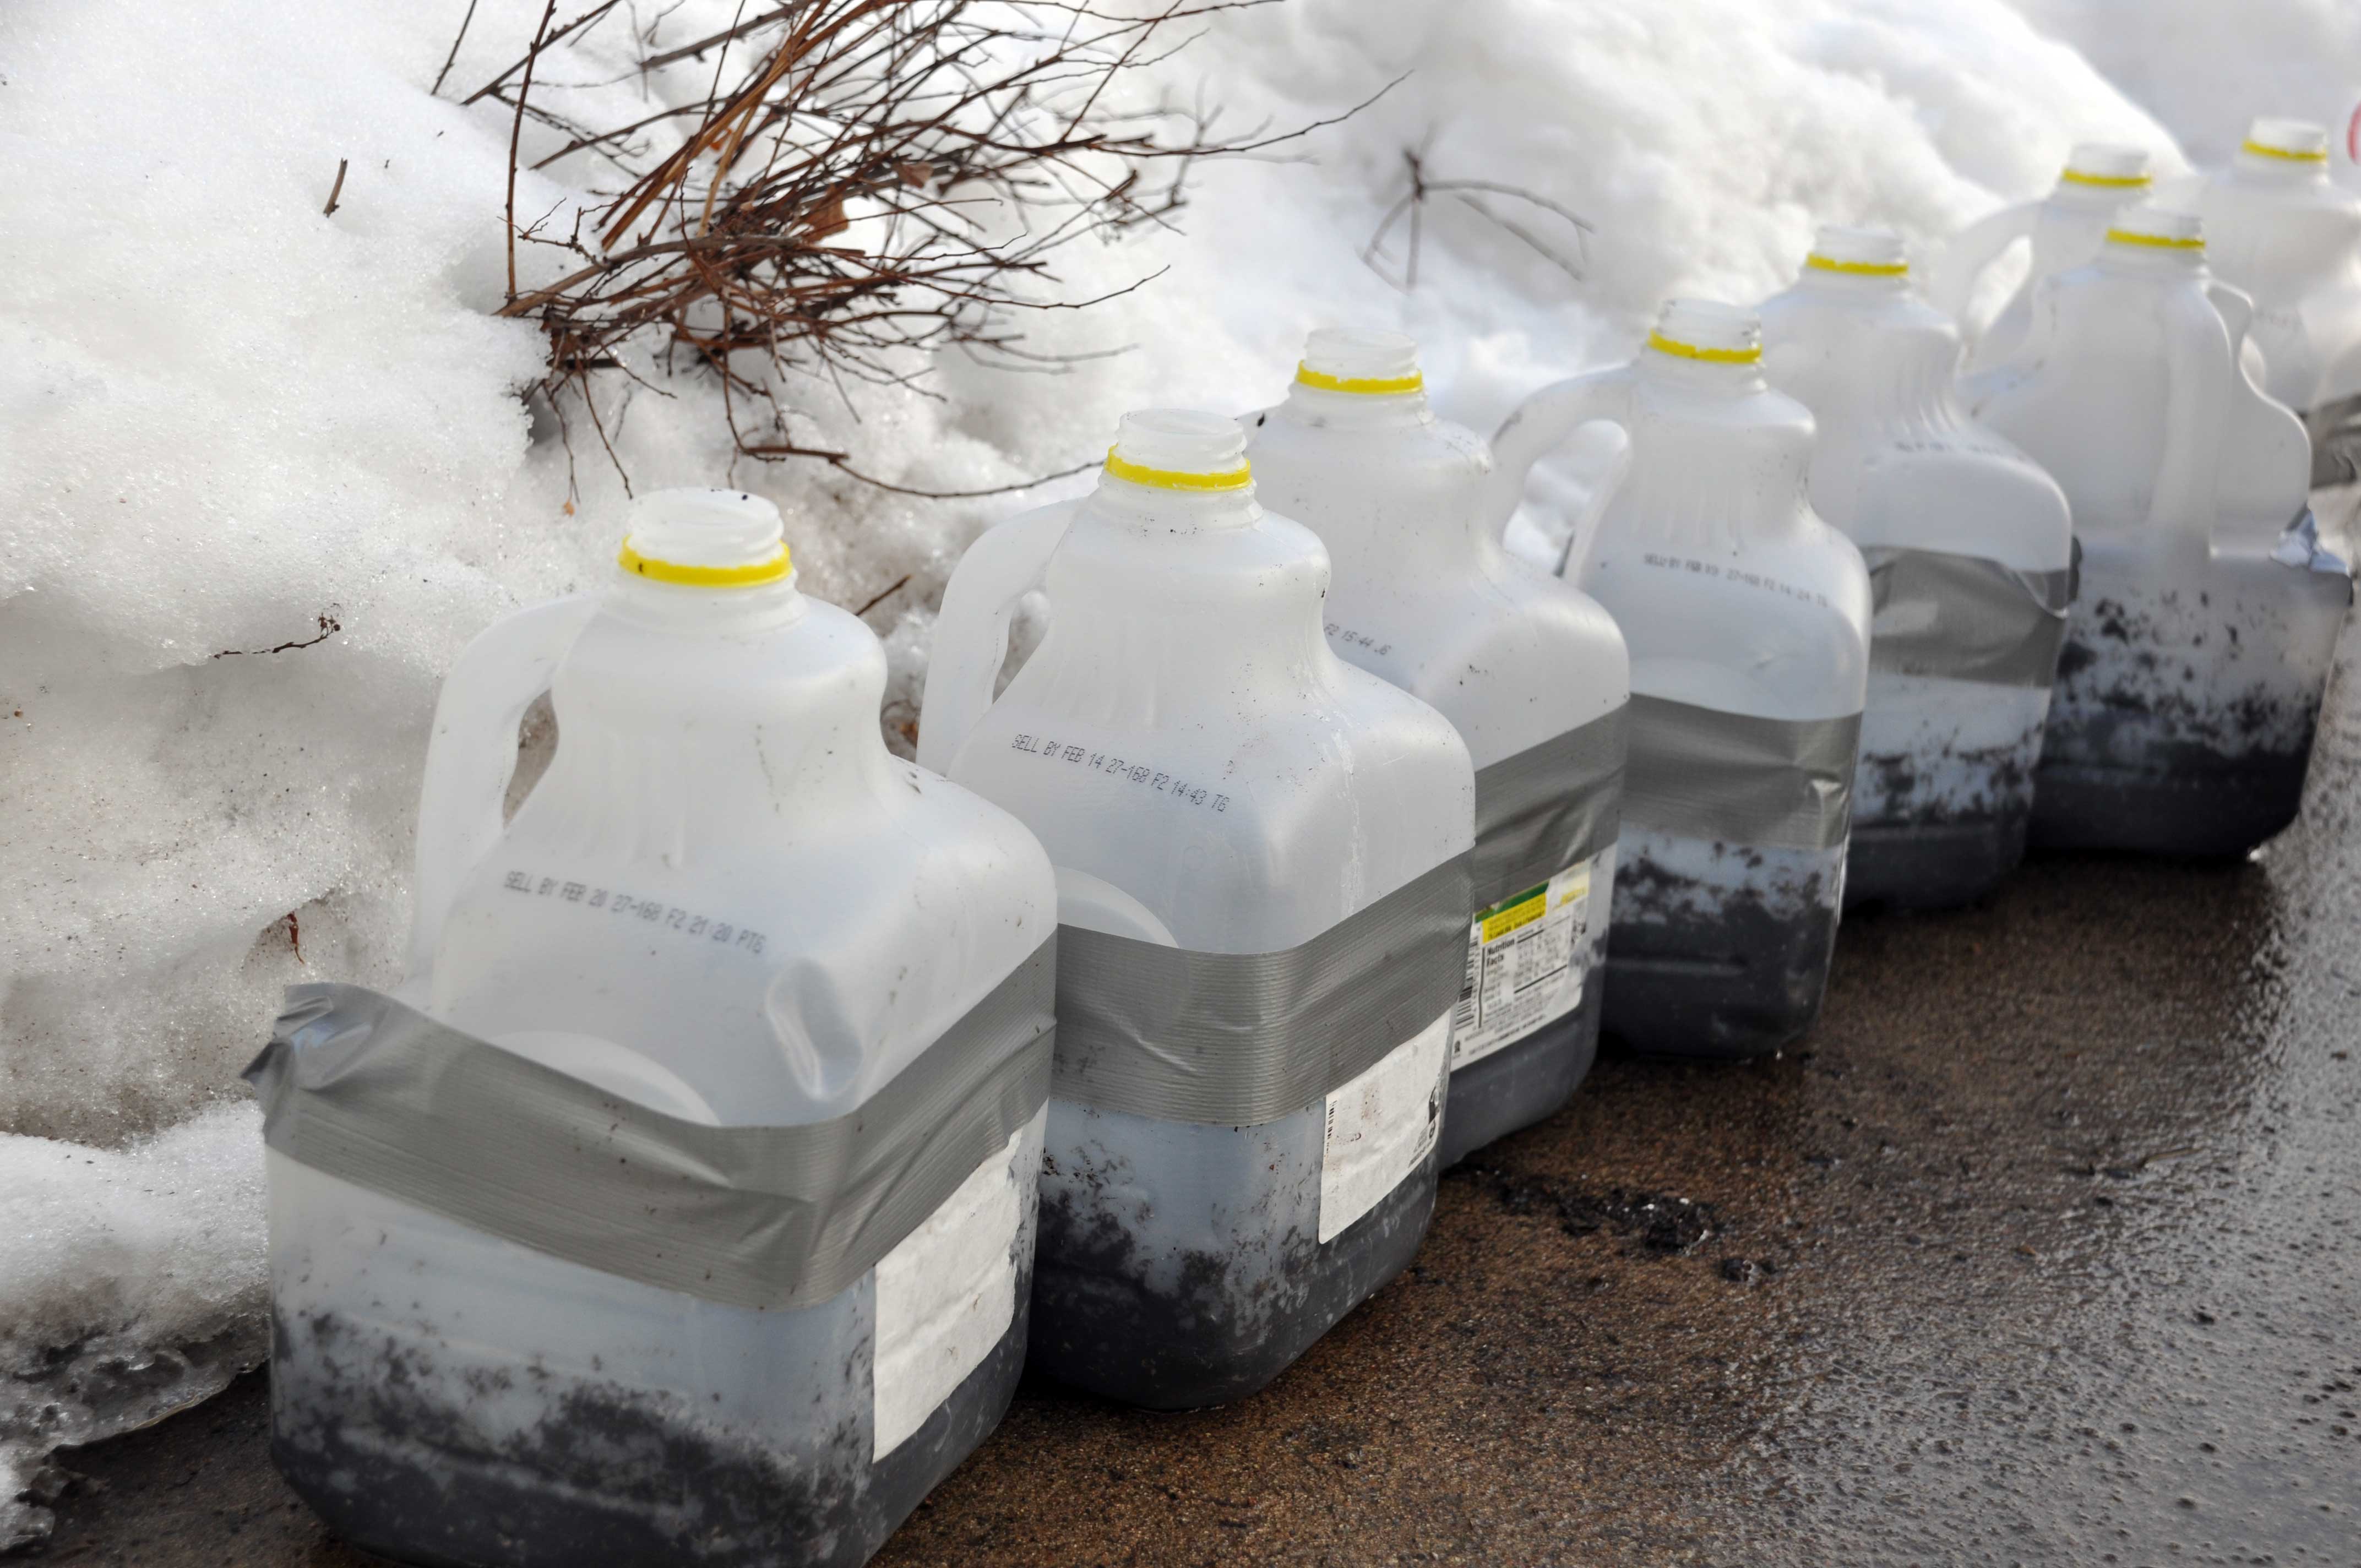
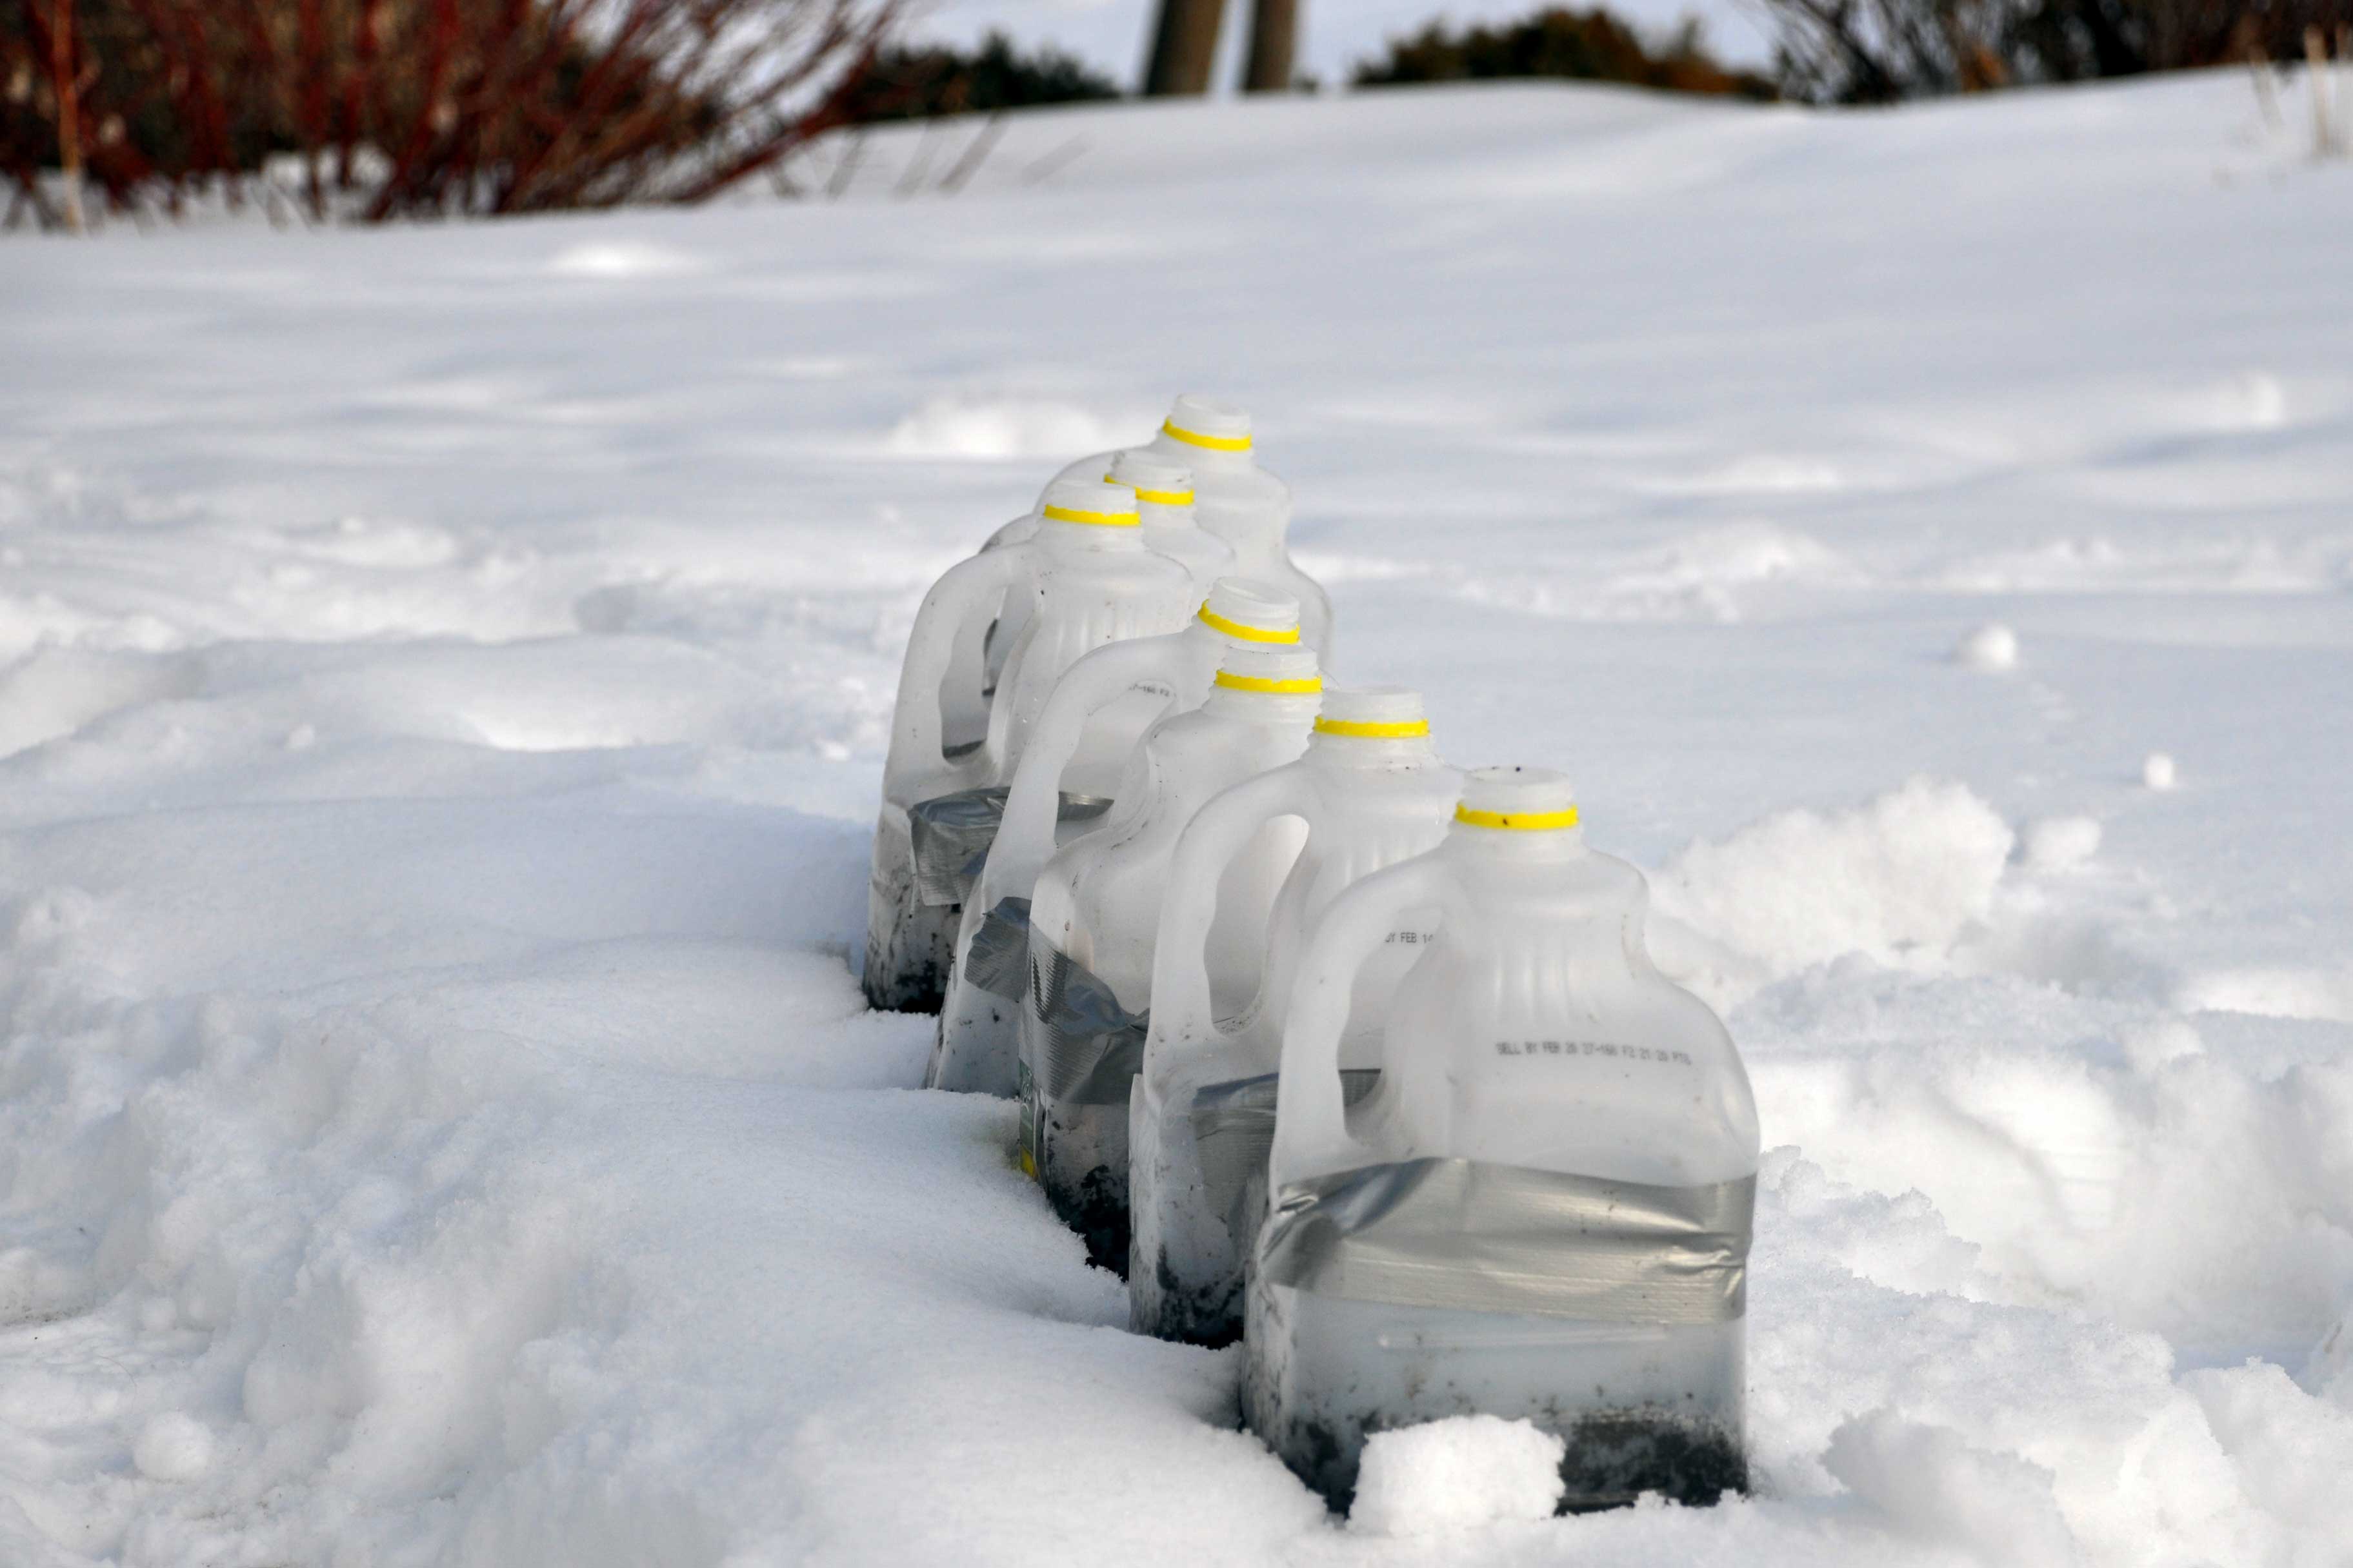
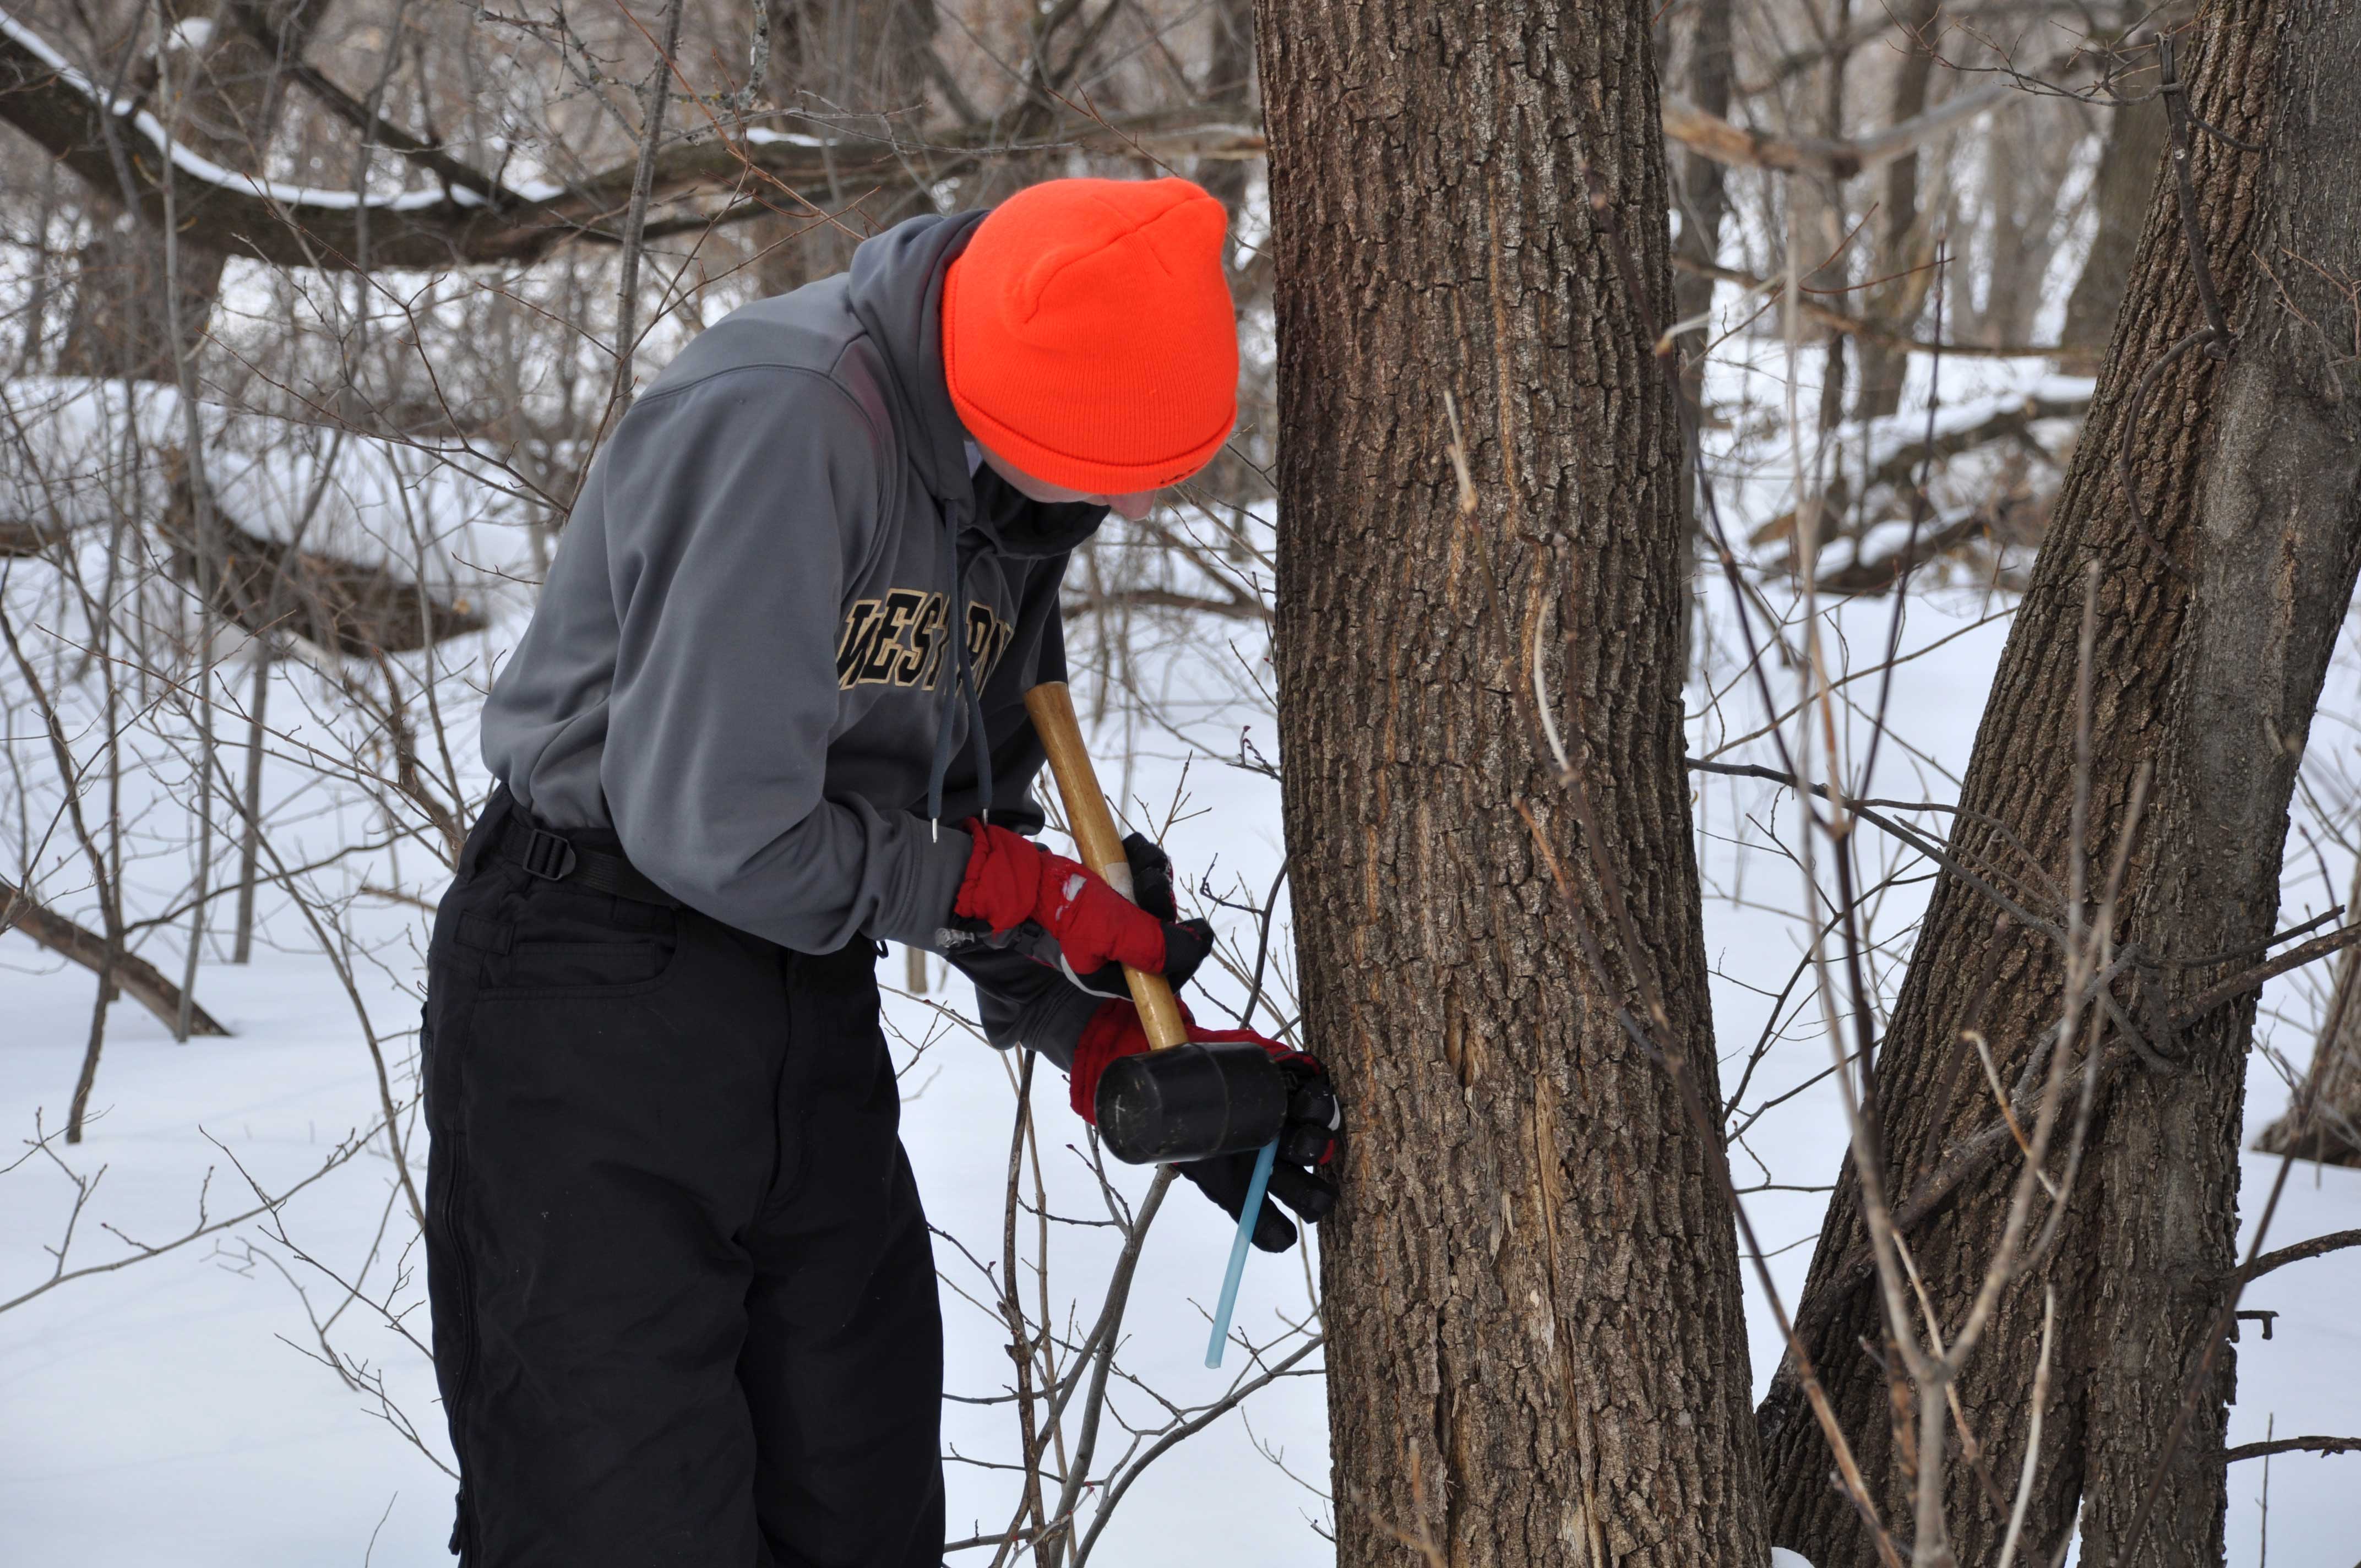
We also started cooking sap to make maple syrup the same day.  The sap ran very late this year due to the crazy spring.  We were not sure if it would run at all, but the trees finally started dripping and actually produced a lot of sap.

Jesse found this stainless steel pan at a restaurant equipment store and it works great on our outdoor stove to cook the sap.  It has a lot of surface area to help with evaporation and to cook the sap down faster.  The sap looks just like water when you first collect it from the tree to start cooking.

spring2

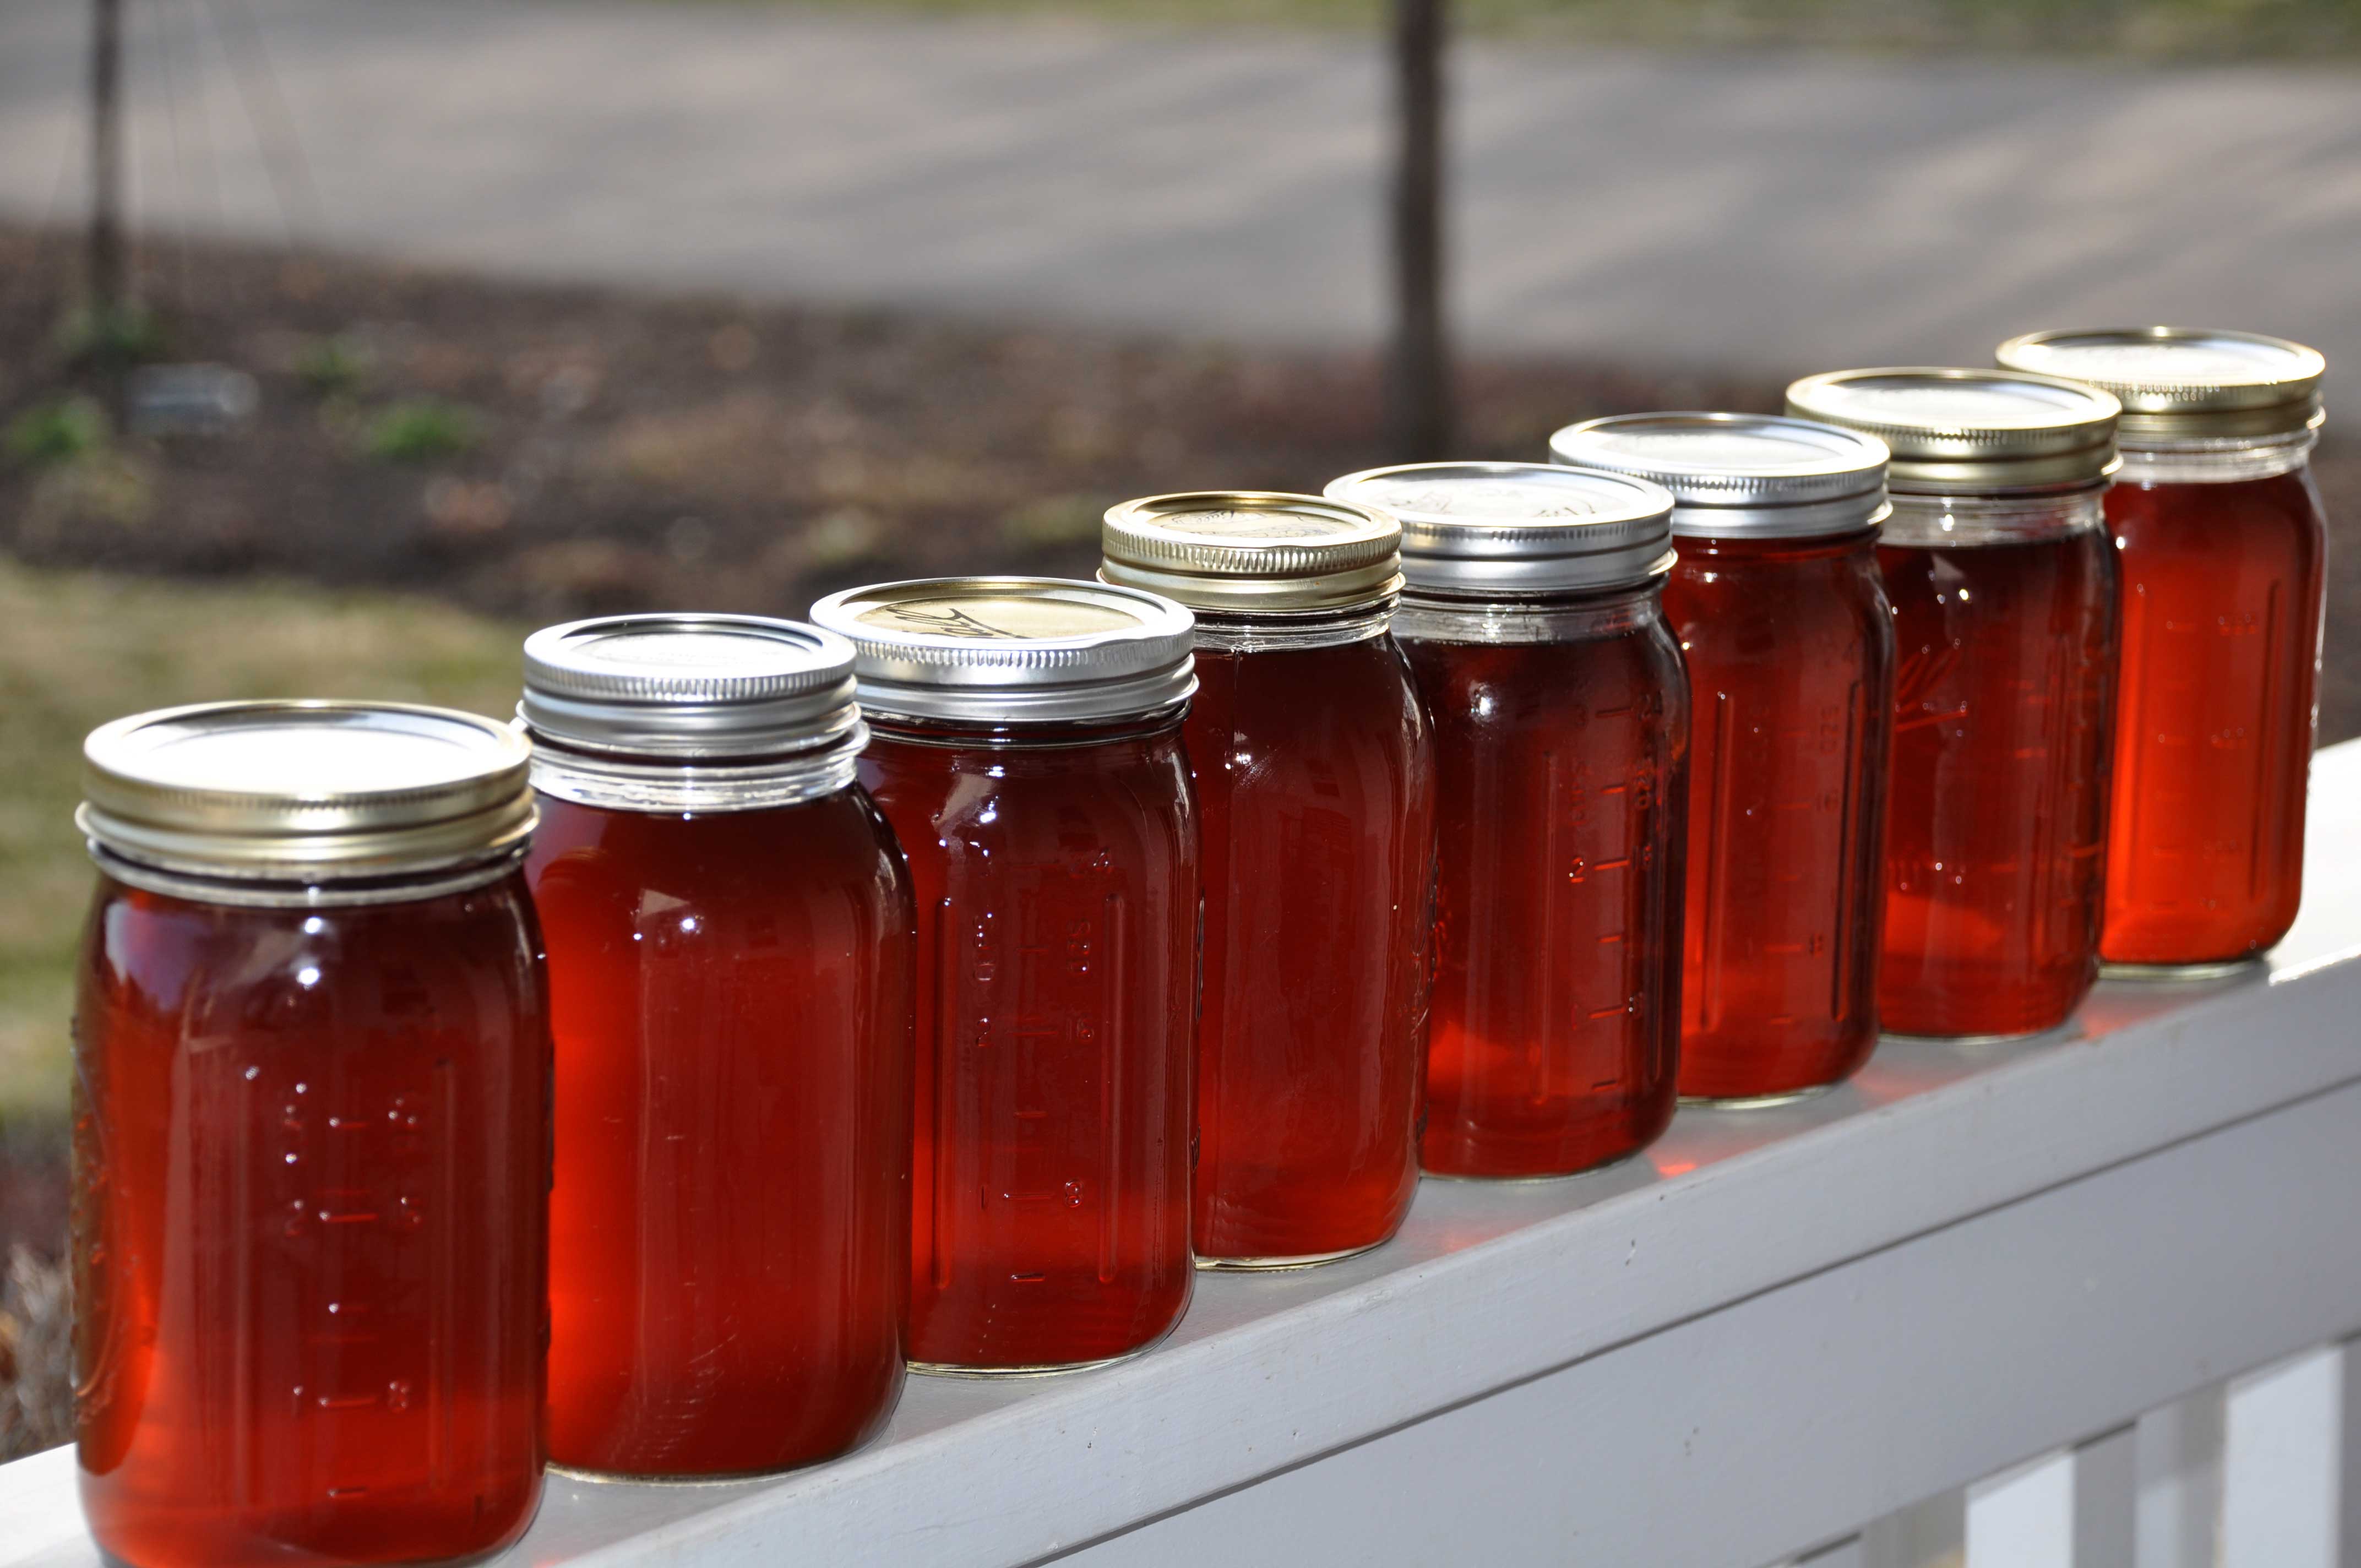
As it cooks longer, it starts to brown up and begins to have a sweet caramel-like aroma.  We cooked down enough sap last weekend to make one gallon of syrup.

spring3

This past Thursday evening Jesse fired up the stove once again and cooked down the rest of the sap overnight.  In total, we ended up with two gallons of syrup.  Yum!
spring13

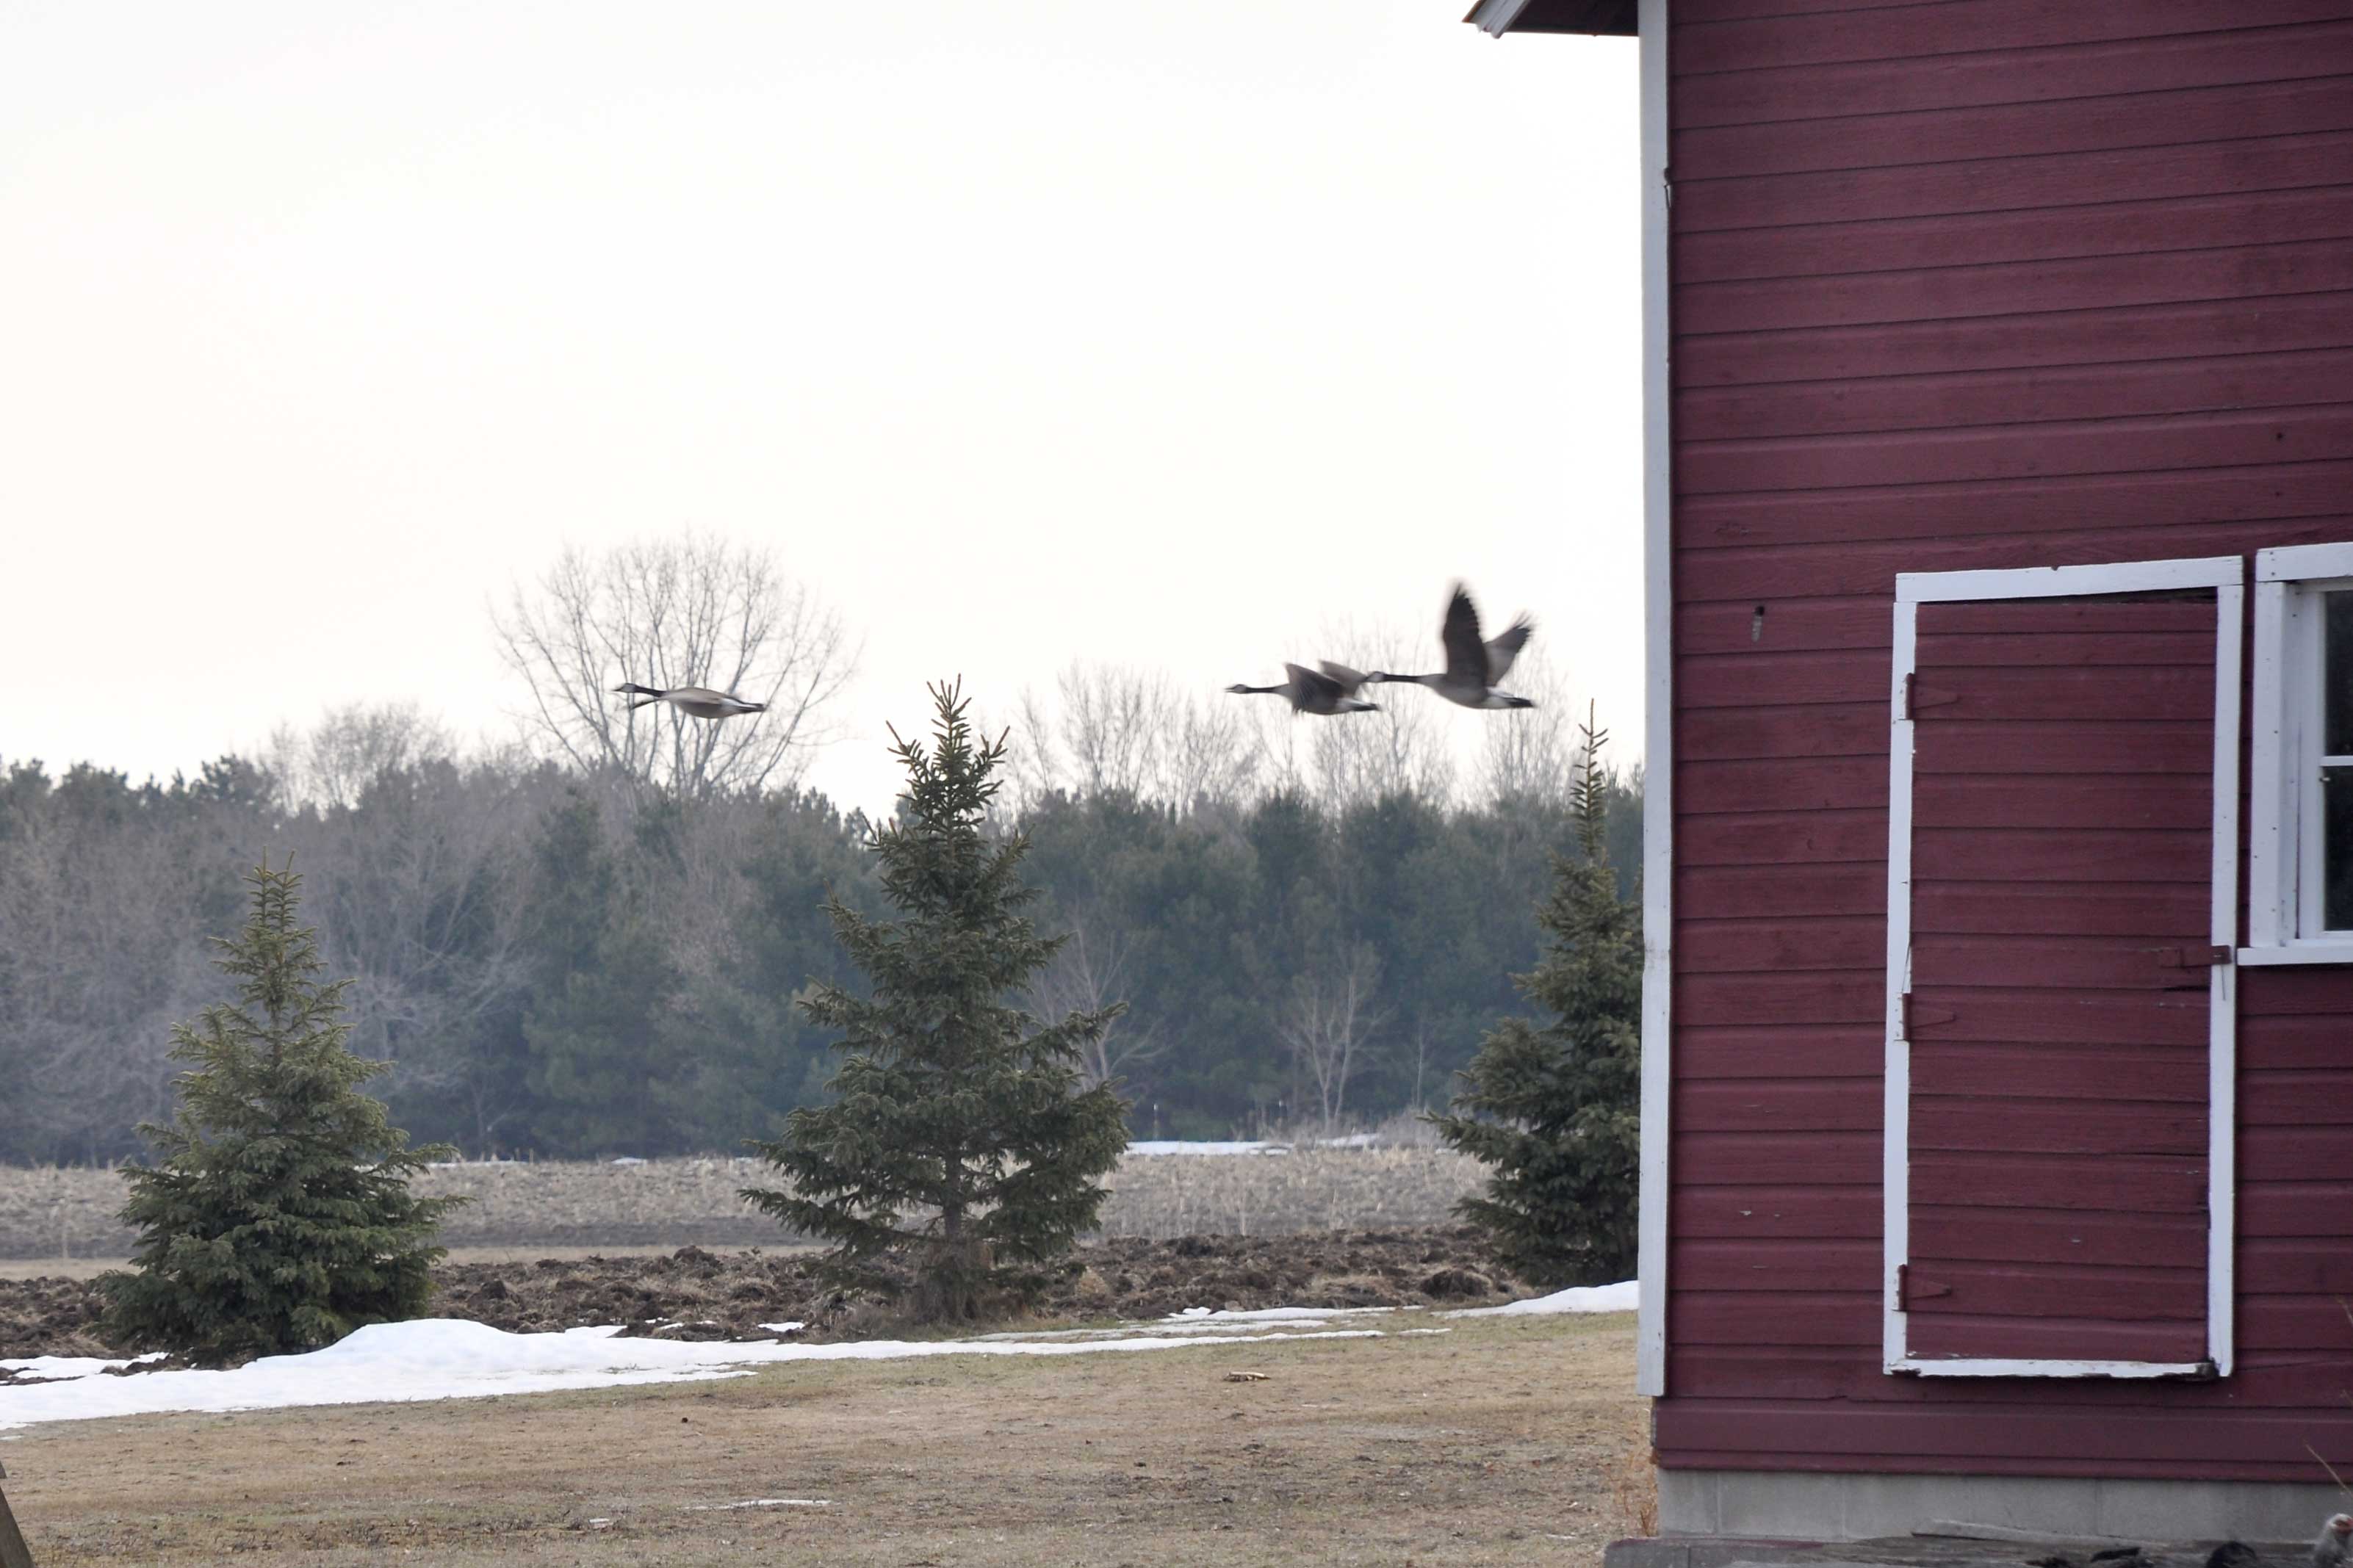
Yes, spring is here.  The birds have been singing, the geese are honking, and the frogs have awoken and are singing their lovely spring song.

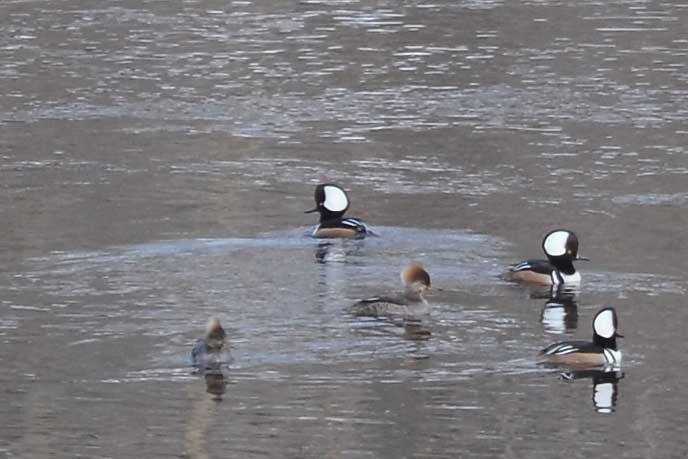
All varieties of wildlife are on the move. During the day yesterday, I was working at home and as I glanced up from the file I was reading, I noticed these turkeys come walking past the back of the barn and headed towards the river. I grabbed my camera and snapped a few shots.

We joke sometimes about living in a nature preserve.  I guess we have the river to thank for the wide array of wildlife we get to see and/or hear (the owls hooting at night are my favorite) on a daily basis.
spring4

Along with the melting snow comes spring flooding.  The water has risen rapidly in the last two days and the river is overflowing.
DSC_0101

We spent yesterday evening and today outside enjoying the warm temperatures by starting our spring cleanup.  I cut down any perennials that stood through the winter and raked all the leaves out of the gardens.

spring14

Tired of the chickens coming up by the house and digging in the dirt of my perennial garden, we decided to lock them in the vegetable garden fence today to enjoy the sunshine.  Ironically, we built this very fence in part, to keep the chickens out of the vegetable garden.  They loved kicking around the bit of straw, pecking at the grass, and digging in the dirt all day.
spring9

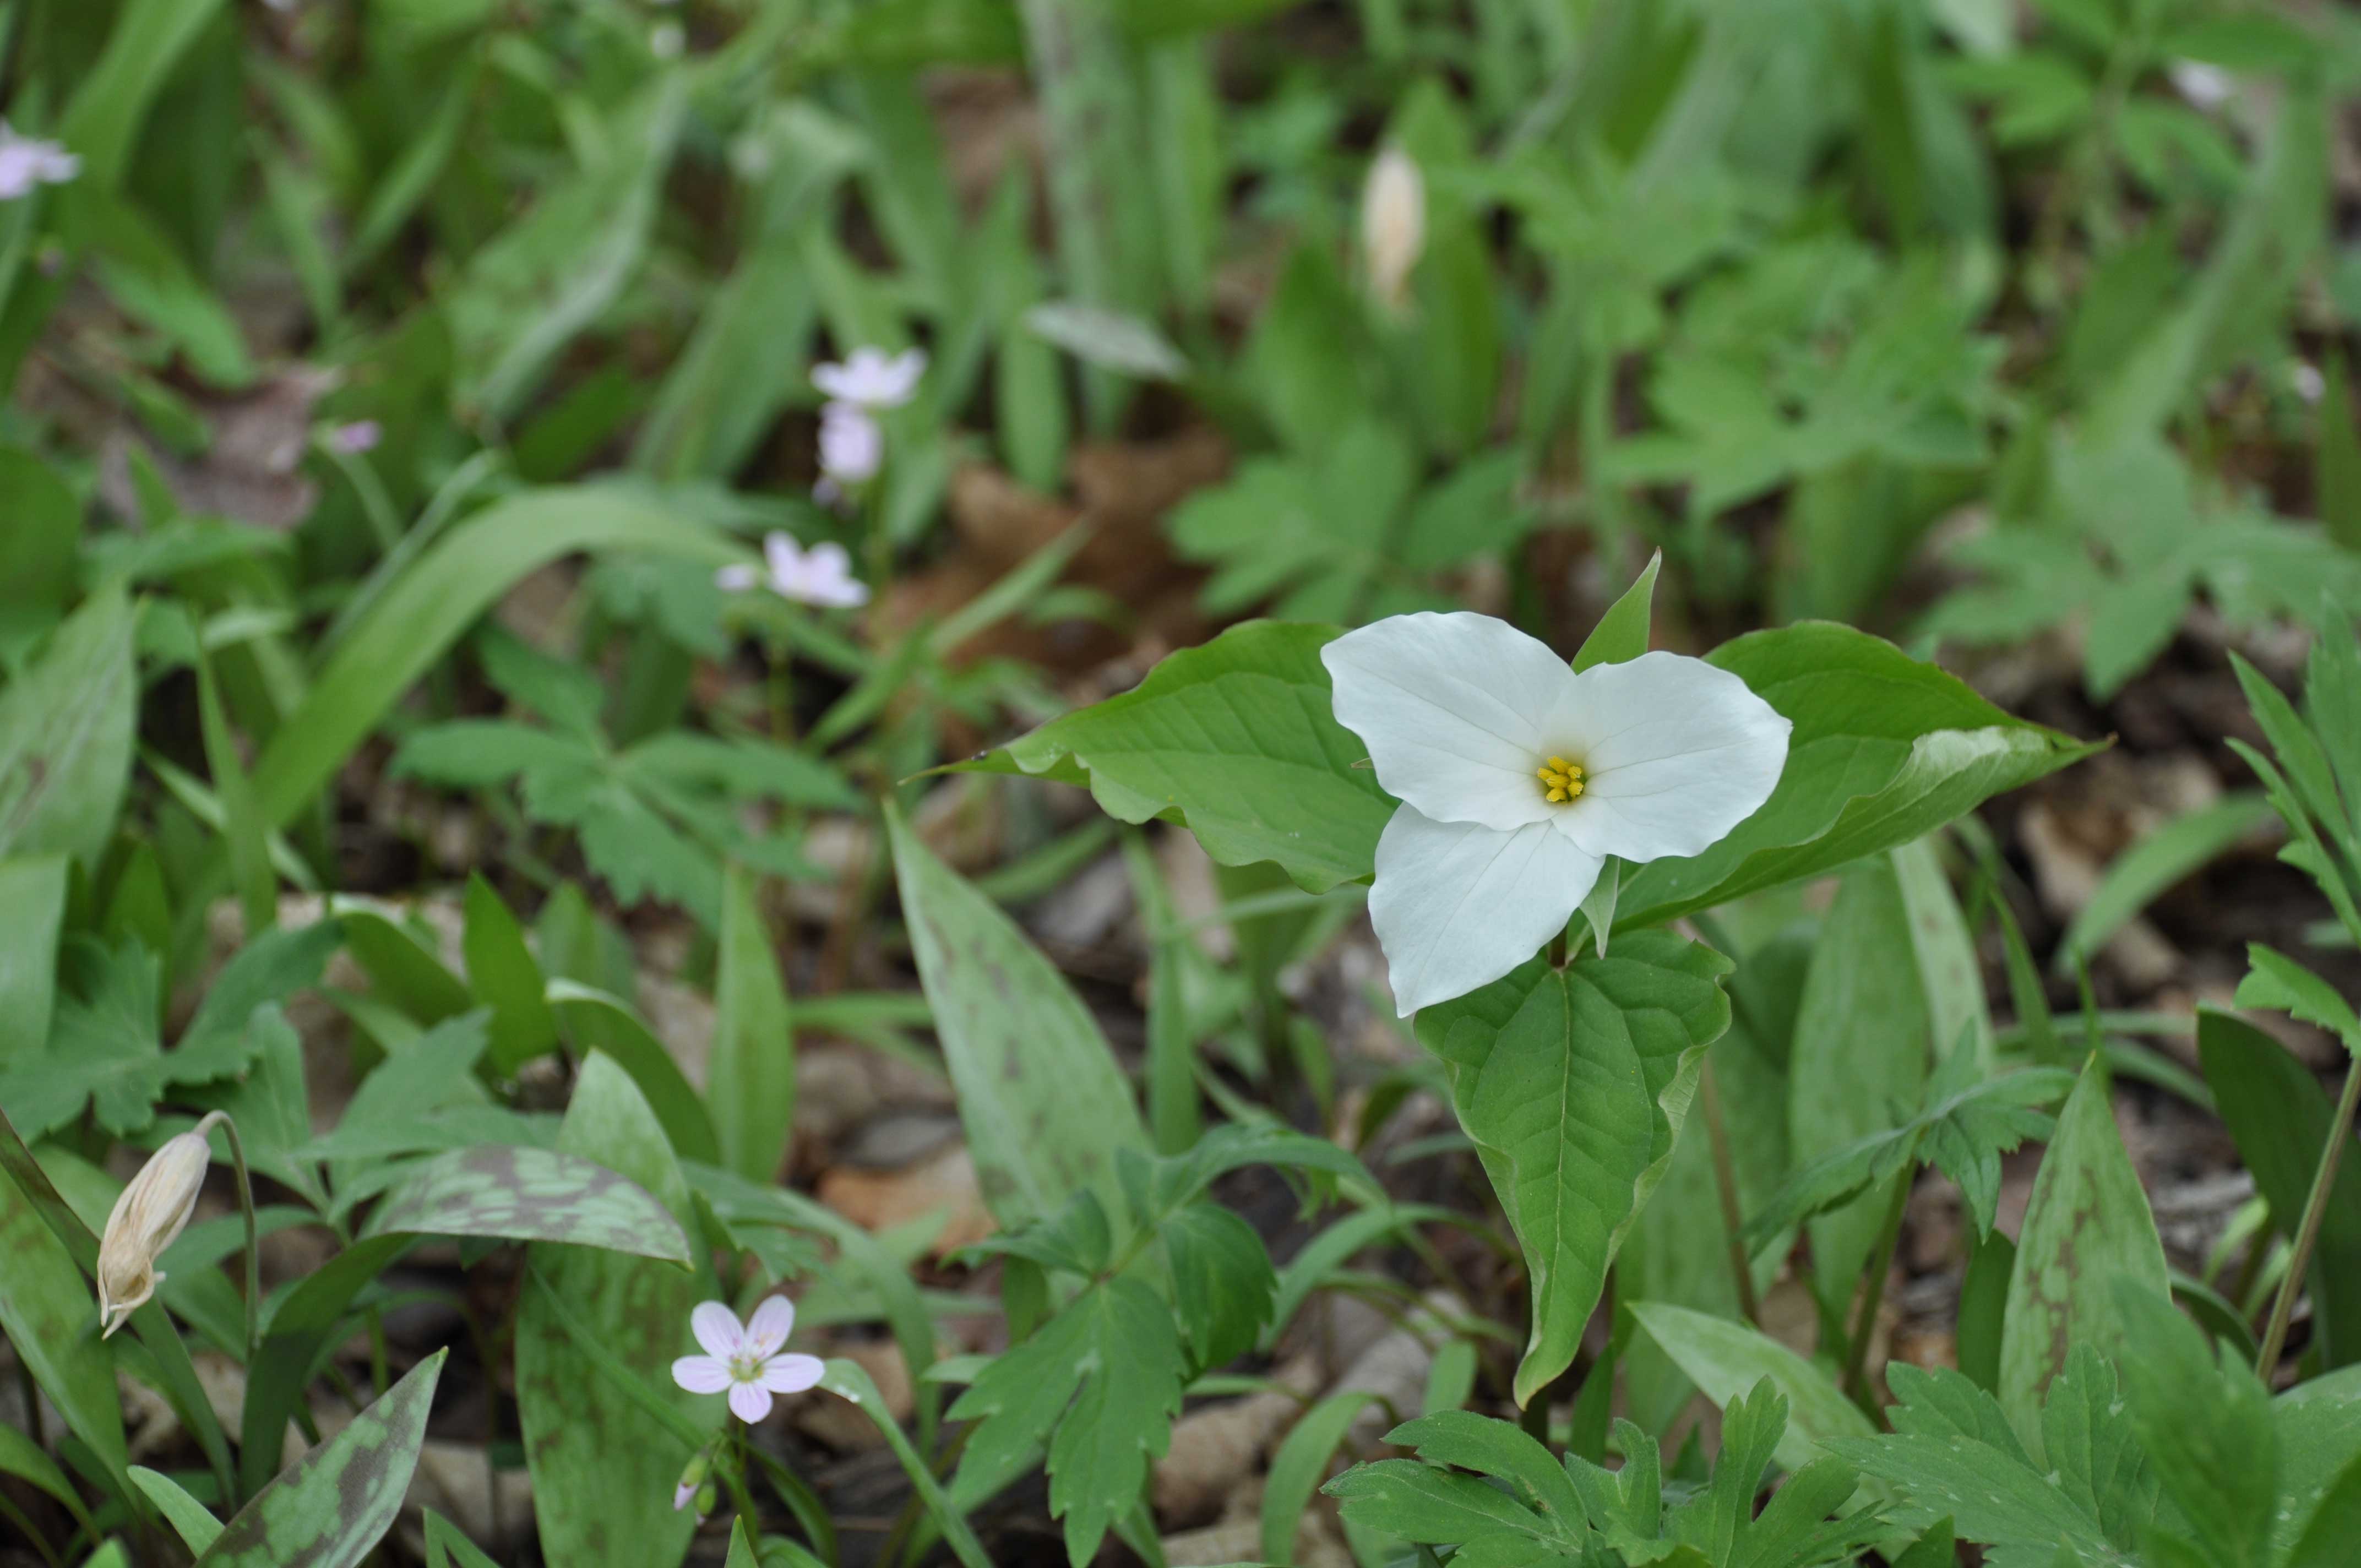
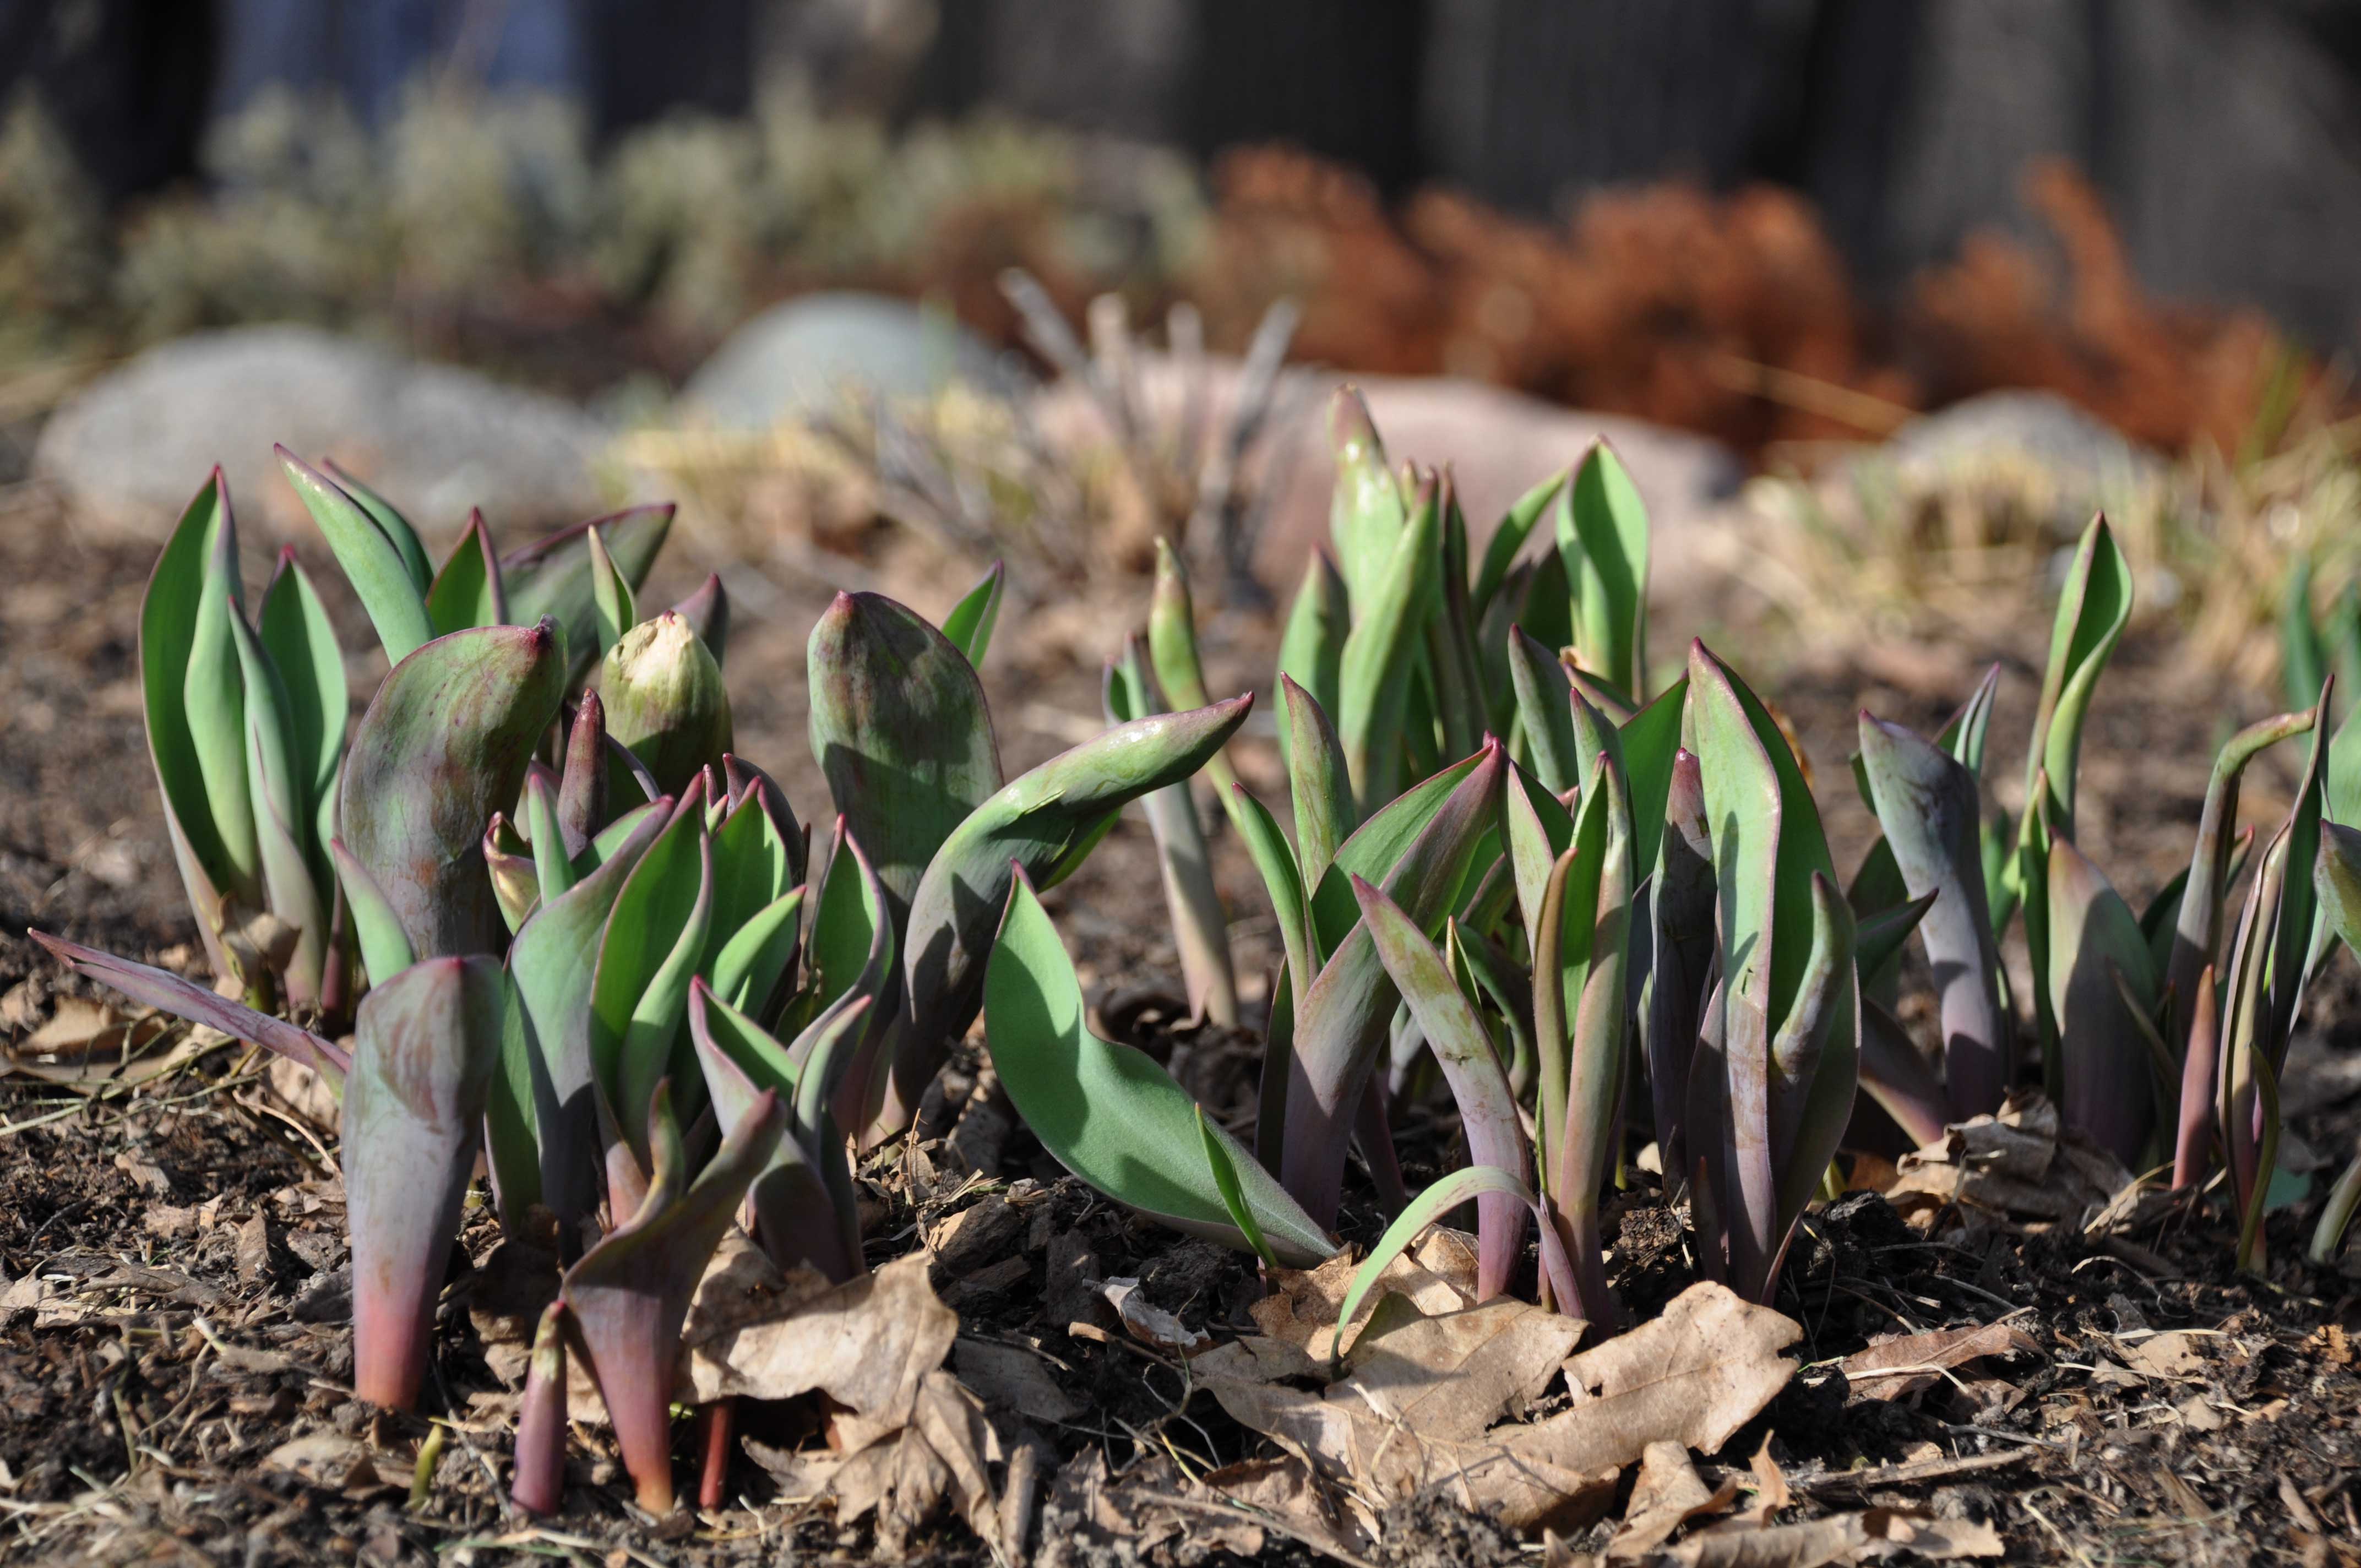
Underneath the piles of leaves I discovered some flowers eager to get growing.  These tulips had obviously decided that spring was here, despite the foot of snow we received just a week ago.
spring7

Likewise, the peonies are bursting out of the ground.  I love peonies so much.  They remind me of my grandma.

spring8
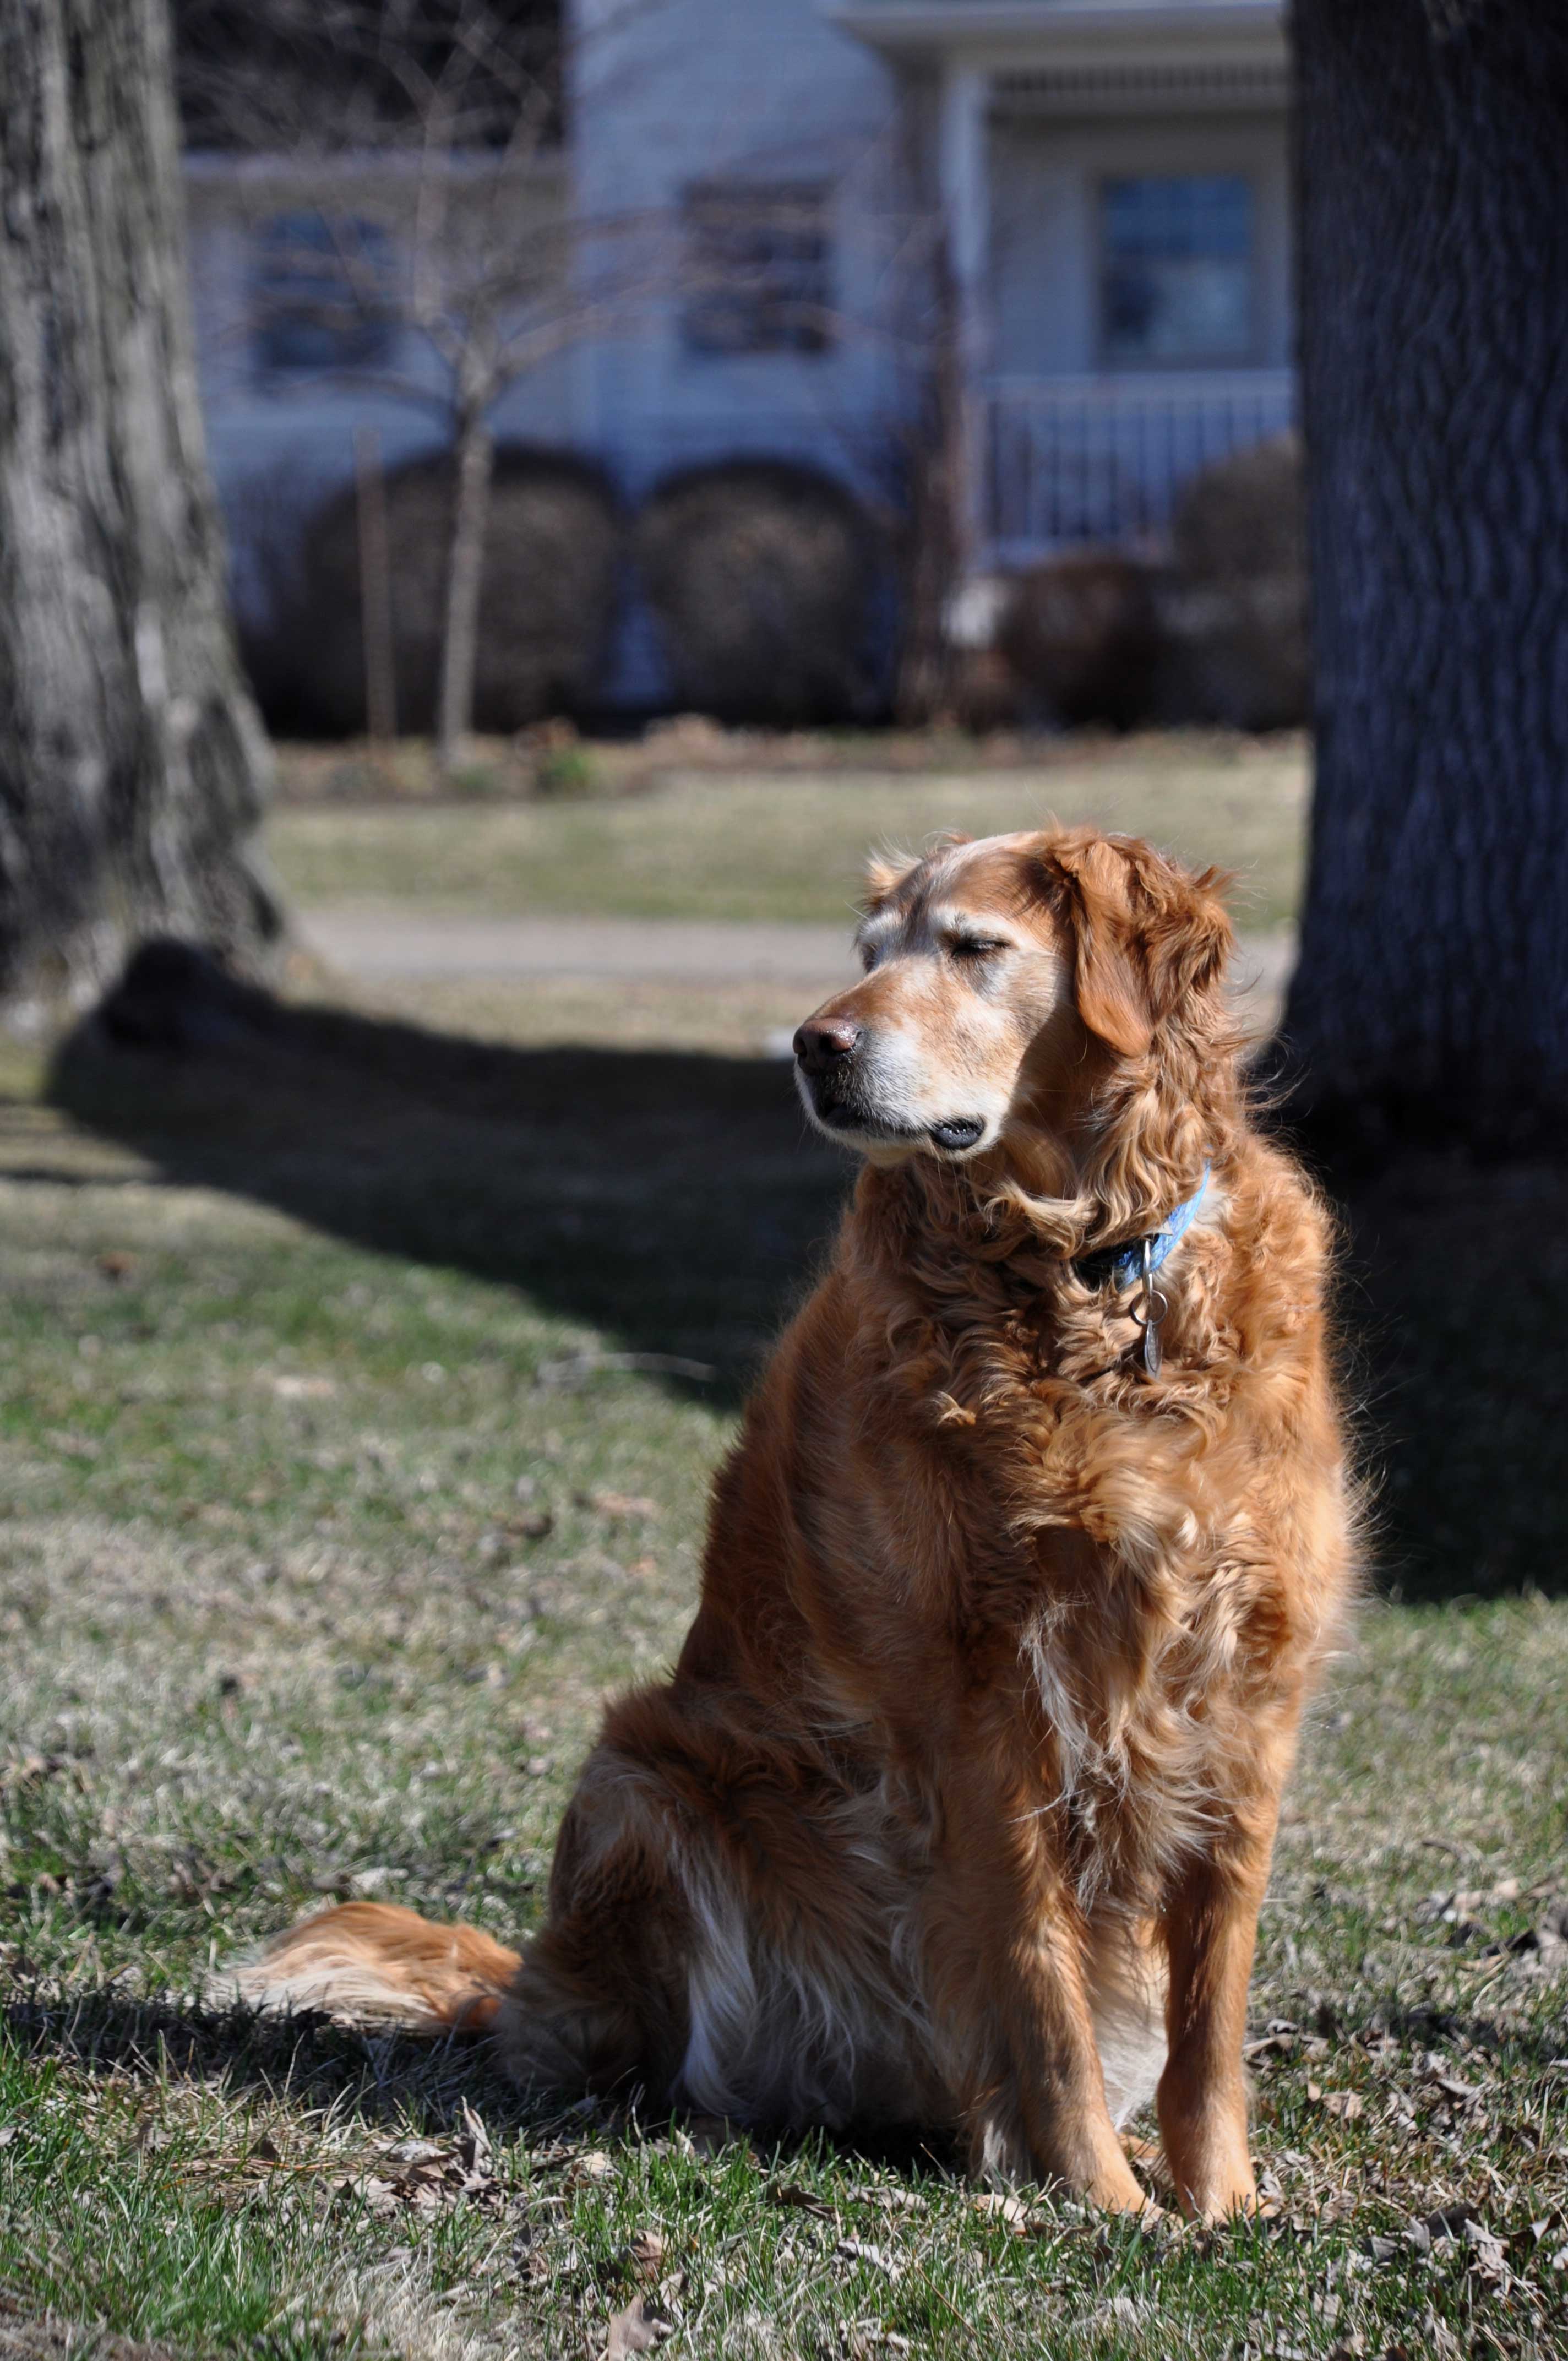
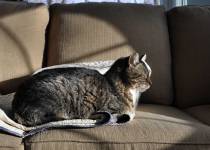
Our old girl was out soaking up the sunshine today too. I love her an awful lot too.

spring6

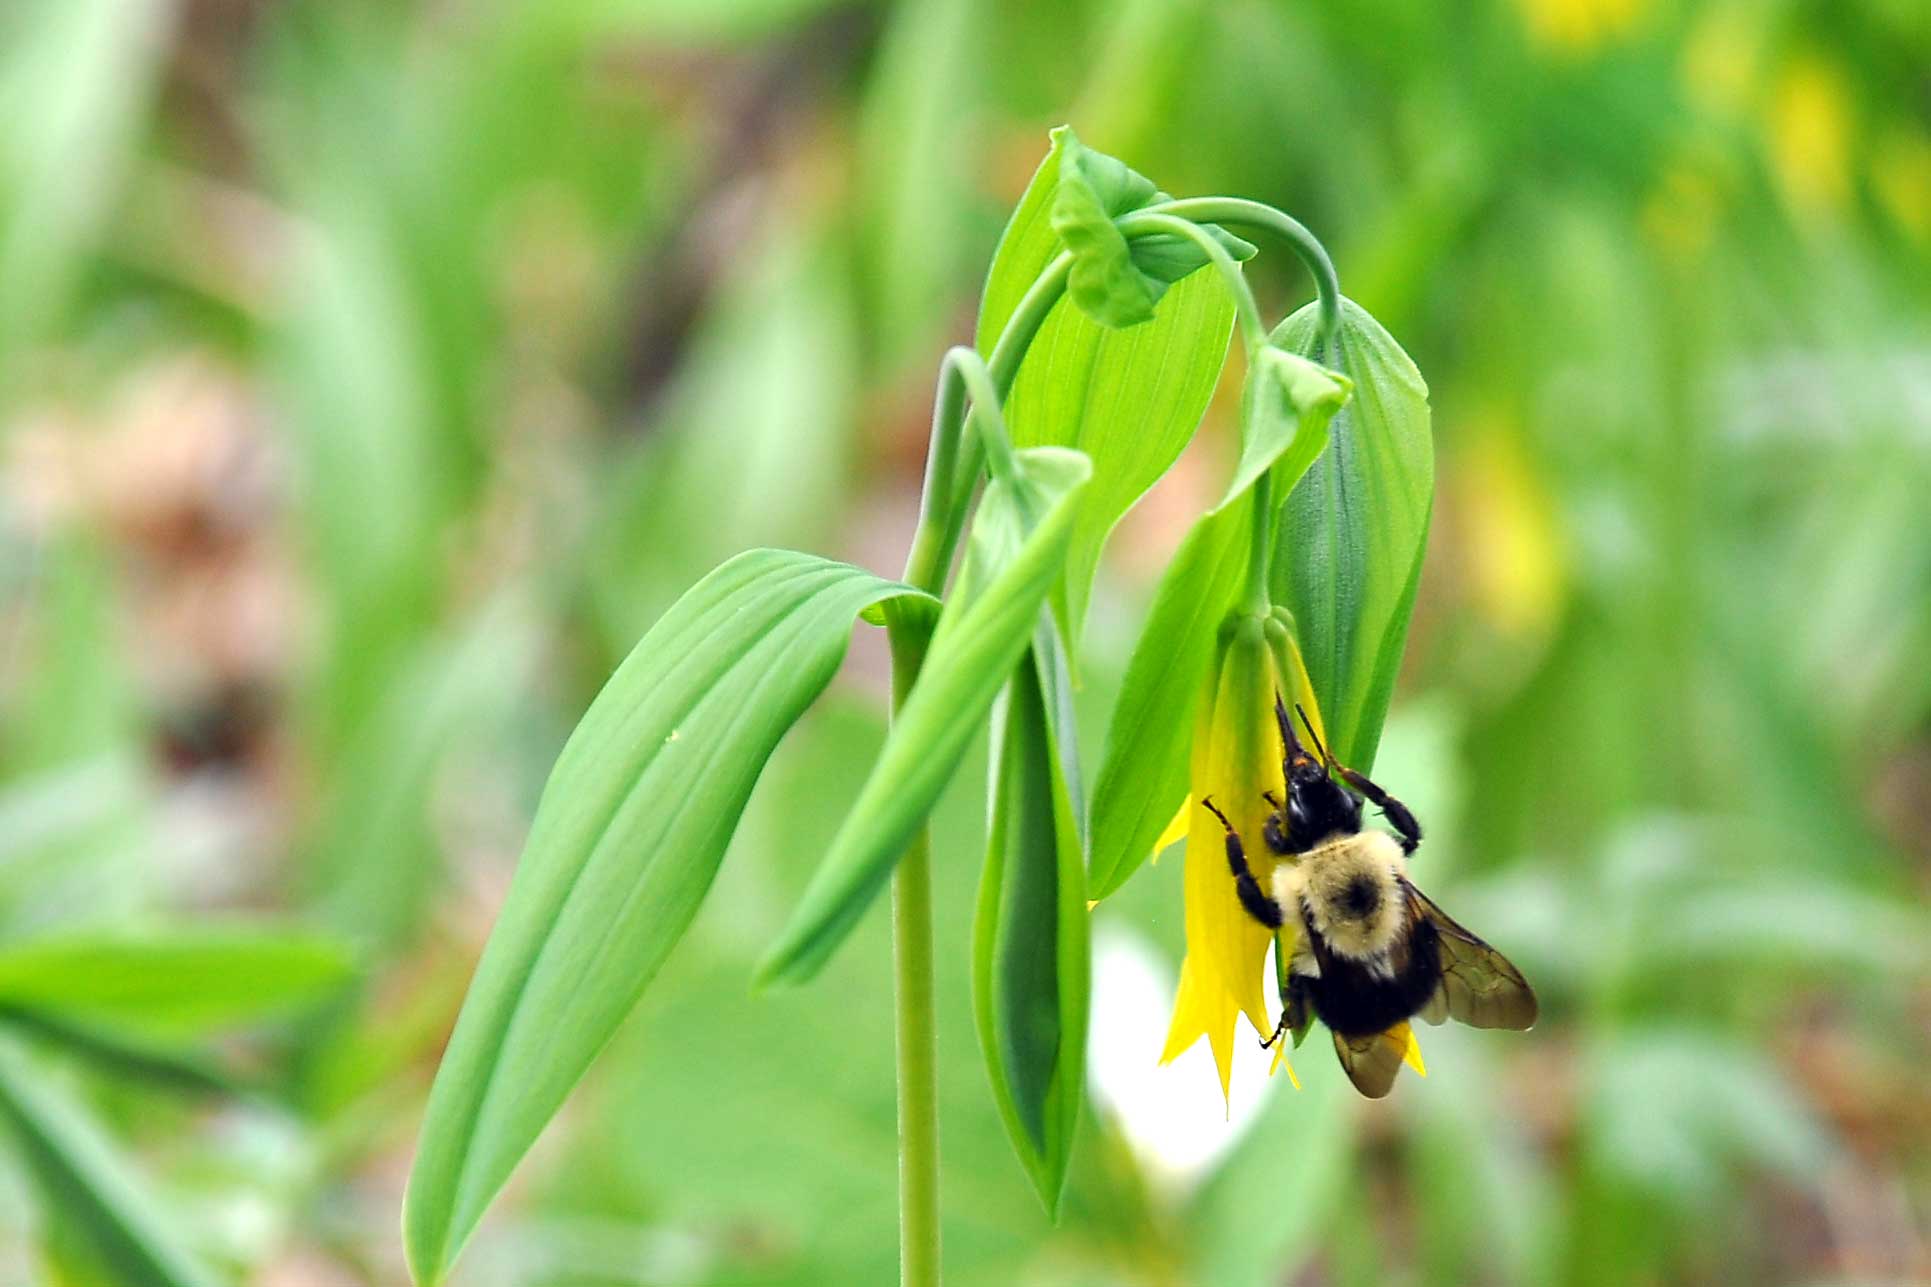
The beehives are sitting empty across the field awaiting their new residents.  We ordered two nucs of bees that should arrive in about 10 days.  The nucs contain some frames of brood and a queen, so they are already somewhat established.  Since we are starting over again after a year of bee-keeping drama (swarming, robbing, etc.), it will be nice to have the hives get up and running quickly.
spring15

So, after a very long winter, it seems as though spring has arrived.  Finally.

There may likely be a few more bumps along the way, but we are definitely headed in the right direction.

Lynell

6 Comments

Filed under Daily life, Food, Maple Syrup, Miscellaneous

April 18th and Still Waiting…

We are still waiting on spring.  The six plus inches of snow we are receiving today is certainly not a welcome sight. As you will notice from the picture below, we have not gotten around to taking down our Christmas lights yet.  This picture could so easily be from the Christmas season, but sadly, today is the 18th day of April!!
21
These views from the farm might actually be considered pretty if taken during the Christmas season…or maybe even if it were February.

20

But it is not Christmas and it is not February. Did I mention it is the middle of April?!

Snow is not necessarily uncommon at this time of year in Minnesota, but this winter has been very long and we have had very few spring-like days.
22

The good news is that snow does not last long this time of year because the sun’s rays are much too powerful.  So, if the sun does ever come out, we know the snow will melt quickly.  I will cling to that thought..that’s all I can do at the moment to stay positive.

I hope the weather is better in your part of the country, wherever that might be!

From snowy central Minnesota,

Lynell

14 Comments

Filed under Daily life, Miscellaneous, Outbuildings

Waiting on Spring

Spring is slow to arrive this year.  We finally got outside yesterday afternoon to work in the yard a bit and to roast some hot dogs in our fire pit.
spring1

My mini-greenhouses are waiting patiently for some warmer temps to get the seeds going.  I peeked in them and saw that the kale seeds have already sprouted!

spring2

The chickens enjoyed their first day outside free-ranging.

spring3

Our vegetable garden is a sad sight.  Last year we were already in the garden tilling by mid-March.
spring4

The frost has not gone out of the ground yet, so in addition to the remaining snow,  standing water is scattered all over the grounds.
spring5

Everything is brown and drab.

spring7

Wildlife is on the move though.  We noticed hundreds of robins out in our hayfield and in the trees over the weekend. Geese were honking down by the river and a few flew right through the yard headed in that direction.

spring6

We also noticed some strange-looking birds down by the river.  I didn’t have my telephoto lens on the camera, so I snapped a few photos and zoomed in on the images once I uploaded them to the computer.  It took me some time searching through images to identify these crazy looking birds, but I finally did…Hooded Merganser. We have never seen them around here, or at least we have never noticed them before.

hoodedmerganser

The bird identification site had this to say about the Hooded Merganser:

“Hooded” is something of an understatement for this extravagantly crested little duck. Adult males are a sight to behold, with sharp black-and-white patterns set off by chestnut flanks. Females get their own distinctive elegance from their cinnamon crest. Hooded Mergansers are fairly common on small ponds and rivers, where they dive for fish, crayfish, and other food, seizing it in their thin, serrated bills. They nest in tree cavities; the ducklings depart with a bold leap to the forest floor when only one day old.

So, although we are impatiently waiting on spring around here, there are still some interesting things going on…if you take the time to notice them.
Lynell

4 Comments

Filed under Daily life, Miscellaneous

Cold-Smoking: Pork Ribs

I finally found time a few weeks back to fire up the smoke-house for some cold-smoking as the weather warmed up above freezing during the day.  Unless you are buying hogs by the 1/2 or 1/4, you will typically buy pork ribs from your grocer or butcher that are frozen. Since we have plenty of freezer space and a vacuum sealer, I like to smoke several racks of ribs so that we can pull them out of the freezer for a rib dinner whenever we are in the mood.

I start thawing the ribs two days before I’m going to run the smoker. One day to thaw, and another day (or at least overnight) to let them dry. After the ribs are thawed, I dry them off with paper towels and then liberally coat them with a dry rub. There are several good rubs available on the market; I like Famous Dave’s or Rendezvous (from Memphis), or you can mix up your own concoction.

ribs

Make sure to coat both sides and all the edges with the dry rub so that the seasoning can do its magic.ribs2

After the ribs are dry rubbed, separate them on cookie sheets so that they can dry in the refrigerator for 1 day or at least overnight. The reason to let them dry is that wet meats tend to allow the soot from the smoke adhere to the meat.

You can see that spring had not yet arrived (it still hasn’t), but with day time temps in the 20’s the heat from the smoker will keep the meat from freezing in the smokehouse. Frozen meat does not absorb smoke very well.

ribs3

After finally getting the firebox dug out from the snow, I was ready to start the fire. My favorite wood for smoking any kind of pork is white oak, although red oak is a close second. If I have some apple wood available, I will add a few sticks of apple to layer in some sweetness from the fruit wood.ribs4

I had enough space in the smokehouse to add in a chicken that I had brined in salt, sugar, and rosemary. If you haven’t yet tried brining your chickens and turkeys, I highly recommend it!

You can see the smoke starting to draft up through the floor of the smokehouse.

ribs5

Now that a good draft has started, I close the door and add a little more wood about once an hour. Depending on how smokey you like your ribs, you can smoke them from 2-6 hours. I like mine right at 4 hours.ribs6

This smokehouse is so easy and fun to use, but just to make sure everything goes right, I like to open a couple of beers and keep a close eye on it.ribs7

The last step of the process is to vacuum seal the ribs to ensure freshness for up to one year. If you don’t have a vacuum sealer, you can also wrap the ribs in a good butcher paper, but you will probably want to cook them within a few months.

ribs9

A few tips on cooking ribs. The key is to cook them low and slow. Coat them with a little barbecue sauce and place them in a cake pan covered tightly with tin foil, or you can wrap them individually with tin foil to seal in the juices. I like to cook them at about 220 F for about 4 hours, or just until they are ready to fall of the bone. Then I like to finish them off for a few minutes under the broiler in the oven or on the grill to give them a nice caramelized flavor, but don’t overdo this last step because it is easy to dry them out too much.

And the most important tip?  Enjoy with a nice full-bodied beer or a hearty glass of red wine!

Jesse

8 Comments

Filed under Food, Smokehouse, Smoking

Project Planning

The planning of summer projects is in full swing around here.  Jesse has sketched out ideas for the pergola that we plan to add to our new patio and fire-pit area that we put in last year.  By drawing it out to scale on grid paper, we can better judge the proportions of the structure and how it relates to the rest of that space.
pergolaPlanning for our spring projects helps to ease the misery of this long Minnesota winter.  Spring must be around the corner, right???

Lynell

2 Comments

Filed under Daily life, Gardens, Photography

Spring Preparations: Winter Sowing and Tree Tapping

The days are getting longer and the sun’s rays are growing stronger each day.  Even with a foot or so of snow still on the ground, I can feel spring in the air and we have begun our preparations.

I finally got around to getting some winter sowing done this past weekend.  My first attempt a few years ago was enough of a success to convince me to continue trying this process.  I started saving milk jugs earlier this year and requested a friend to do the same, so I had a good supply.

DSC_0001

I discussed the basics of the winter sowing process in this earlier post from 2010:

Sowing Seeds Outdoor in Winter

Some changes that I have made to the process since my first attempt is to not cut the milk jugs completely in half, but rather to leave the handle side attached to act as a hinge in the spring when you need to open the containers during the warm days.  I also write the flower variety on a craft stick and place it inside the container instead of writing on the outside of the milk jug, which wears off in the weather over time.

This year I am attempting to winter sow the following varieties of flowers:

  • Coneflower White Swan
  • Coneflower Bravado
  • Coneflower Magnus
  • Delphinium Magic Fountains (Cherry Blossom)
  • Delphinium Pacific Giants
  • Foxglove (Foxy Mix)
  • Larkspur Lover’s Mix

I am even attempting winter sowing some kale (Kale Winterbor Hybrid).  I will let you know how that turns out.

DSC_0005

The milk jugs are all taped up and ready for placement in the snow to await spring.  In a few months, these containers will house some little seedlings to add to my gardens.

I wrote the following post in the summer after my first attempt at winter sowing, showing the little seedlings and the bigger plants once transplanted to the garden:  Winter Sowing Update.

DSC_0006

It is hard to believe that this cost-effective process can yield such great results.  My biggest success in winter sowing to date has been my poppies and foxgloves.  I wrote about my foxglove successes in winter sowing in 2011: Foxgloves: A Favorite.

On the flip side, I have struggled with the germination of Delphinium, typically only getting a few seedlings out of a packet of seeds.  I adore Delphiniums in my garden so much however, that despite my limited success, I continue trying to winter sow them.  And considering the cost of perennial plants, a $2 packet of seeds is still a good deal, even if I do eventually only get 3 or 4 plants for the garden.

DSC_0009Besides winter sowing, we also got some trees tapped in hopes of getting some sap this year.  Last year was such a strangely warm winter and spring that the sap never ran and we were unable to make any maple syrup.  The summer continued with very little rain and drought conditions.

Jesse’s mother sent him an article, Maple Syrup and Drought, from the University of Minnesota Extension website that discusses the dilemma of tapping maple trees after a drought year. After reading the article and comments, Jesse decided to only put one tap in each tree, as opposed to the two or three he usually does in the bigger trees.

DSC_0050

Our youngest helped insert the spiles into the drilled holes.DSC_0048

After hanging milk jugs on the trees to collect the sap, we will be ready to go when the sap starts running.DSC_0049

Not only do we all enjoy the process of making the maple syrup, we also love having it on our pancakes, waffles, french toast, etc., and in our oatmeal throughout the year.  Last year, we missed both the maple syrup process and the product. We are hoping for normal spring conditions this year that promote a healthy sap run for our trees.

I hope your spring preparations are going well in whatever part of the world you live!

Lynell

For additional posts on making maple syrup, see the following:

Maple Syrup Adventure: Part I  (March 3, 2010)

Spring Flooding and Maple Miscalculations  (March 14, 2010)

Maple SyrupAdventure: Part II  (March 28, 2010)

Leave a comment

Filed under Flower, Gardens, Maple Syrup

Bat Removal and Relocation: Part I

We have a fairly healthy bat population in the hay loft of our barn. On summer evenings, we have stood near the barn and counted well over one hundred bats leave for their evening feed. In northern Minnesota a common bat type is the small brown bat. We have seen a few of our bats up close in the barn and they seem to be the size and description fitting the small brown bat.

Not everyone is comfortable with bats flying overhead at dusk or later sitting around the bonfire, but we have never had any problems. I think everyone is aware of how beneficial bats are for controlling mosquito and bug populations by eating as many as 5,000 bugs each night. Since our hobby farm is located along the Rum River, which has many stagnant backwater ponds, we would like to keep the bats around the farm doing their insect patrols.

While the barn has stood empty and mostly unused, we have slowly been making progress in removing calf pens and cow stanchions so that we can use the space for more garden and farm storage. The bats are mostly self-contained in the loft area of the barn, but from time to time a few of them end up in the lower area. In addition, the gaps in the floor boards of the hay loft allow bat guano to sprinkle down. So we decided that if we are going to continue to upgrade the barn, the bats needed to be relocated. Here you can see the thick layer of bat guano collecting on the hay loft floor.

DSC_0061

Here is the main entrance for the bats into the hayloft. You can see the heavy use around the hay-fork rail where they have worn off the paint from all the flights in and out.

entranceAlthough building a bat house is pretty straight forward and something we expected we would do ourselves based on plans in our “Country Wisdom & Know How” book from Storey Publishing, we also didn’t want to miss the opportunity to install the bat house before they began to return from migration. We found a design we liked from a bat conservatory organization in Michigan (www.batconservatory.org) that uses the proceeds from the bat houses to fund their projects. Here is a picture of the bat house we ordered that has the capacity for up to 300 bats. At the bottom there is a green landing mesh that is easy for the bats to land on when they are returning to their roost.box2
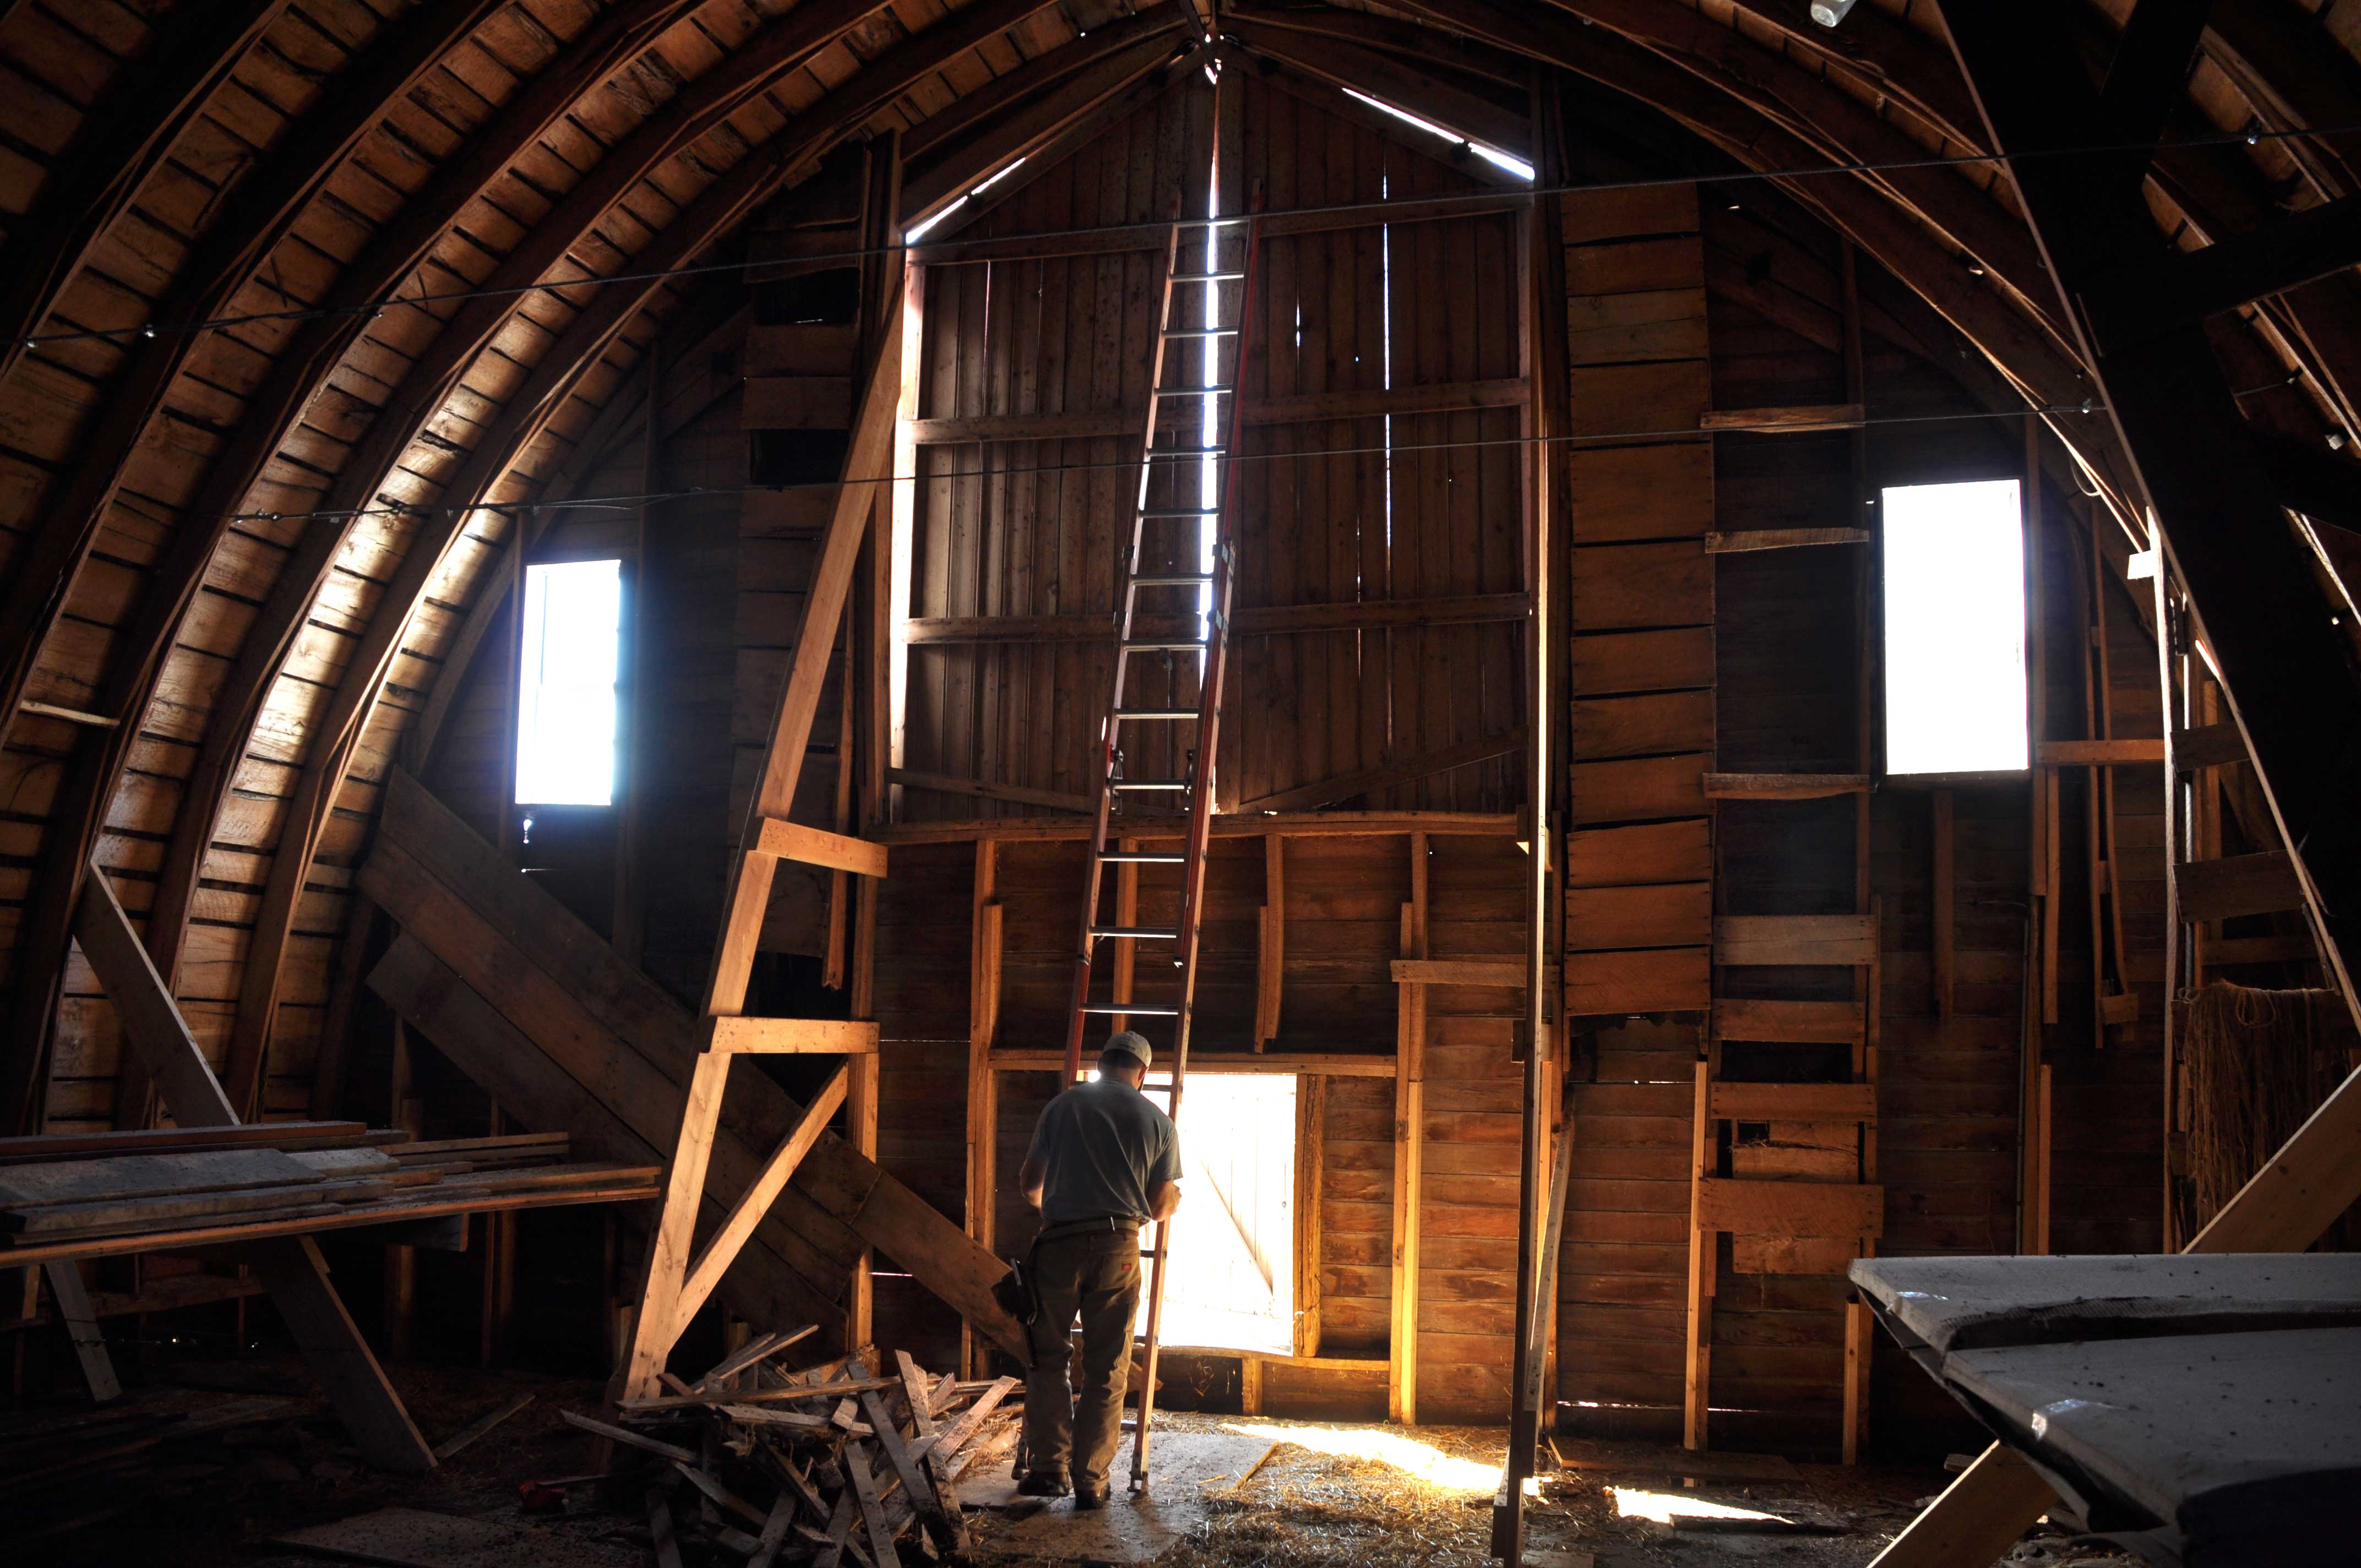
In the next picture you can see the tight crawl spaces that the bats like for roosting. When they pack themselves into these tight spaces it helps to retain their body heat and keep each other warm in cold weather.insideOur Storey book article on bats recommended “seasoning” the new bat house with guano so that it has a familiar scent. The process was to collect some guano from the hay loft and mix it with some water to create a slurry that could be poured into the bat house. This seemed kind of gross to us, but if it helps to make the bats feel comfortable in their new home then, why not?
guana2Here is our new “well-seasoned” bat house, ready for installation.inside2Our research indicated that to have the best chance for relocation, the new bat house should be located as close as possible to the current bat entrance. Well, that would be high up in the peak of the barn. The extension ladder wasn’t quite long enough, so in typical farm fashion, I placed the ladder into the bucket of the tractor. This type of work isn’t for everyone. We did luck out and it was a glorious warm sunny date for February. Even warm enough to wear a short-sleeved shirt!DSC_0028In order to have hands free for climbing the ladder, we attached a rope to the bat house so that it could be lifted up once I was comfortably positioned at the top.DSC_0031Up comes the bat house to its new location.DSC_0033It was a little dicey to hold the bat house in place and manage the screws and screw gun all at the same time. Note to self: next time start the screws in pilot holes before climbing the ladder!DSC_0036Here goes nothing…..do not stand under the ladder in case I drop something!DSC_0039

The installation is now complete. It would be nice to have positioned the bat house a little higher, but when you are on the top of the ladder it apparently seems high enough.DSC_0043
The next question to answer is whether or not the bats are hibernating in the barn or if they have migrated to somewhere warmer for the winter. Since our barn has no heating or cows keeping it warm in the winter, and since there is no evidence of bat sounds on warm winter days, we believe that our bats have migrated for the winter and will return in early spring. Our research didn’t offer any definitive answers on hibernating versus migrating for small brown bats, so we will have to keep an eye out for them inside the barn. If there are bats that become trapped in the barn, then we will have to install a one-way entrance so that they can get out but cannot come back in.

Now, what are we going to do with all those other openings in the barn wall that the bats can come through? Guess we have to start plugging them all. Small brown bats can crawl through holes as small as 3/8 inch in diameter, so every hole needs to be plugged or covered.  A sunny day is perfect for finding all the openings. Where to begin?DSC_0051

We decided that it would be easiest, low-cost, and fairly unobtrusive visually to install wire mesh over the openings – especially since there were some very large openings! We had a large roll of wire screen mesh leftover from the screened porch when we built the house. I save everything!DSC_0054

Wire screen mesh can be cut easily with a sharp sheet rock knife along a straight edge. I cut strips that were 6-8 inches wide the length of the screen and then installed them over the openings using a staple hammer. I used a lot of staples to make sure that the bats couldn’t find any new ways into the barn.
DSC_0059

We will likely not have covered every possible entrance, but we hope that enough have been covered that the new bat house looks more attractive and they make that there new home.

DSC_0097We should know in a few weeks whether we have been successful!

Jesse

6 Comments

Filed under Animals, Barn, Outbuildings