Category Archives: Food

Signs of Life? Or Not.

We were blessed with a beautiful spring day here in Minnesota with temperatures reaching into the 50’s.  Finally!

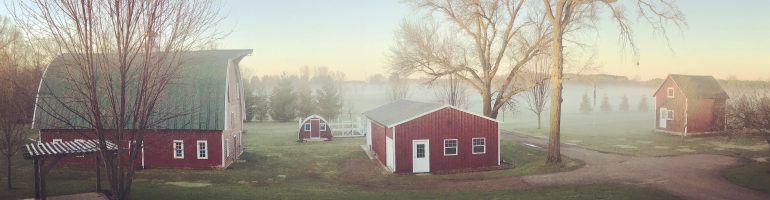
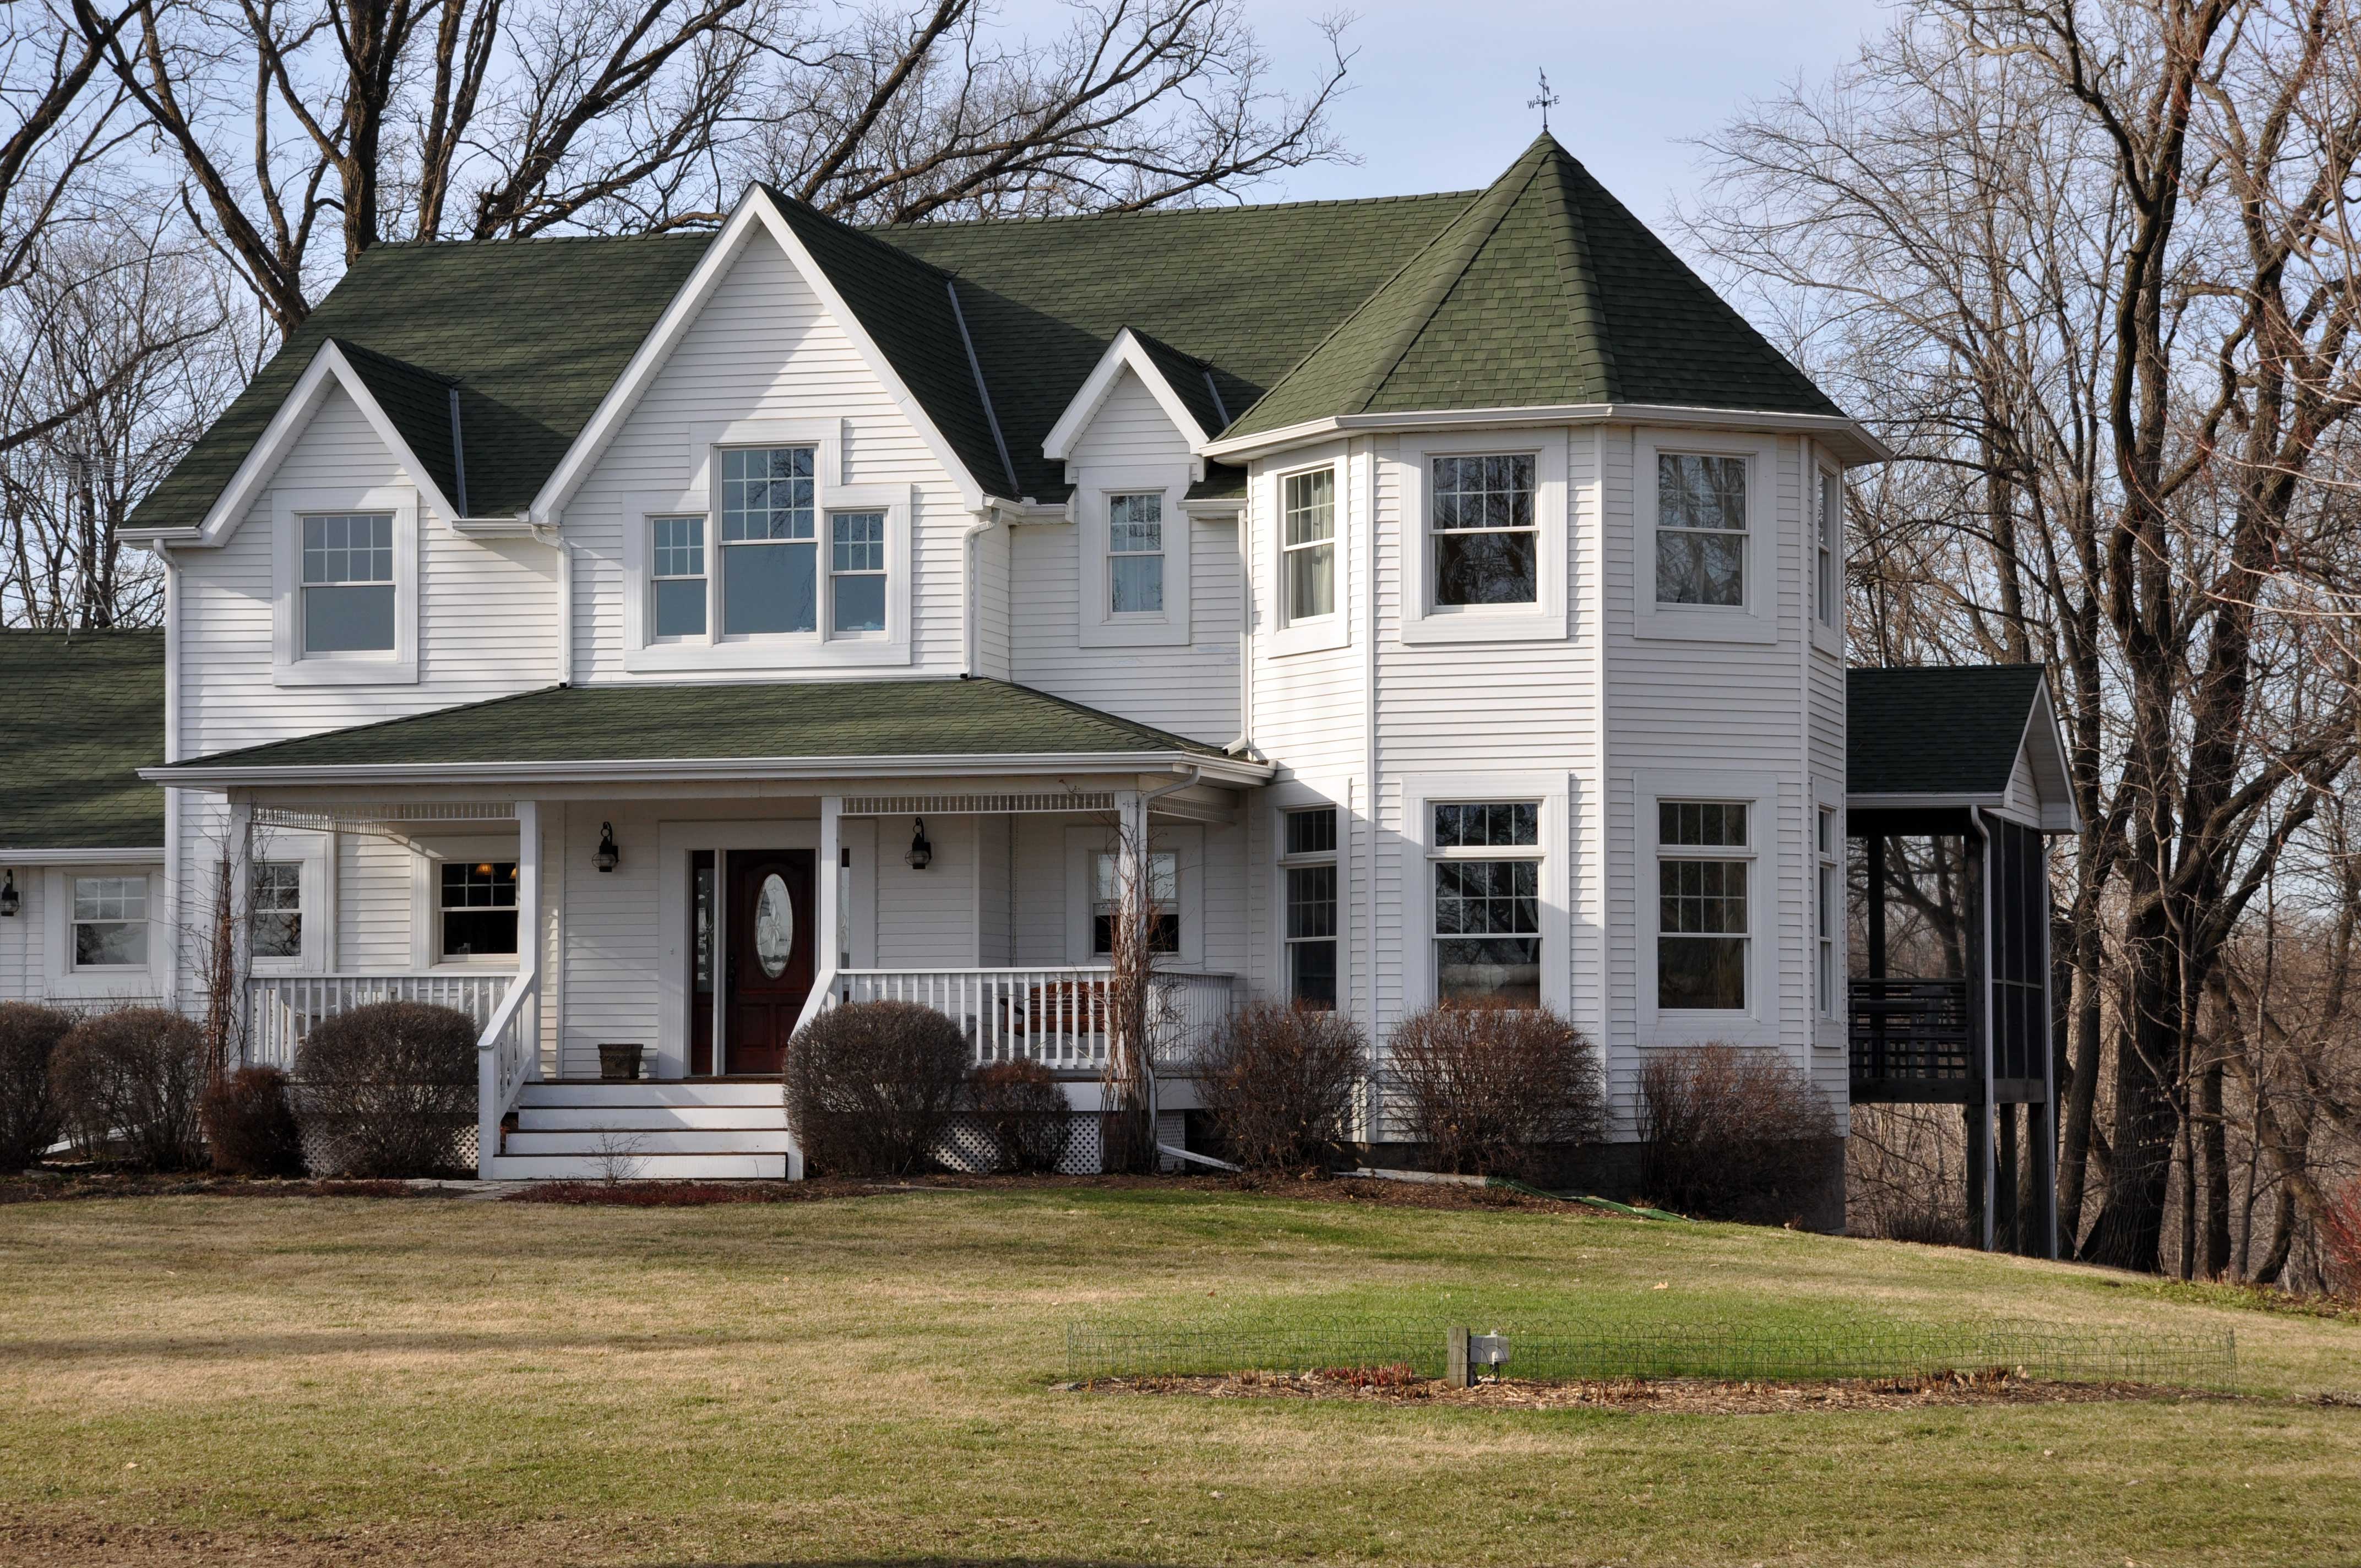
It was a gorgeous day to get outside and start checking for signs of life around the farm.

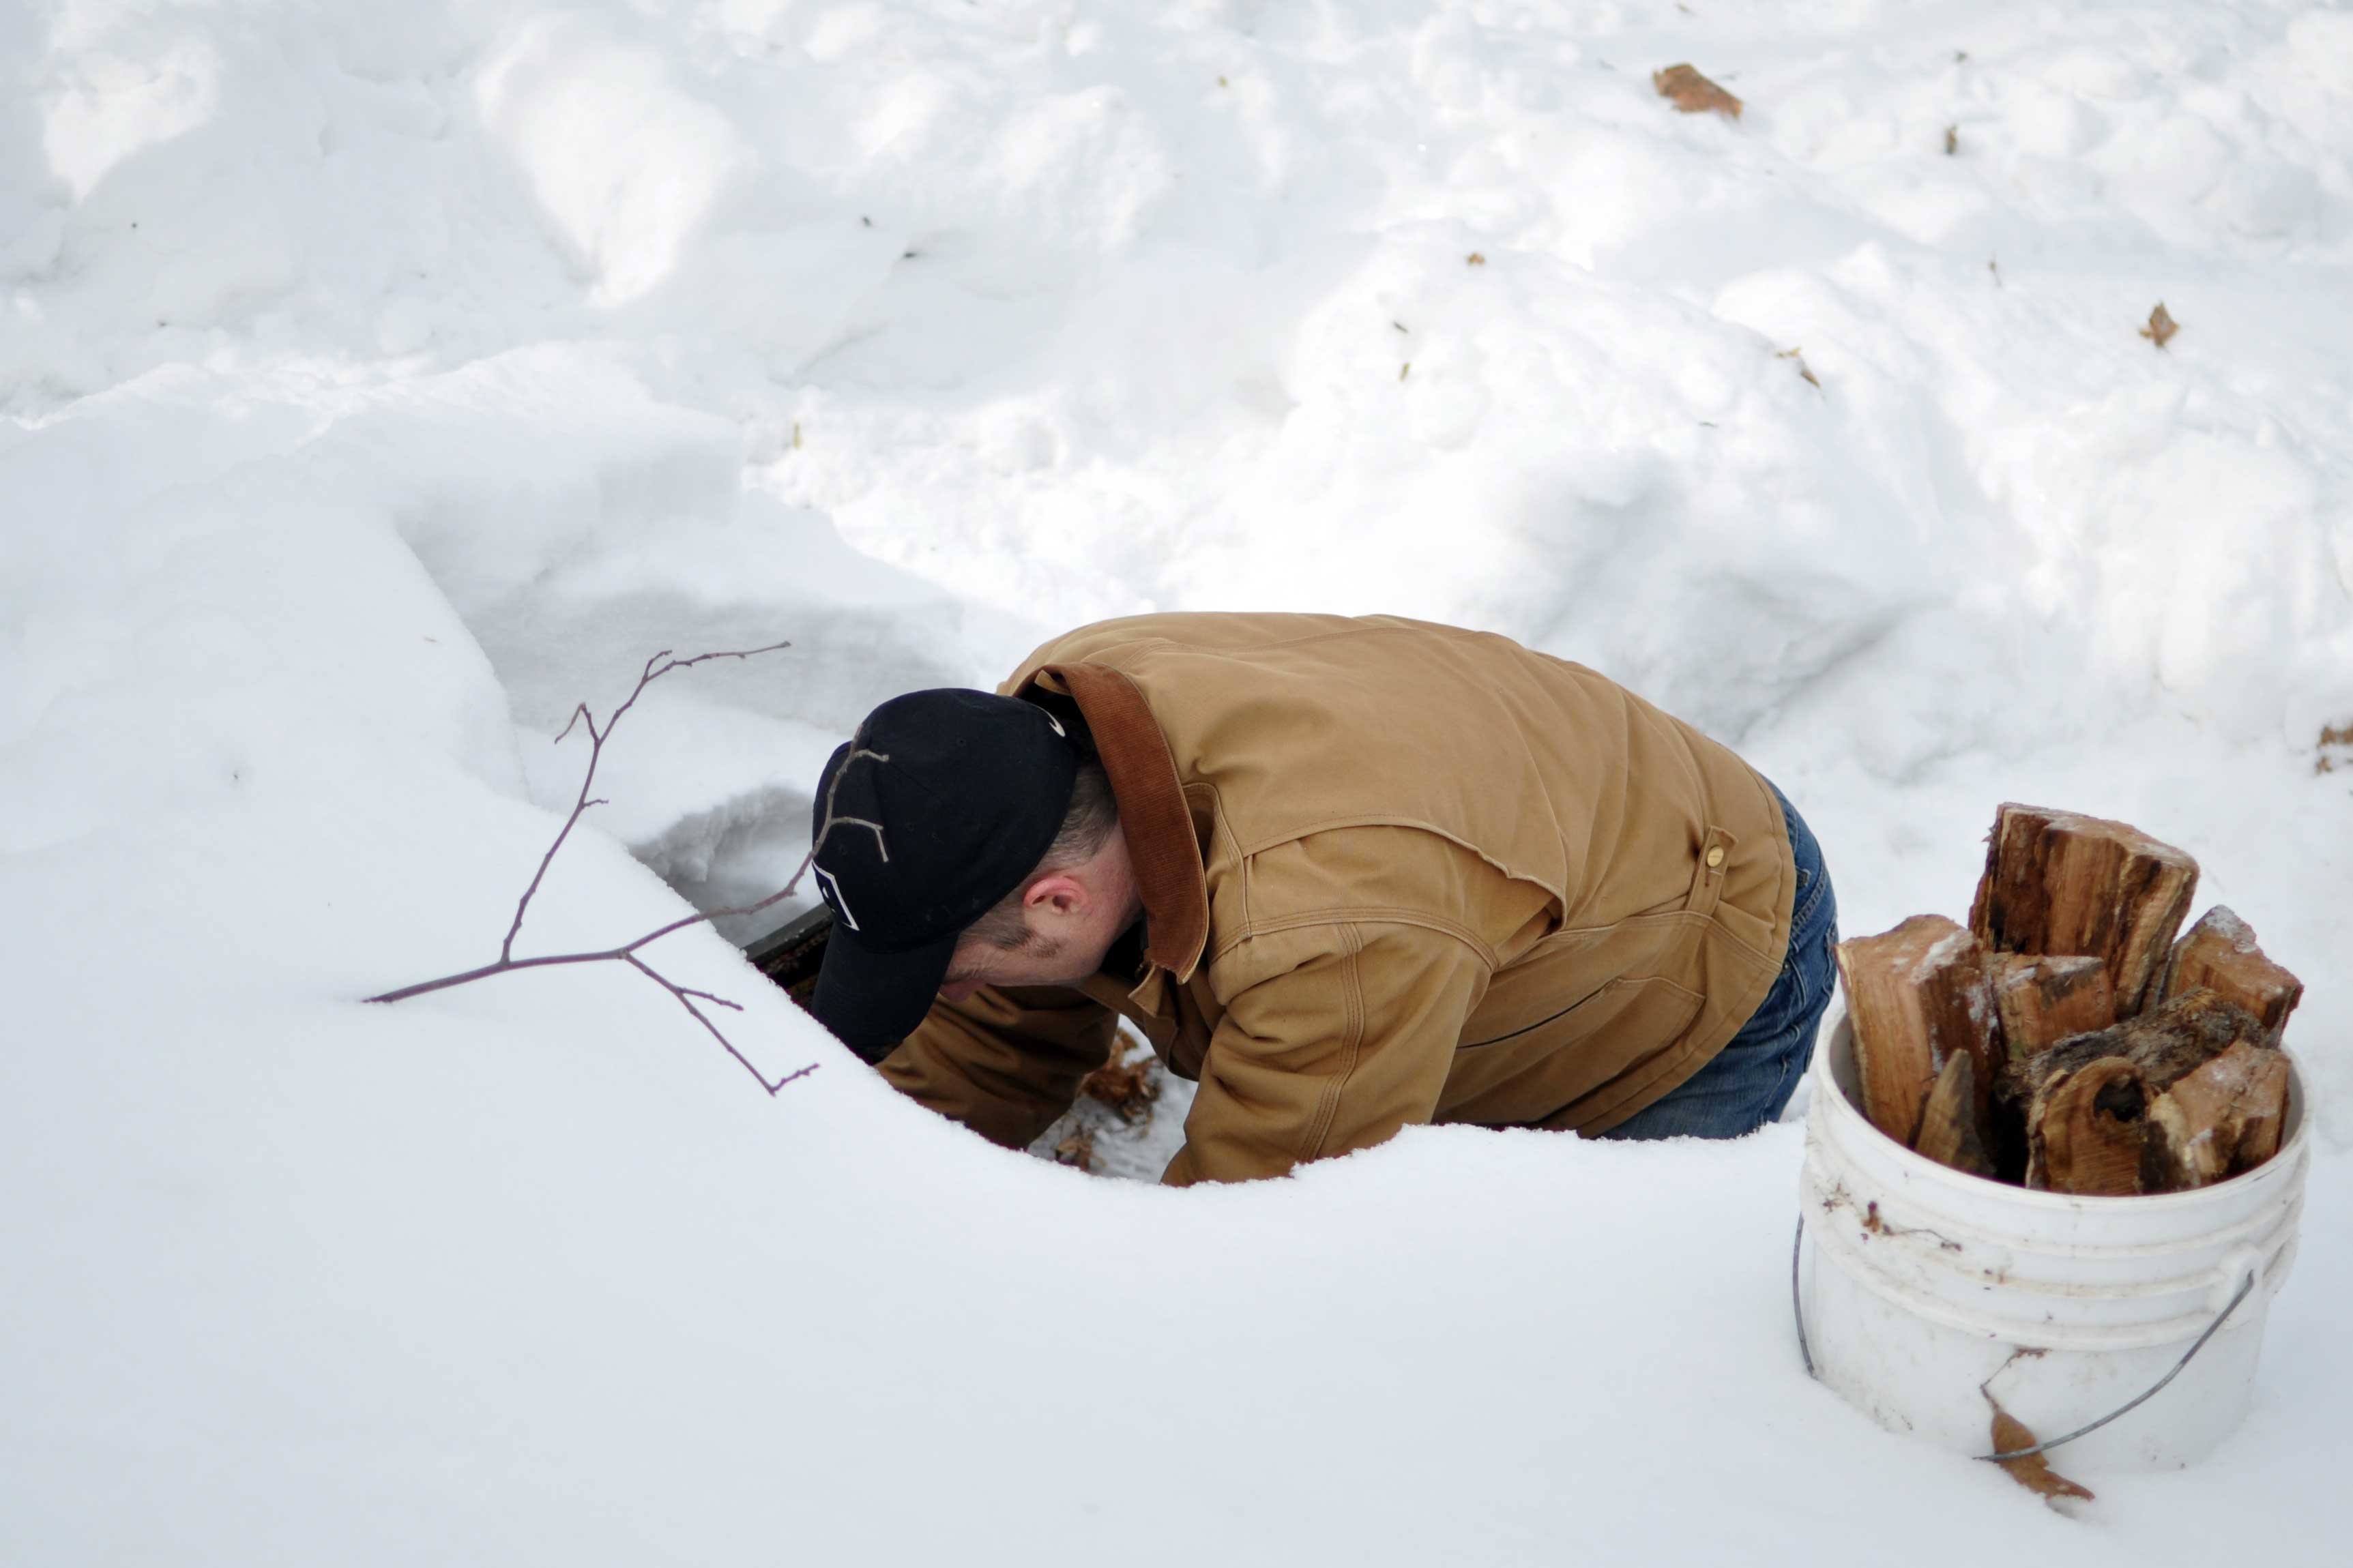
Since the snow finally started melting, Jesse decided to make his way out to the beehives to check on them.  After 50 plus days this winter of high temperatures not even reaching zero degrees Fahrenheit, our expectations were very low about the likelihood that our bees survived.  When our bee supplier called in January, we decided to play it safe and order two more nucs of bees to install this spring to make sure we were not left without any bees.  As it turns out, we made the right decision!

1

We knew it was a bad sign this afternoon when Jesse pulled the covers off the hives and we saw the carnage of dead bees on the inside hive cover.  There was also an eerie silence that was a tell-tale sign that the bees had not survived.  It was the same scene when he opened the second hive.

No survivors. No signs of life.

We will start fresh with new bees this spring.  Again.

2

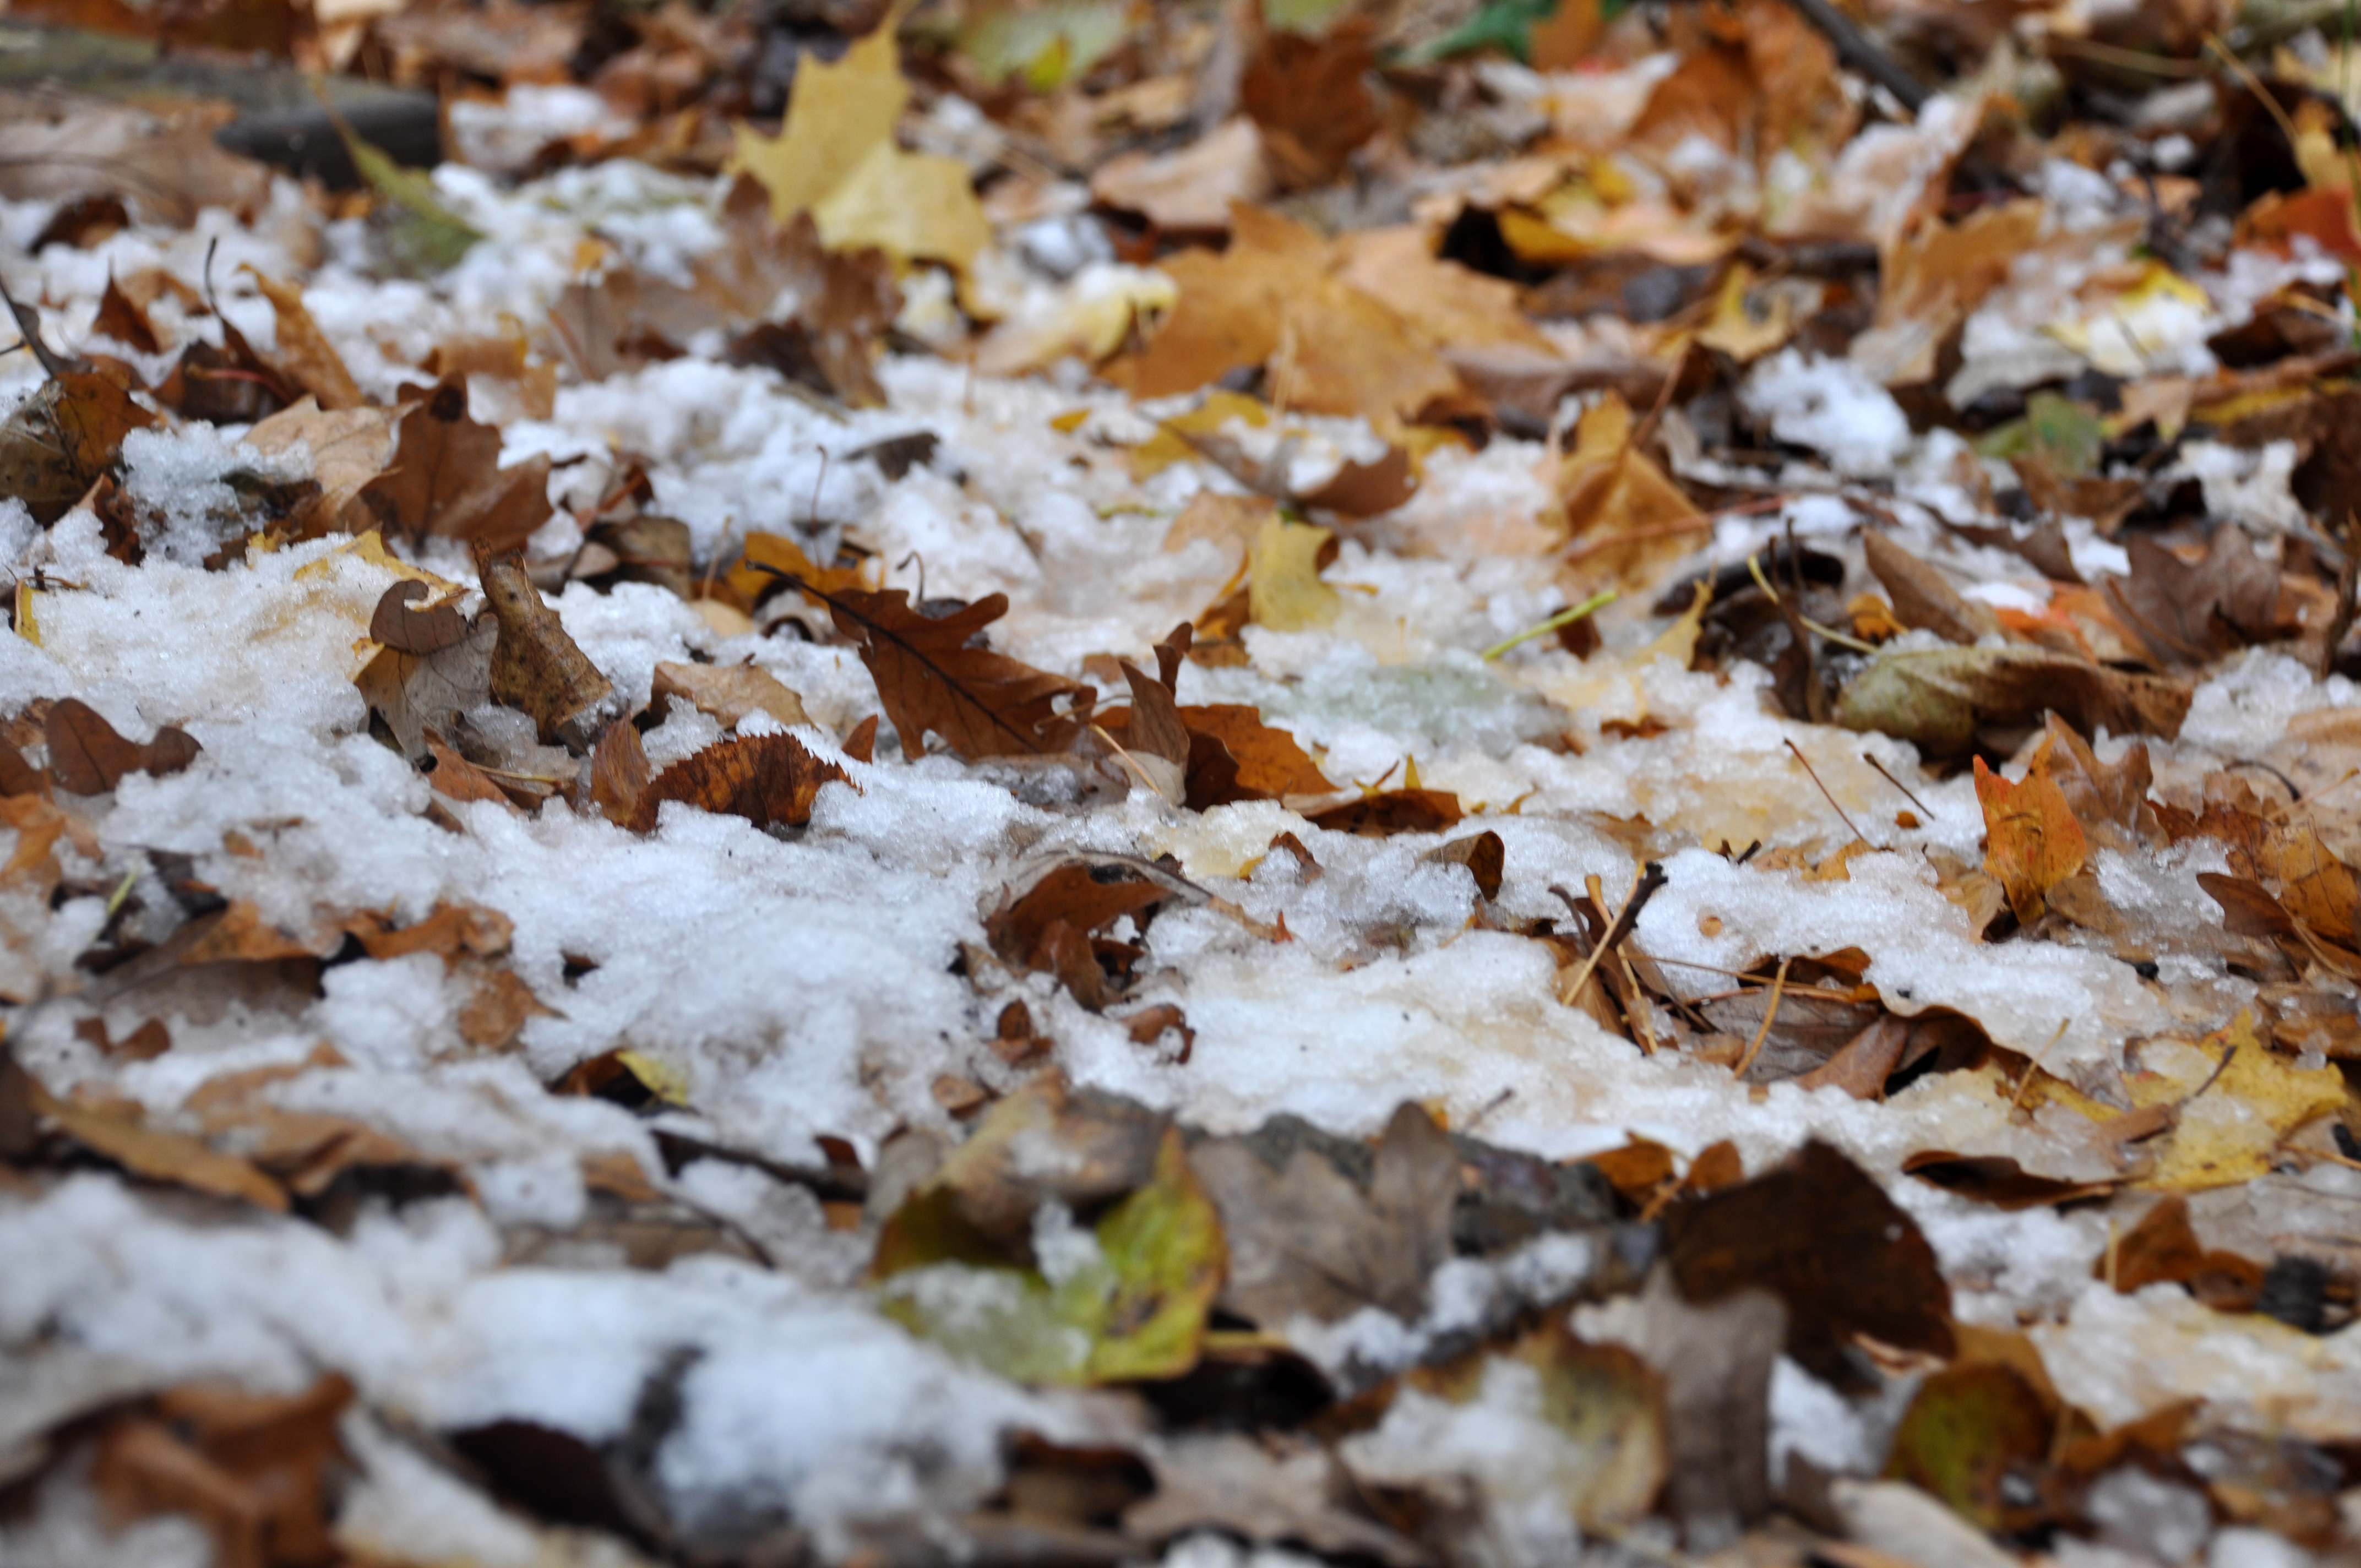
Our snow cover was melting quickly today with the warm temperatures.  The turned soil is starting to reveal itself in the plowed field next to our house.  The neighbor planted a bean crop last summer and plans to re-seed an alfalfa crop this spring.  This will delight our new bees.

3
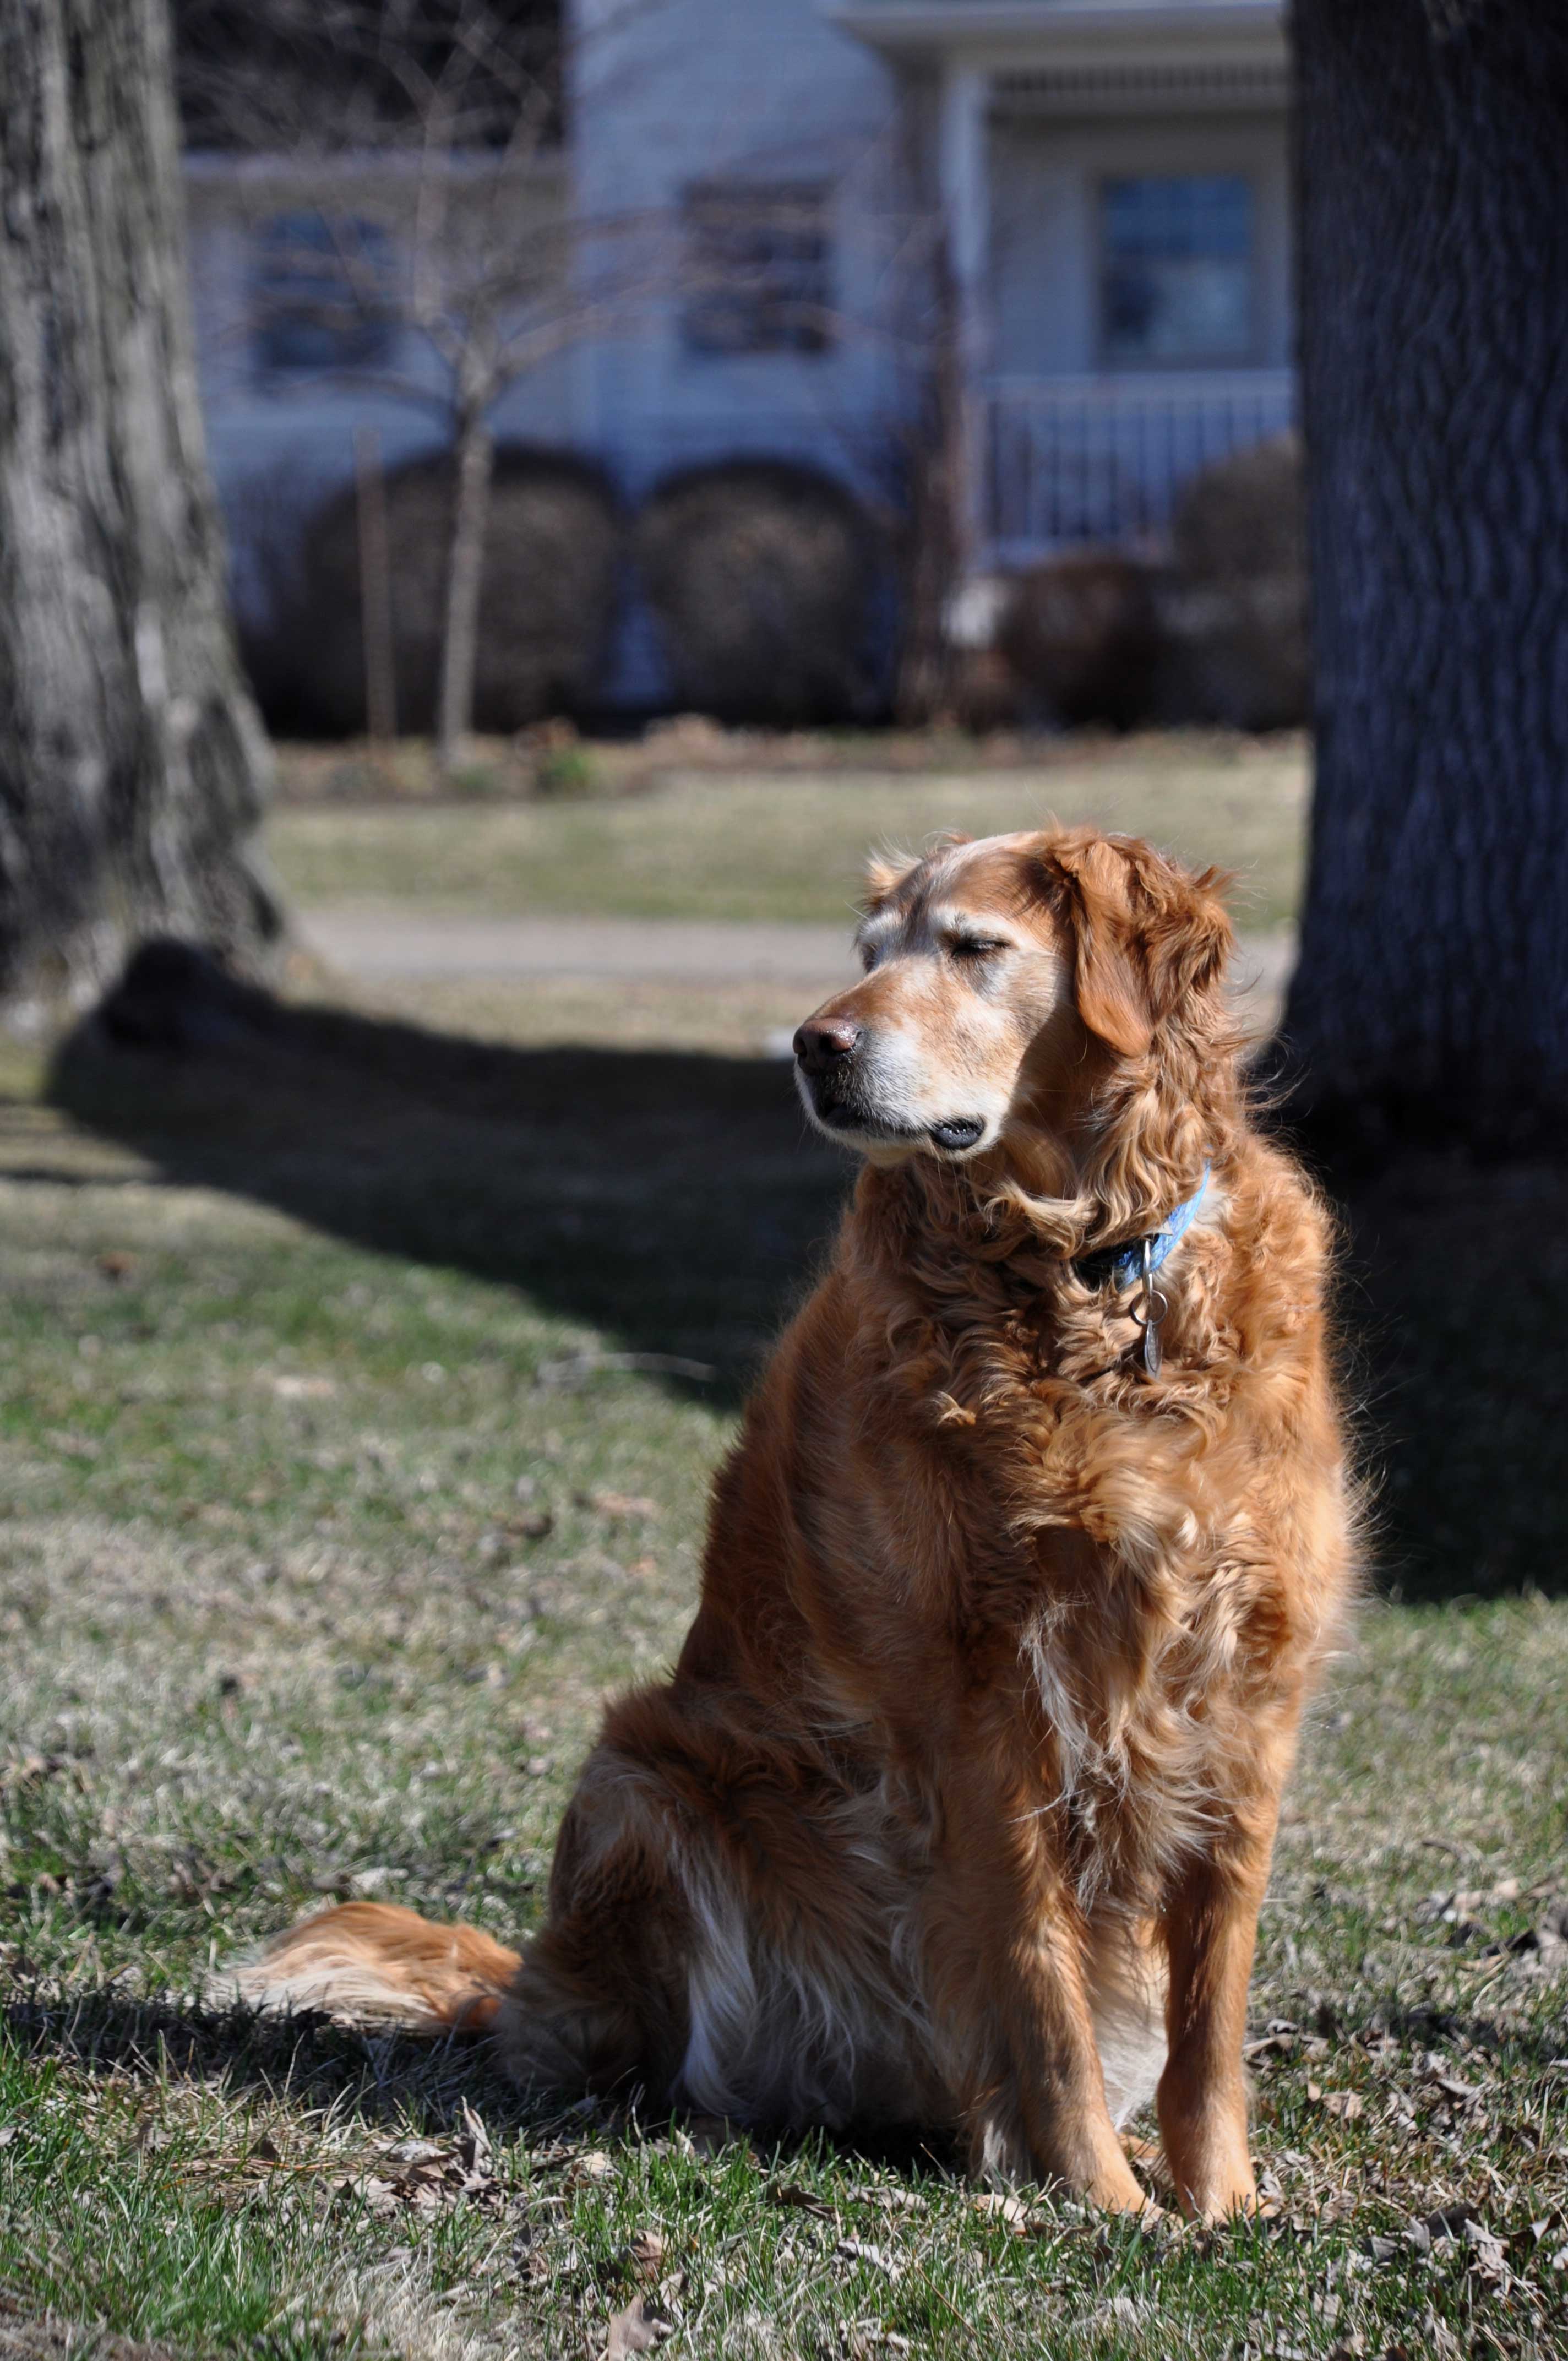
Wherever we wander on the farm, including out to the bees,we can always count on Sofie being somewhere close by.  She is a constant sign of life on the farm, even in the bleakest of times.  Dogs are such comforting companions.

4
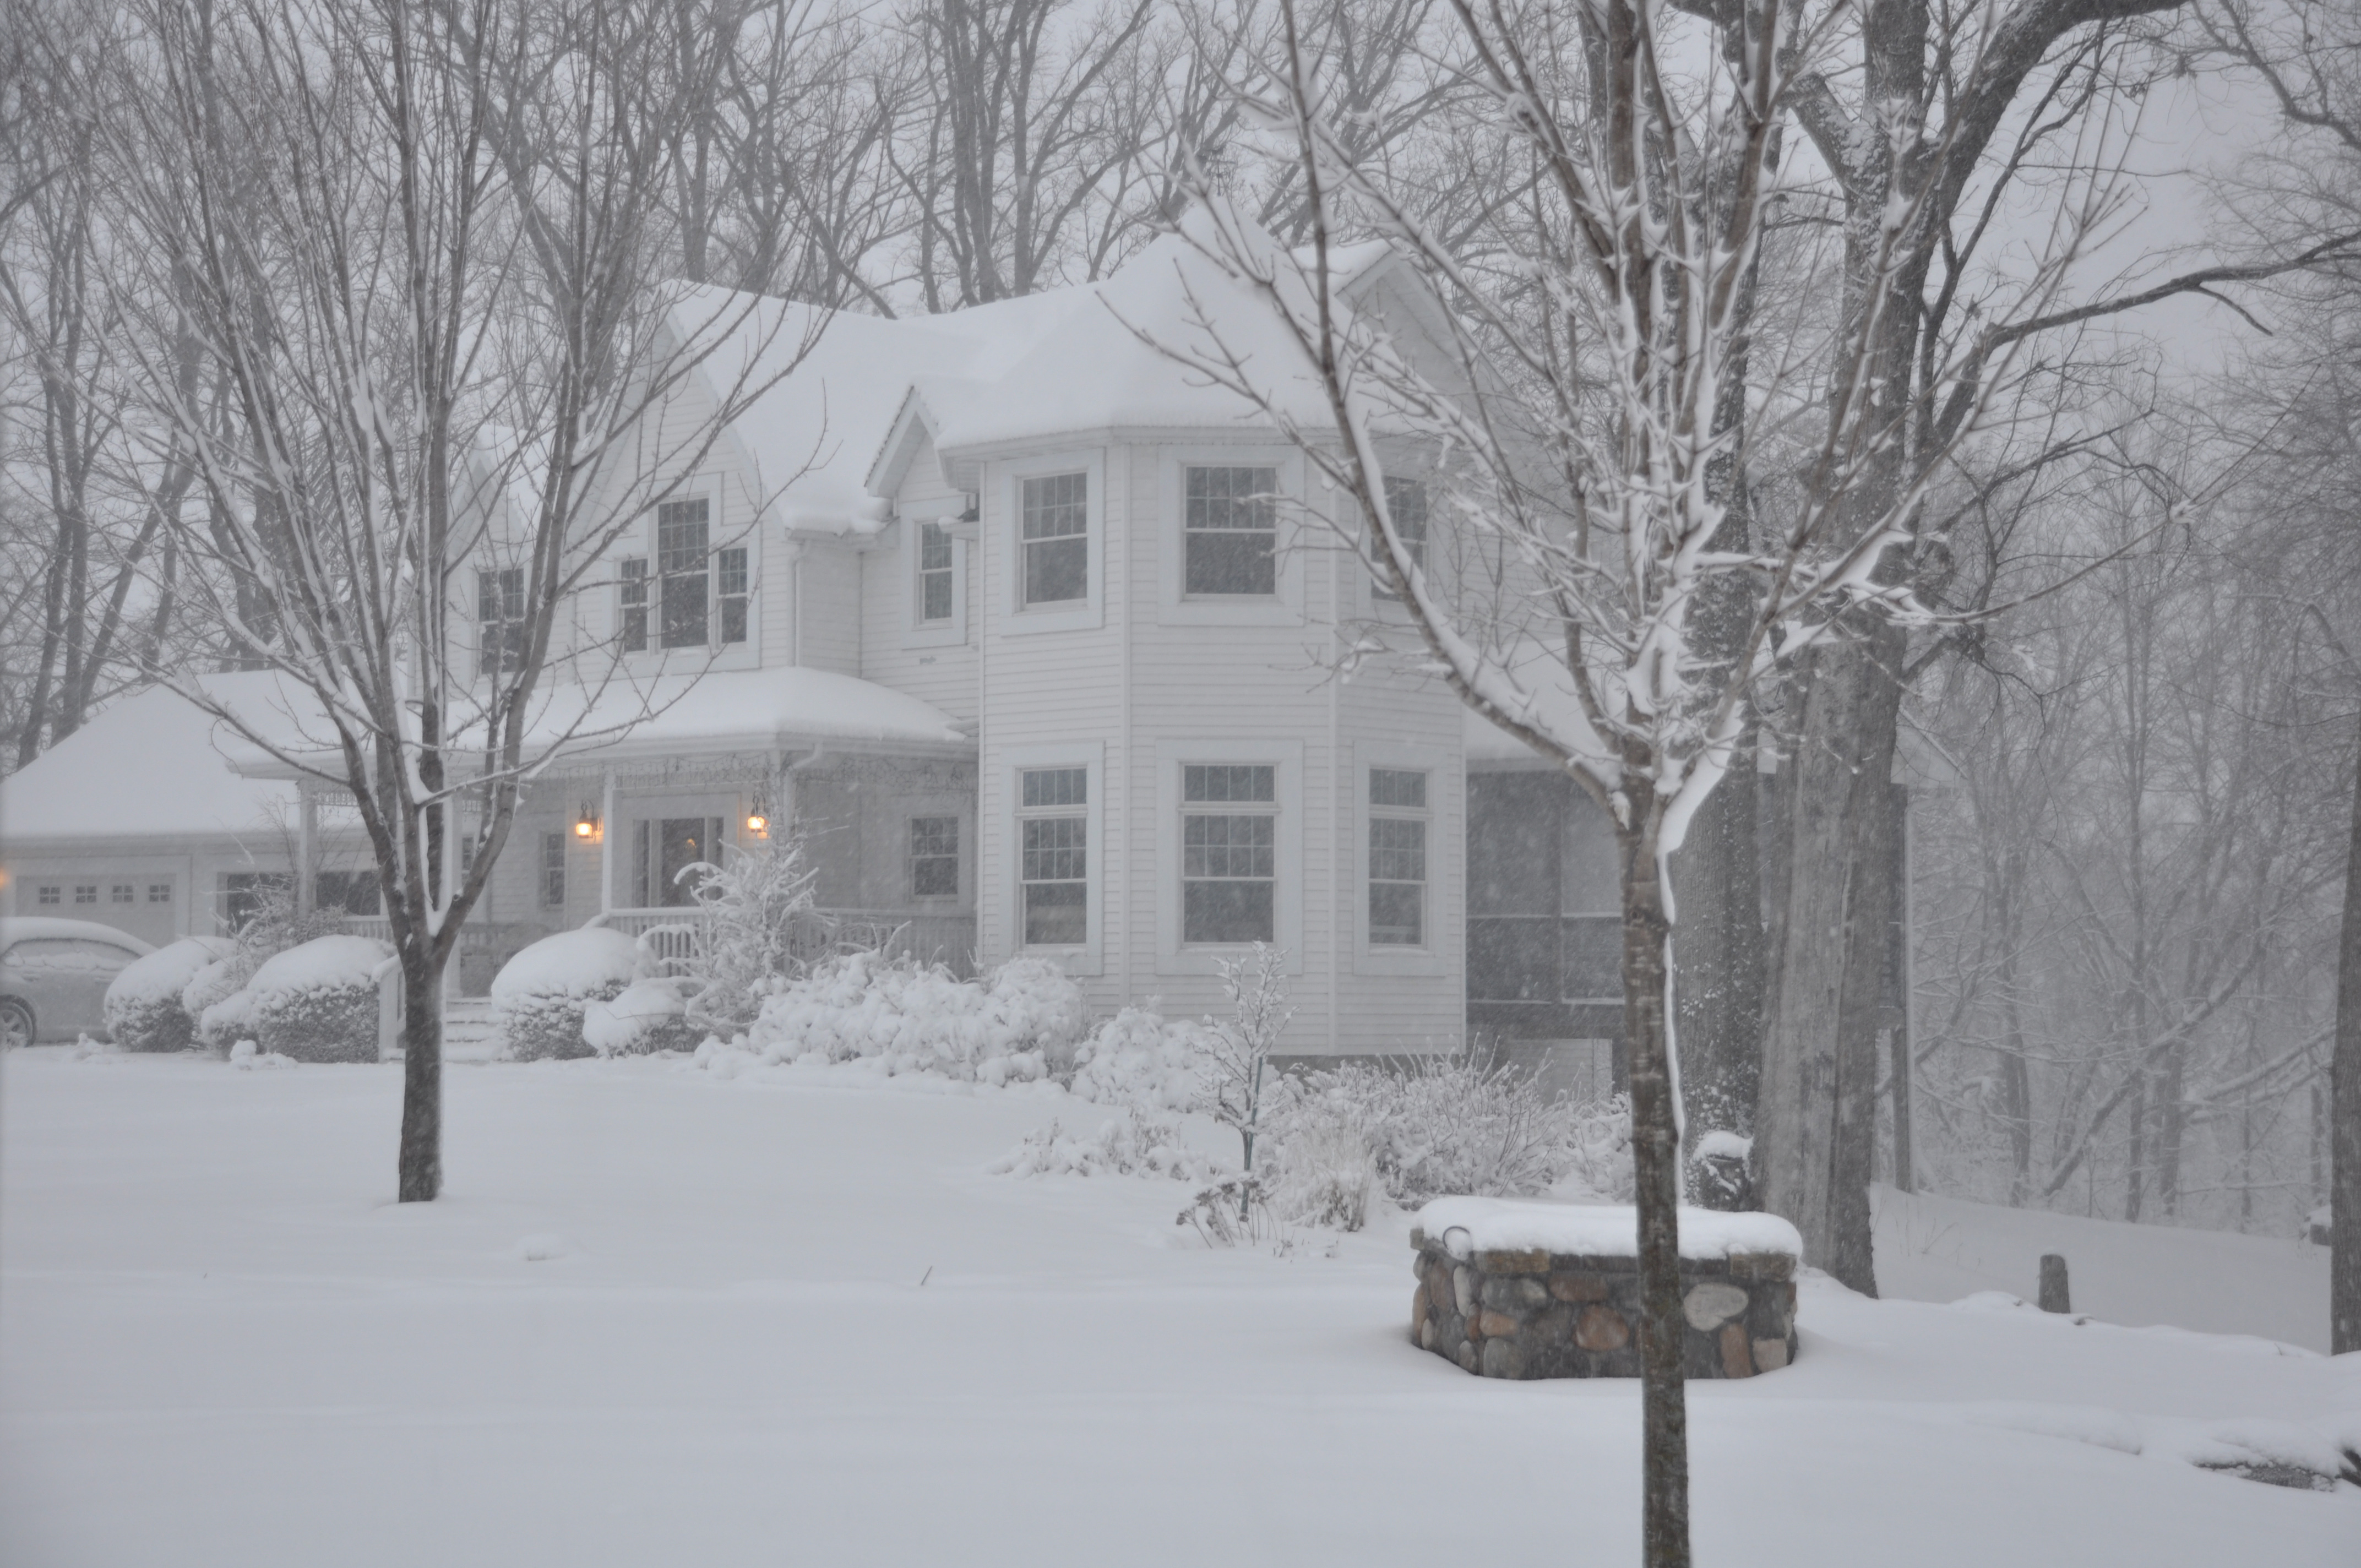
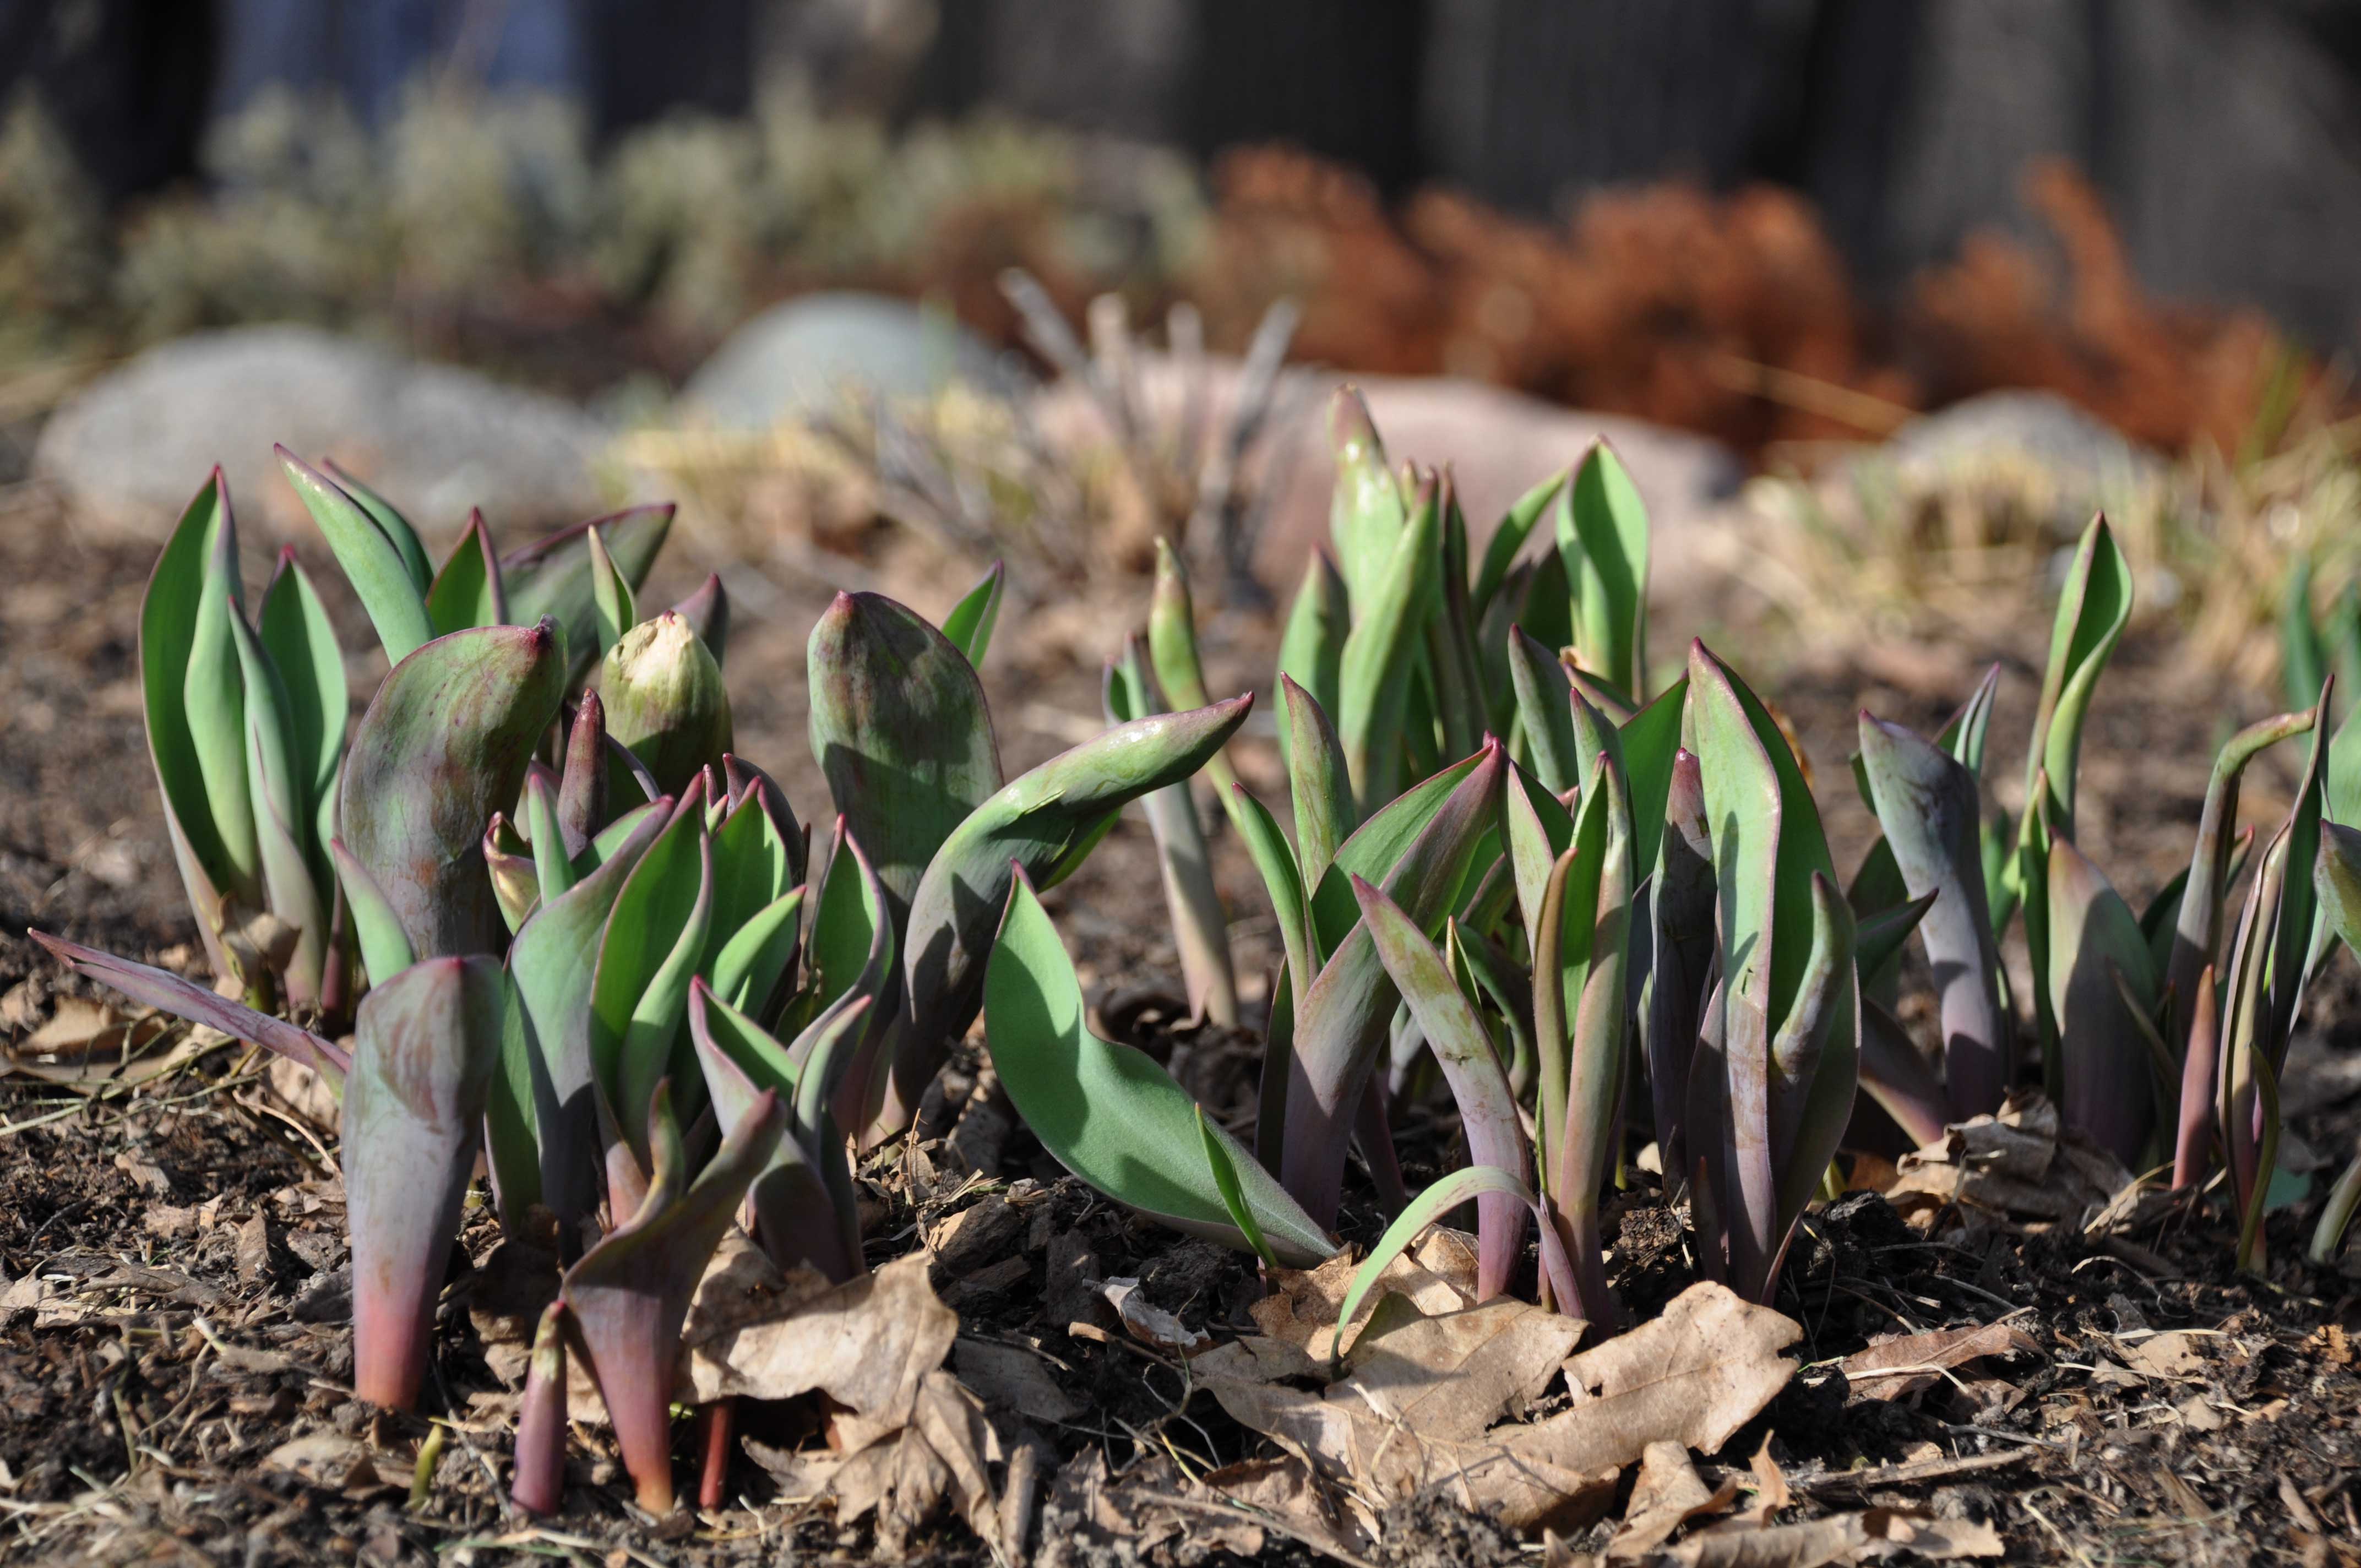
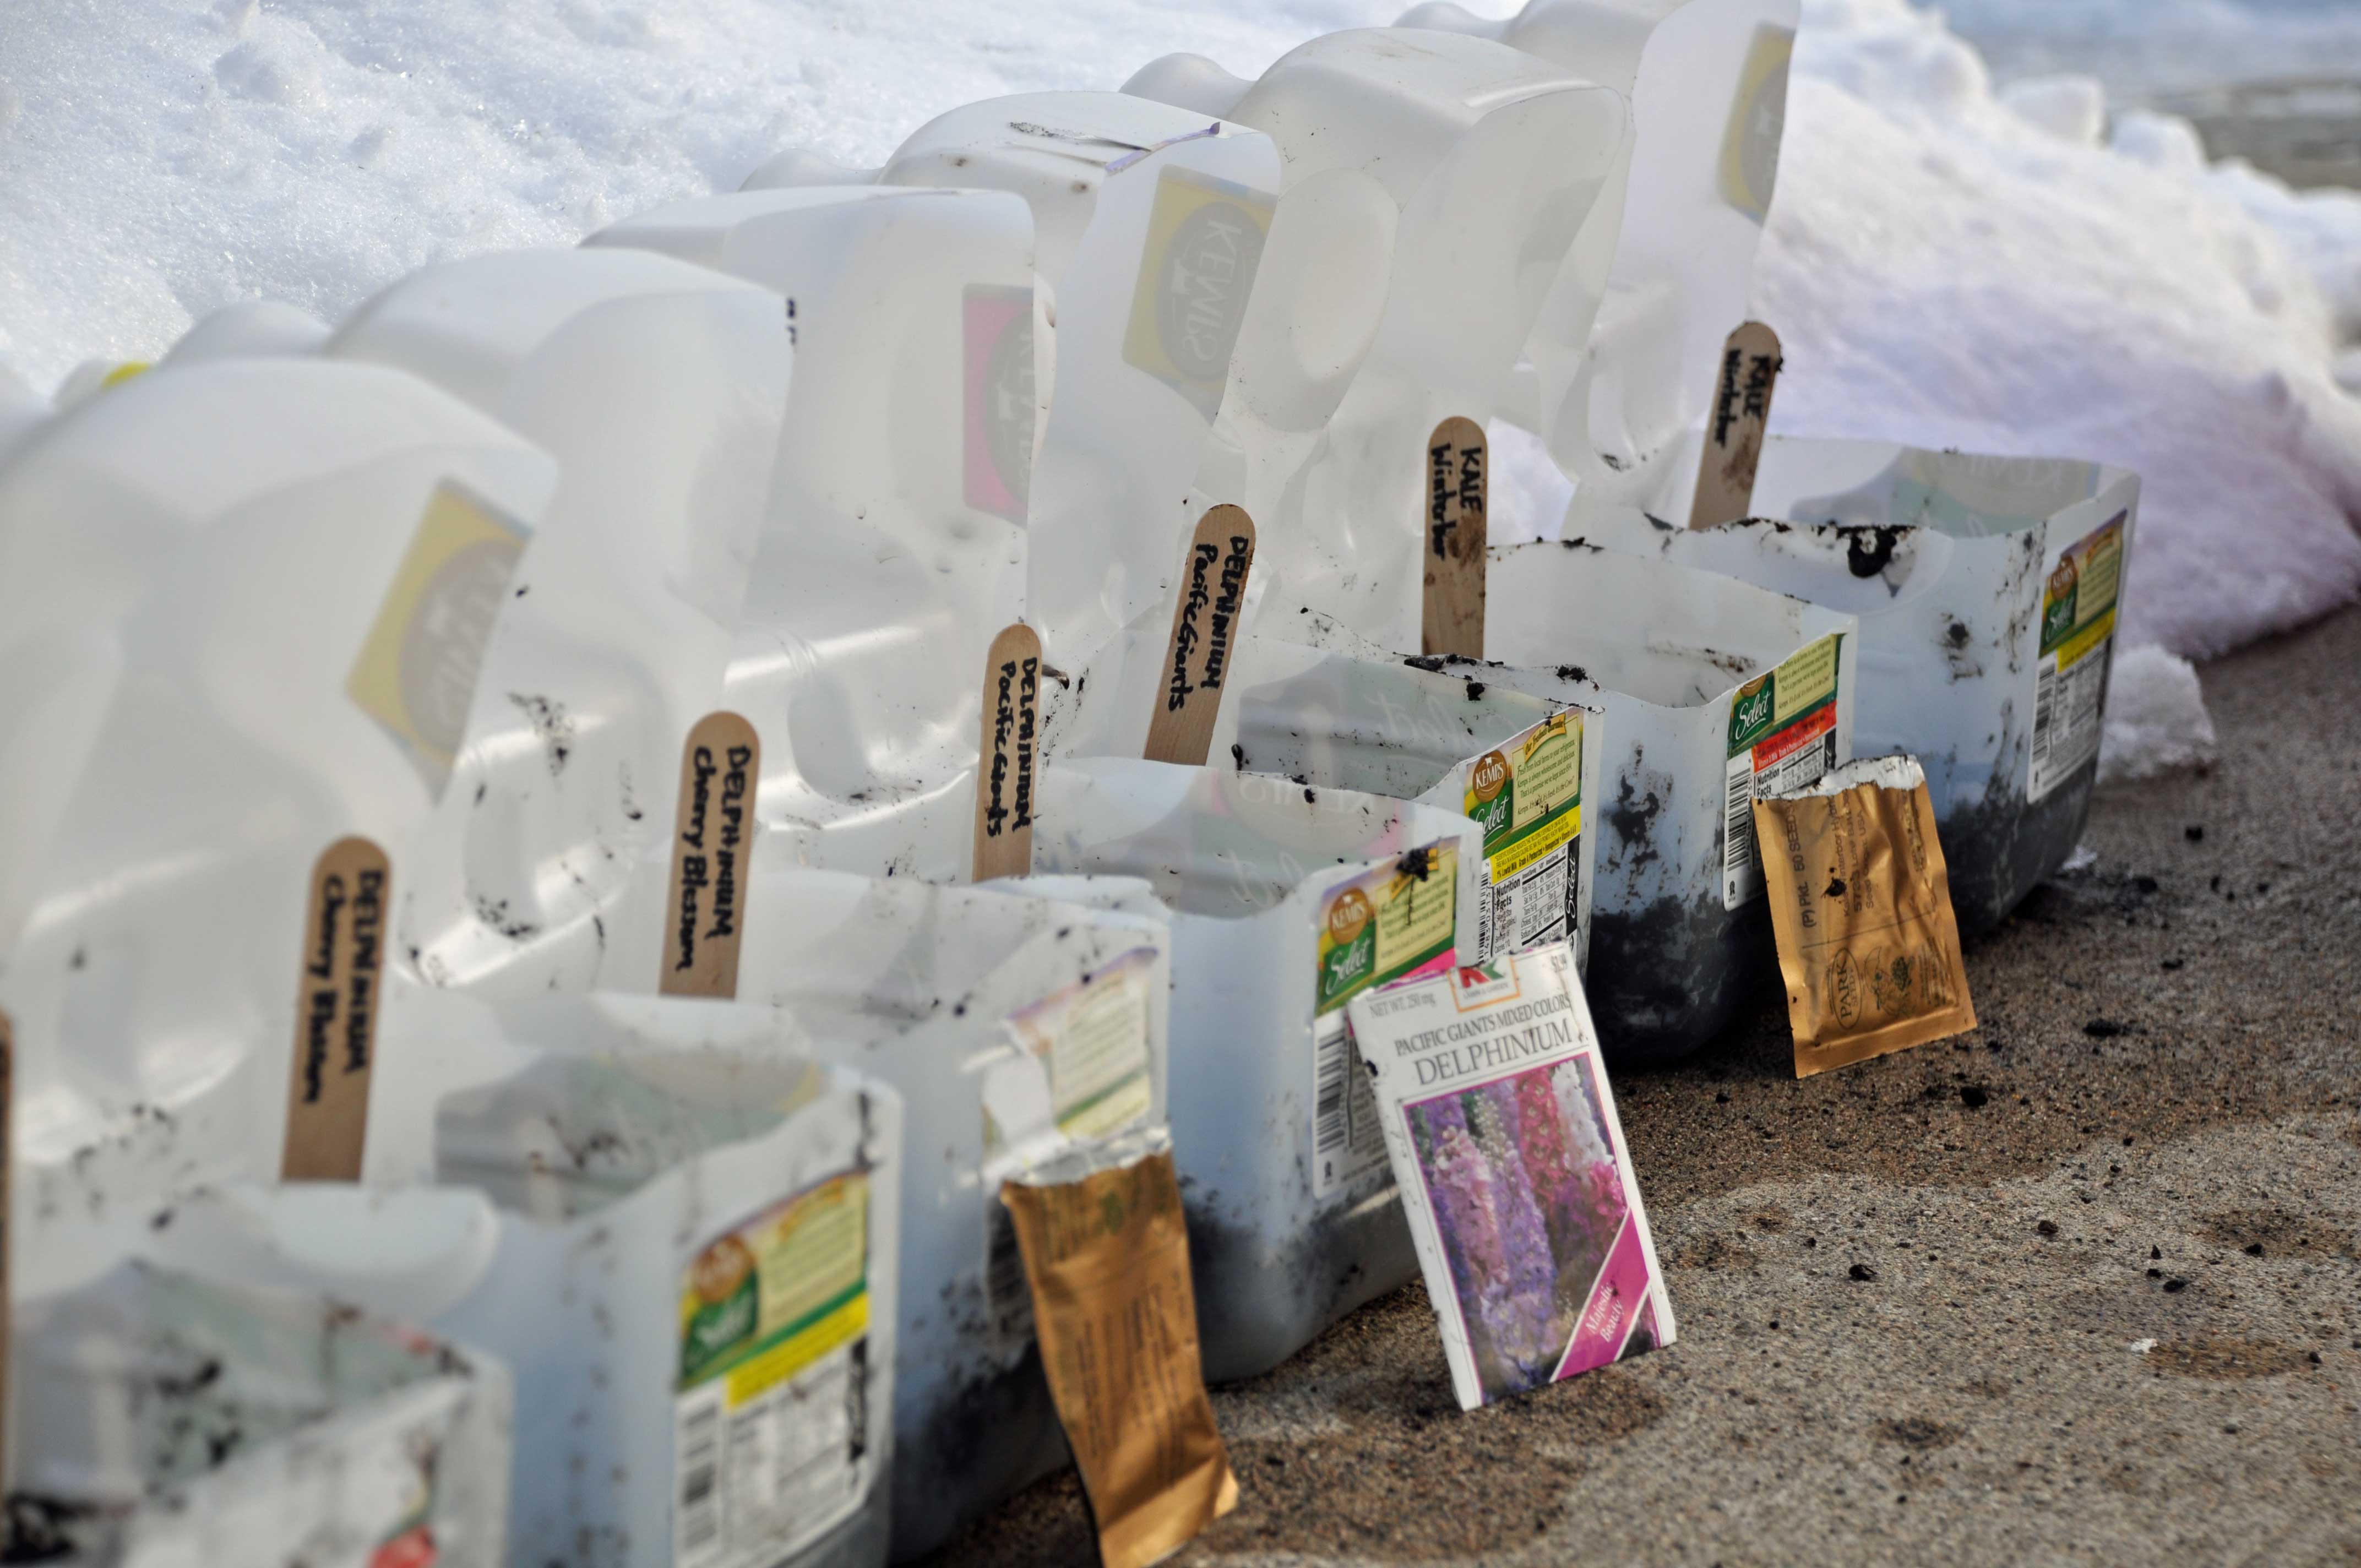
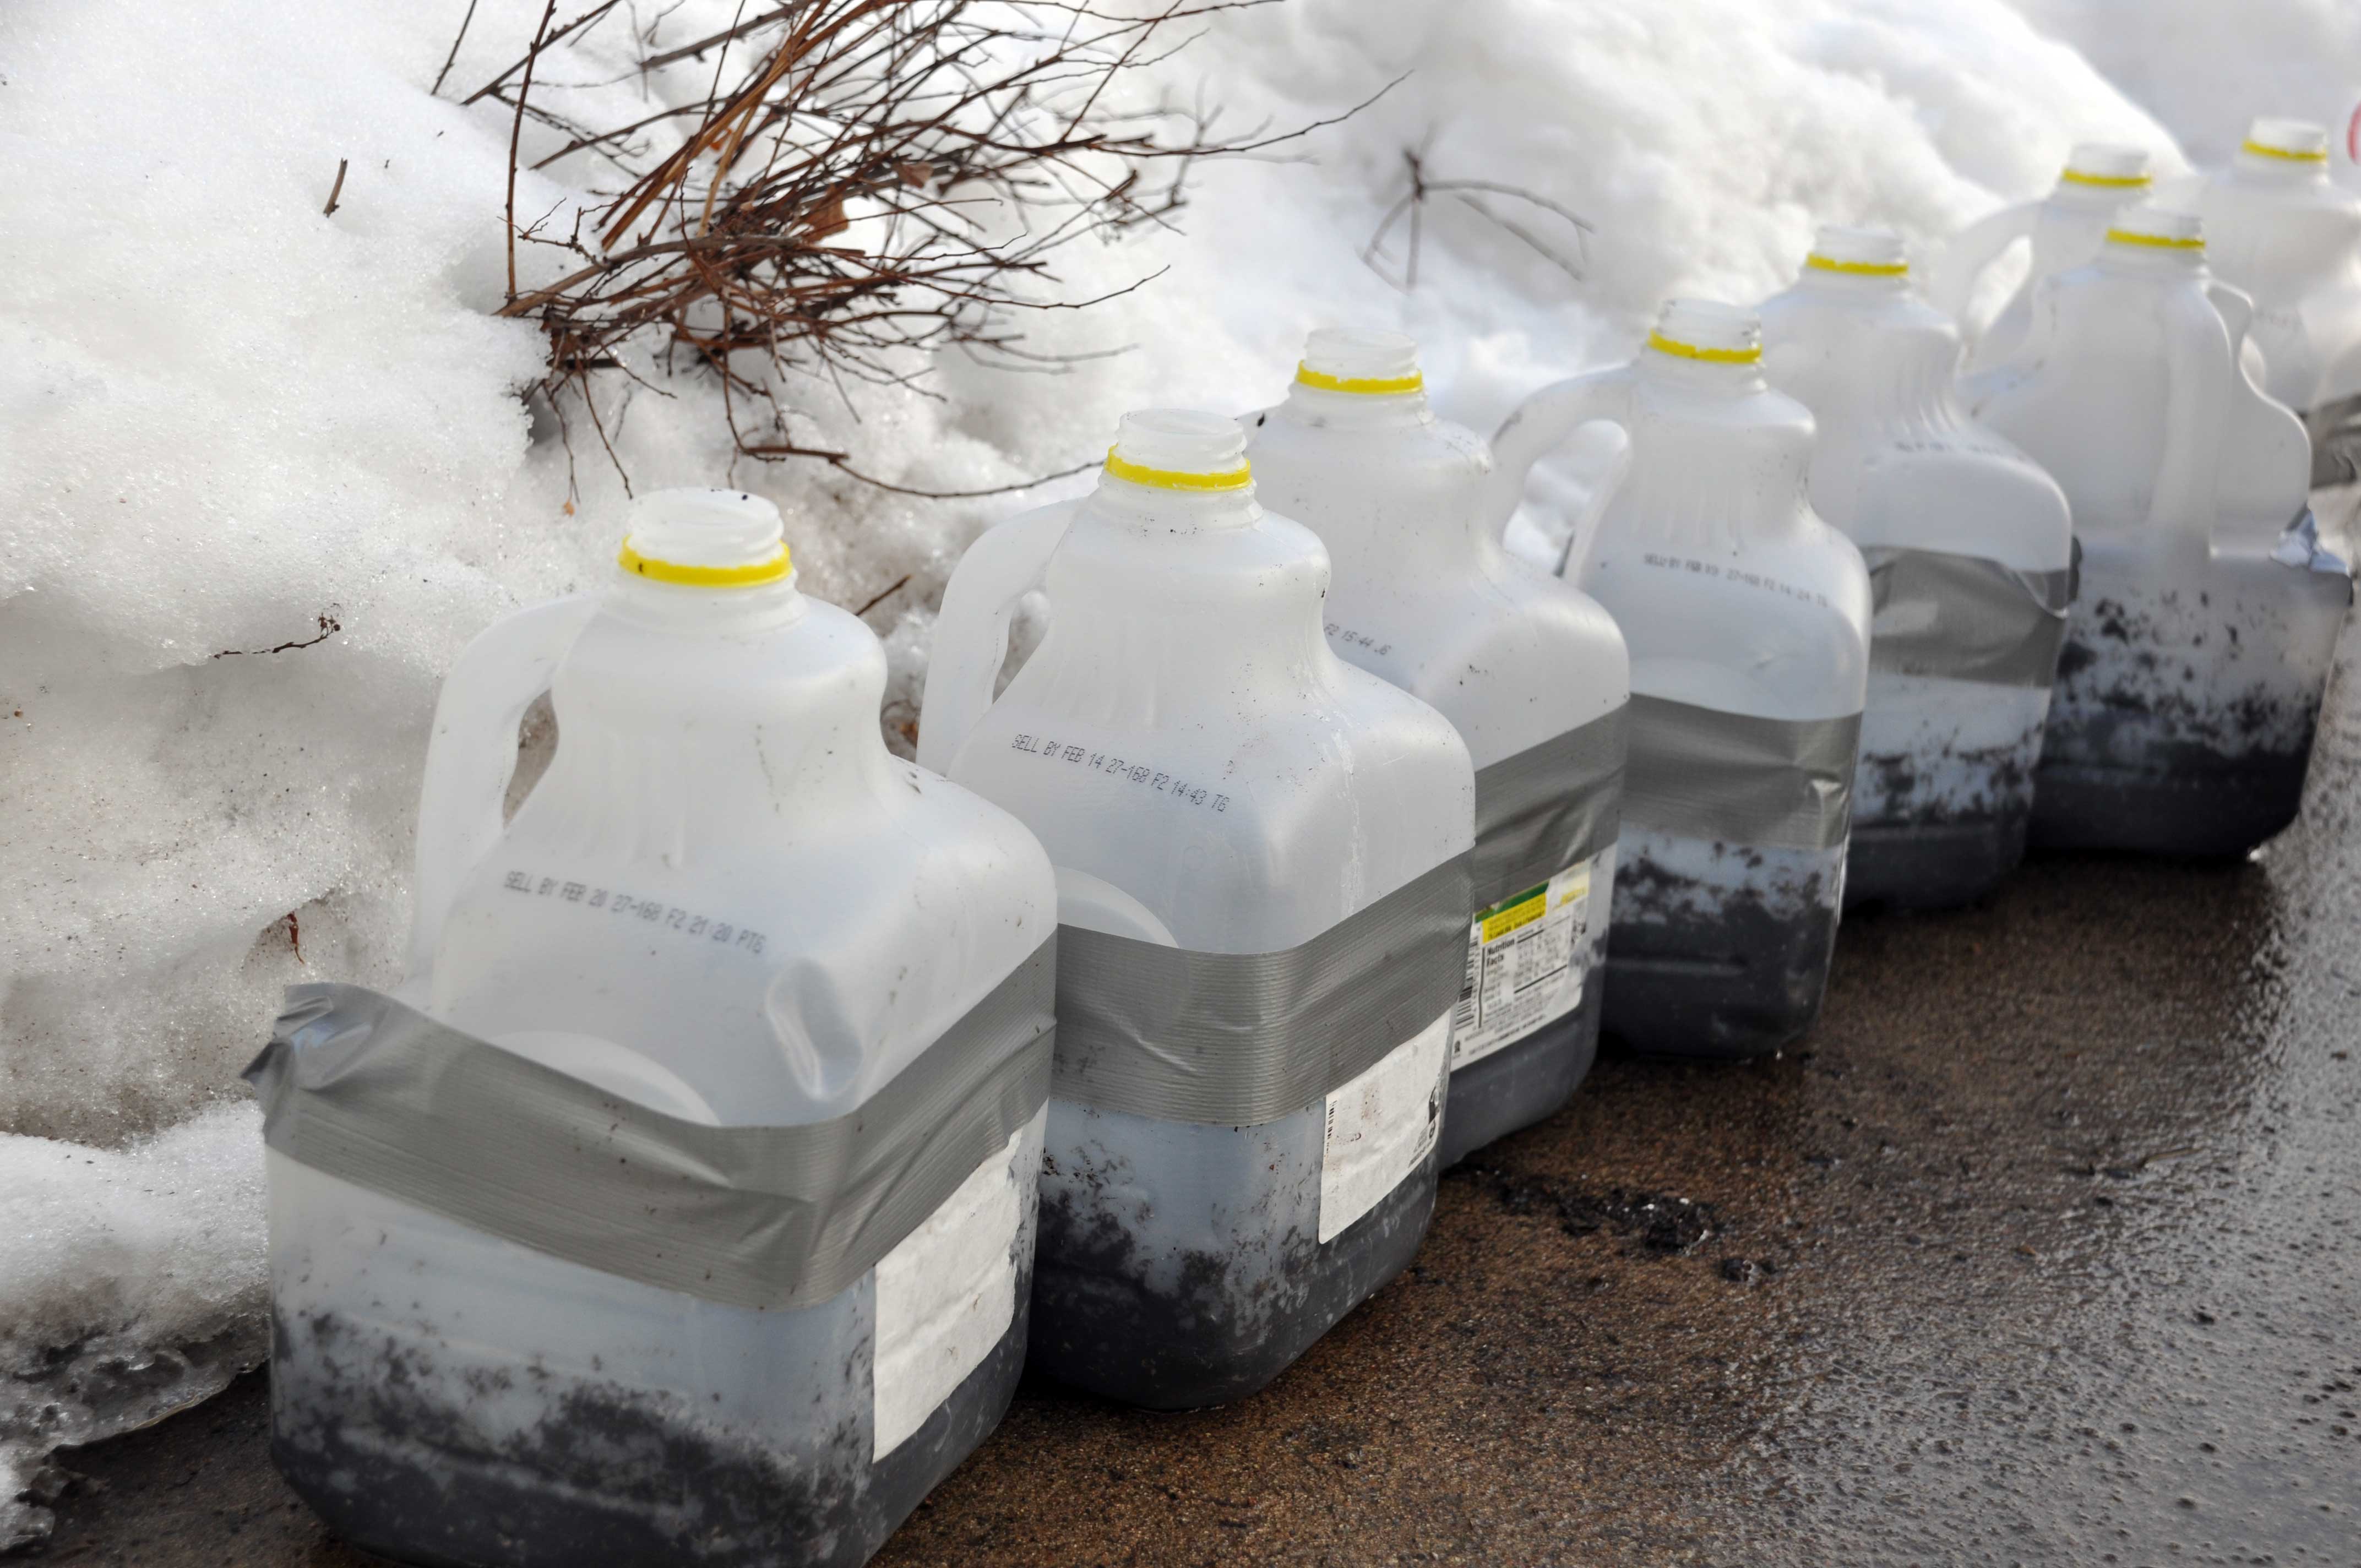
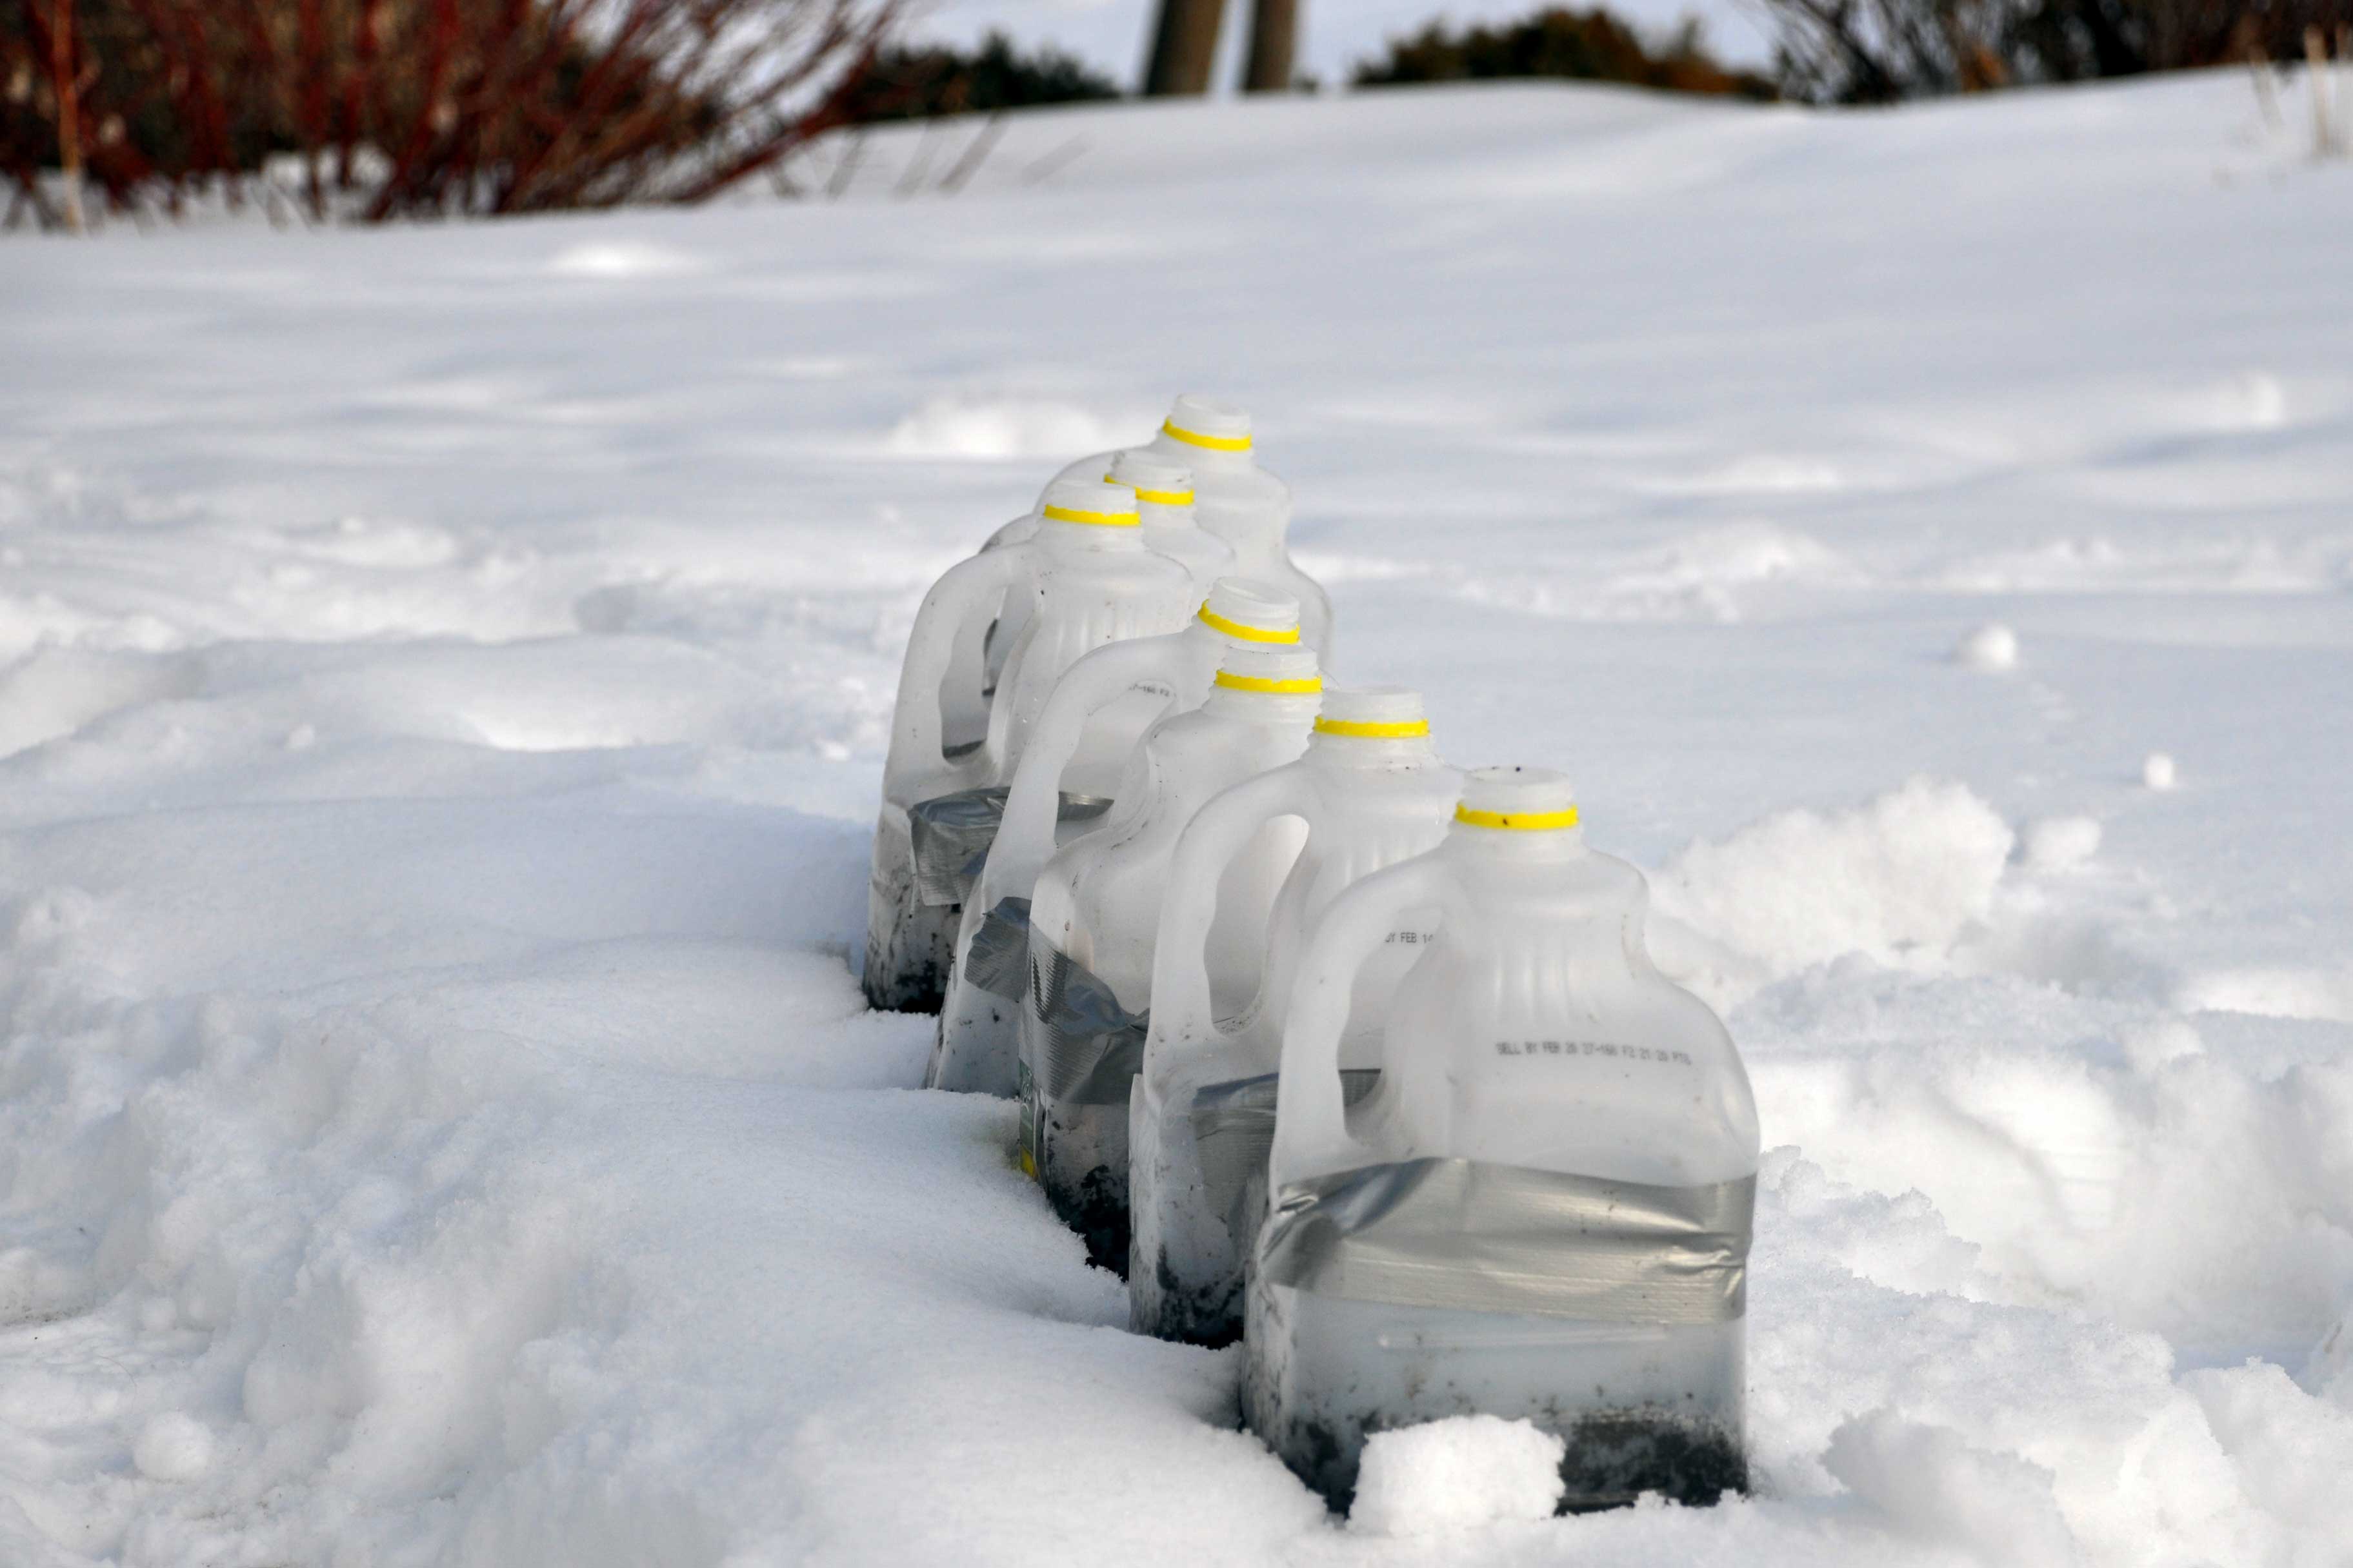
After visiting the bees, I trudged through the heaps of piled snow to get to the edge of my vegetable garden to take a picture.  With a solid foot of snow remaining within the perimeter, there is sadly no sign of life here.  It is hard to imagine that in a few short months this will be green and brimming with new growth and possibilities.
5

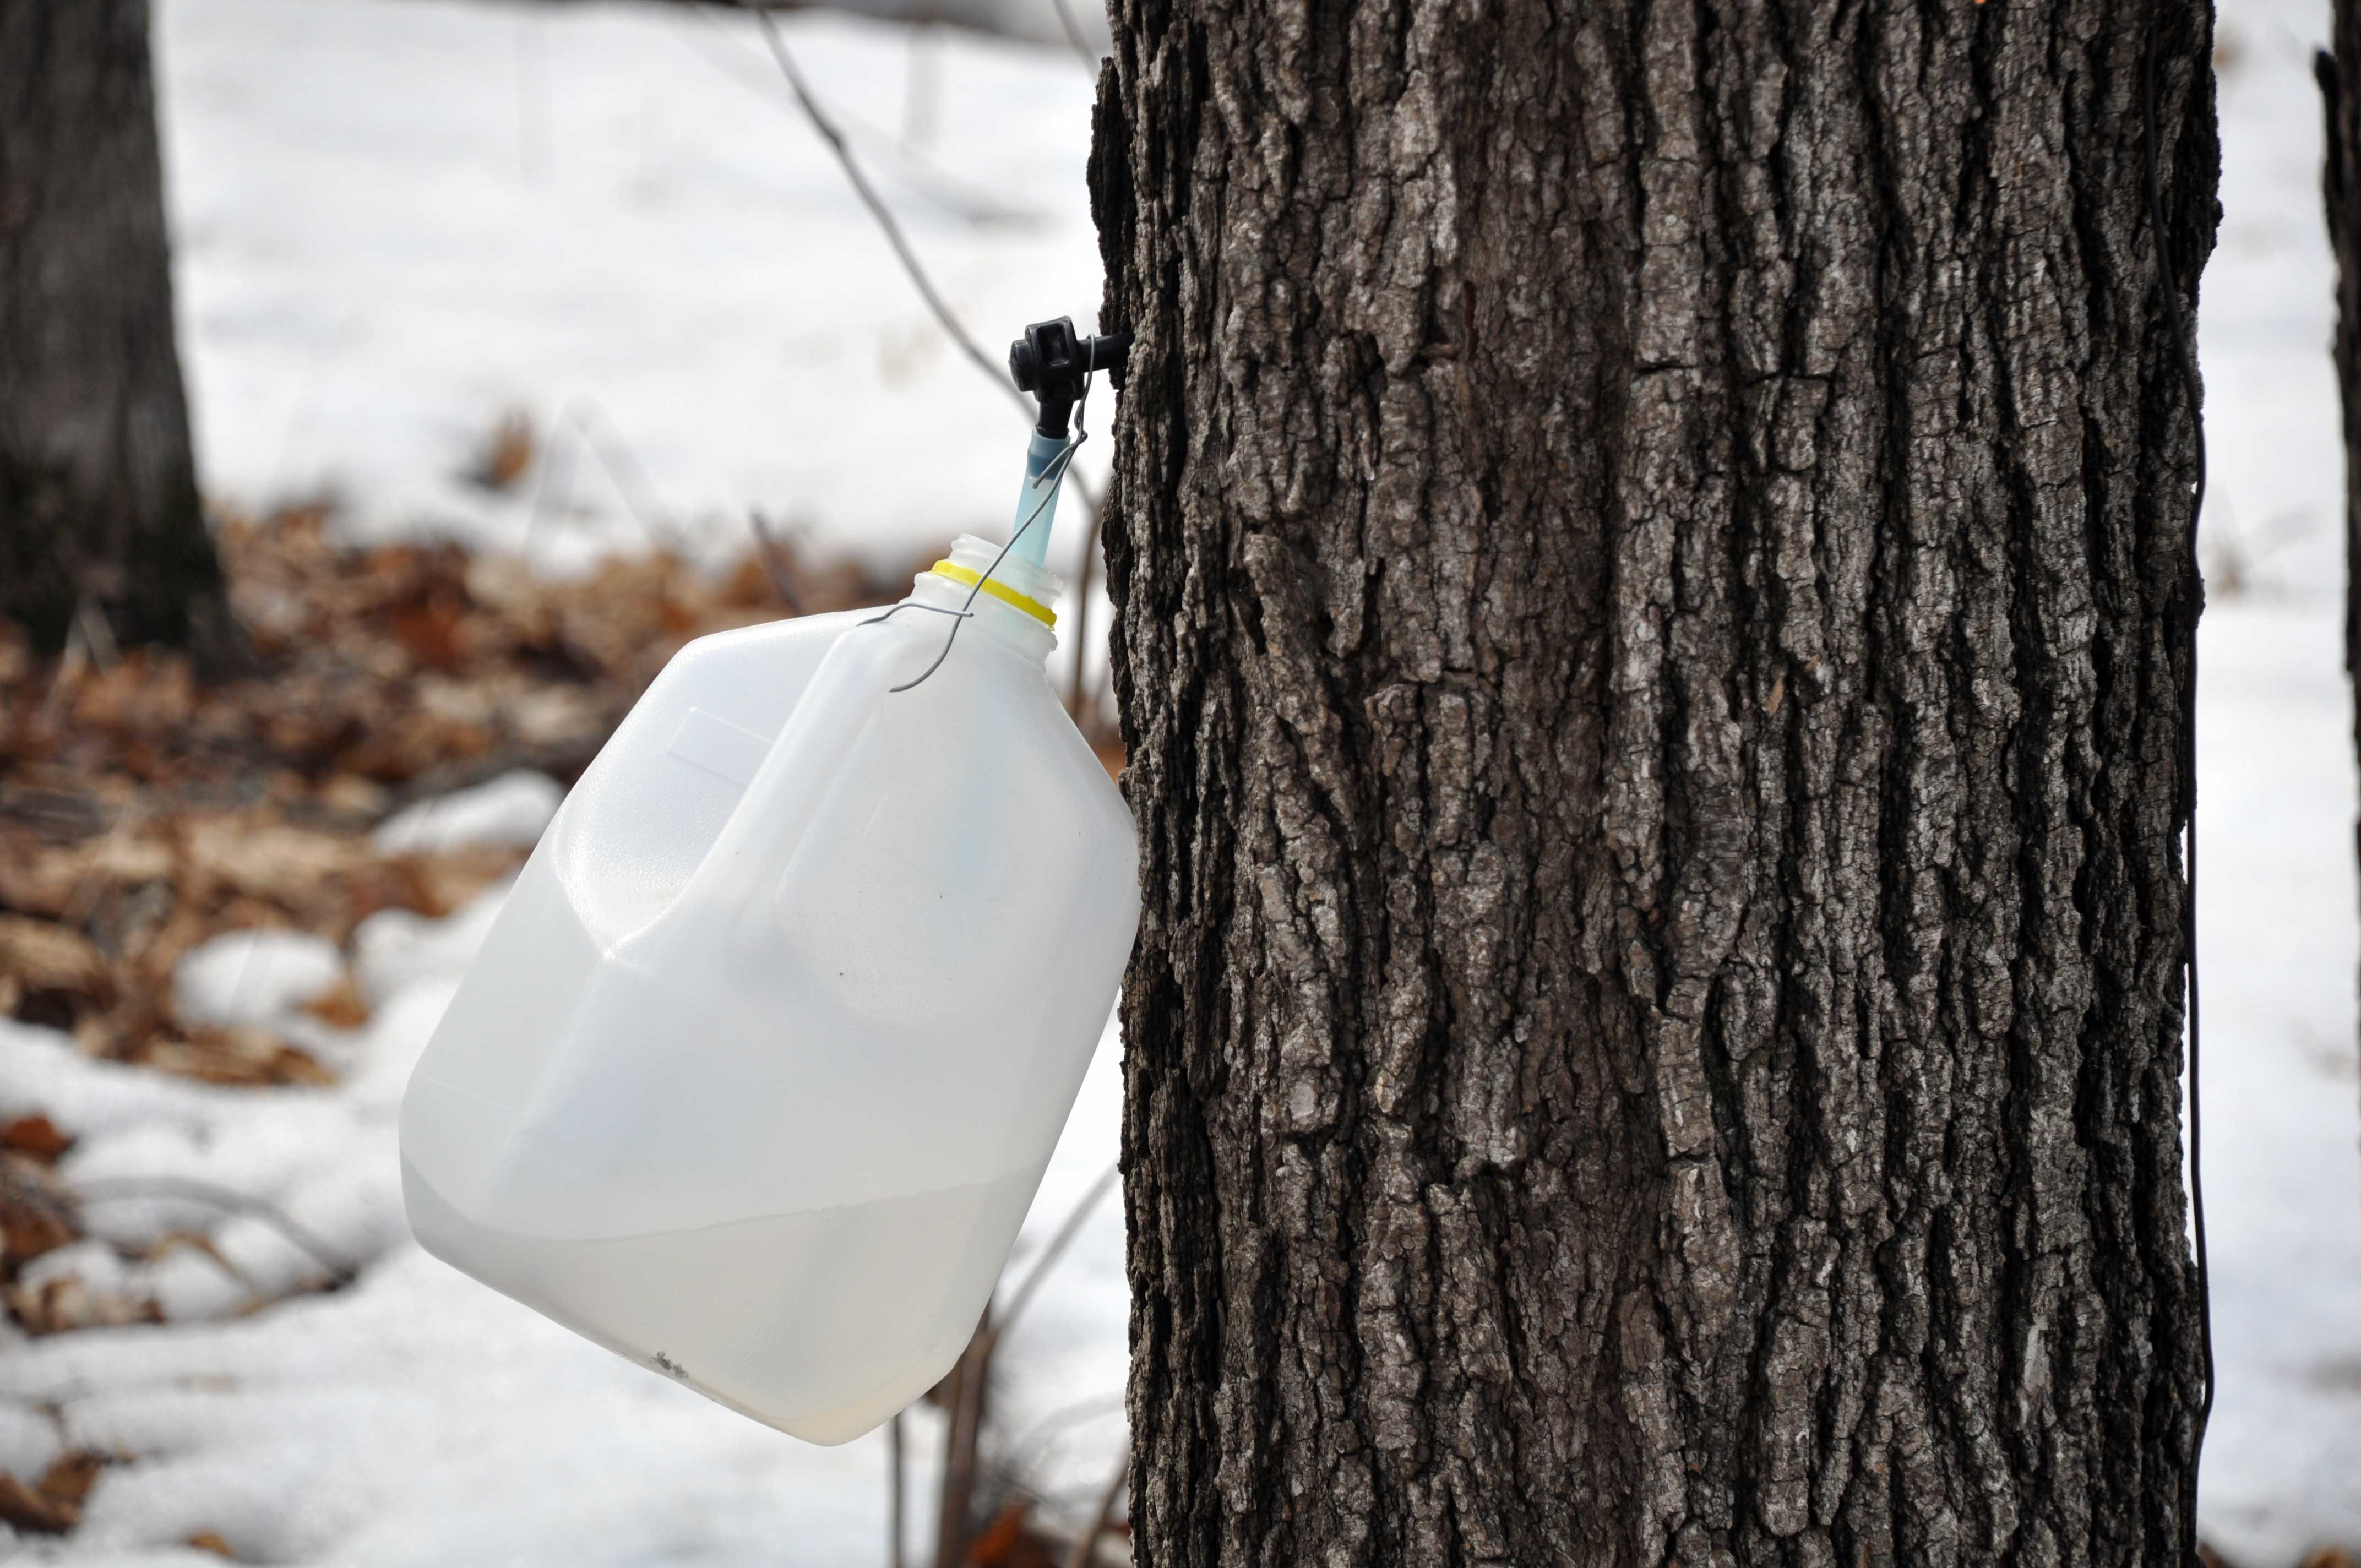
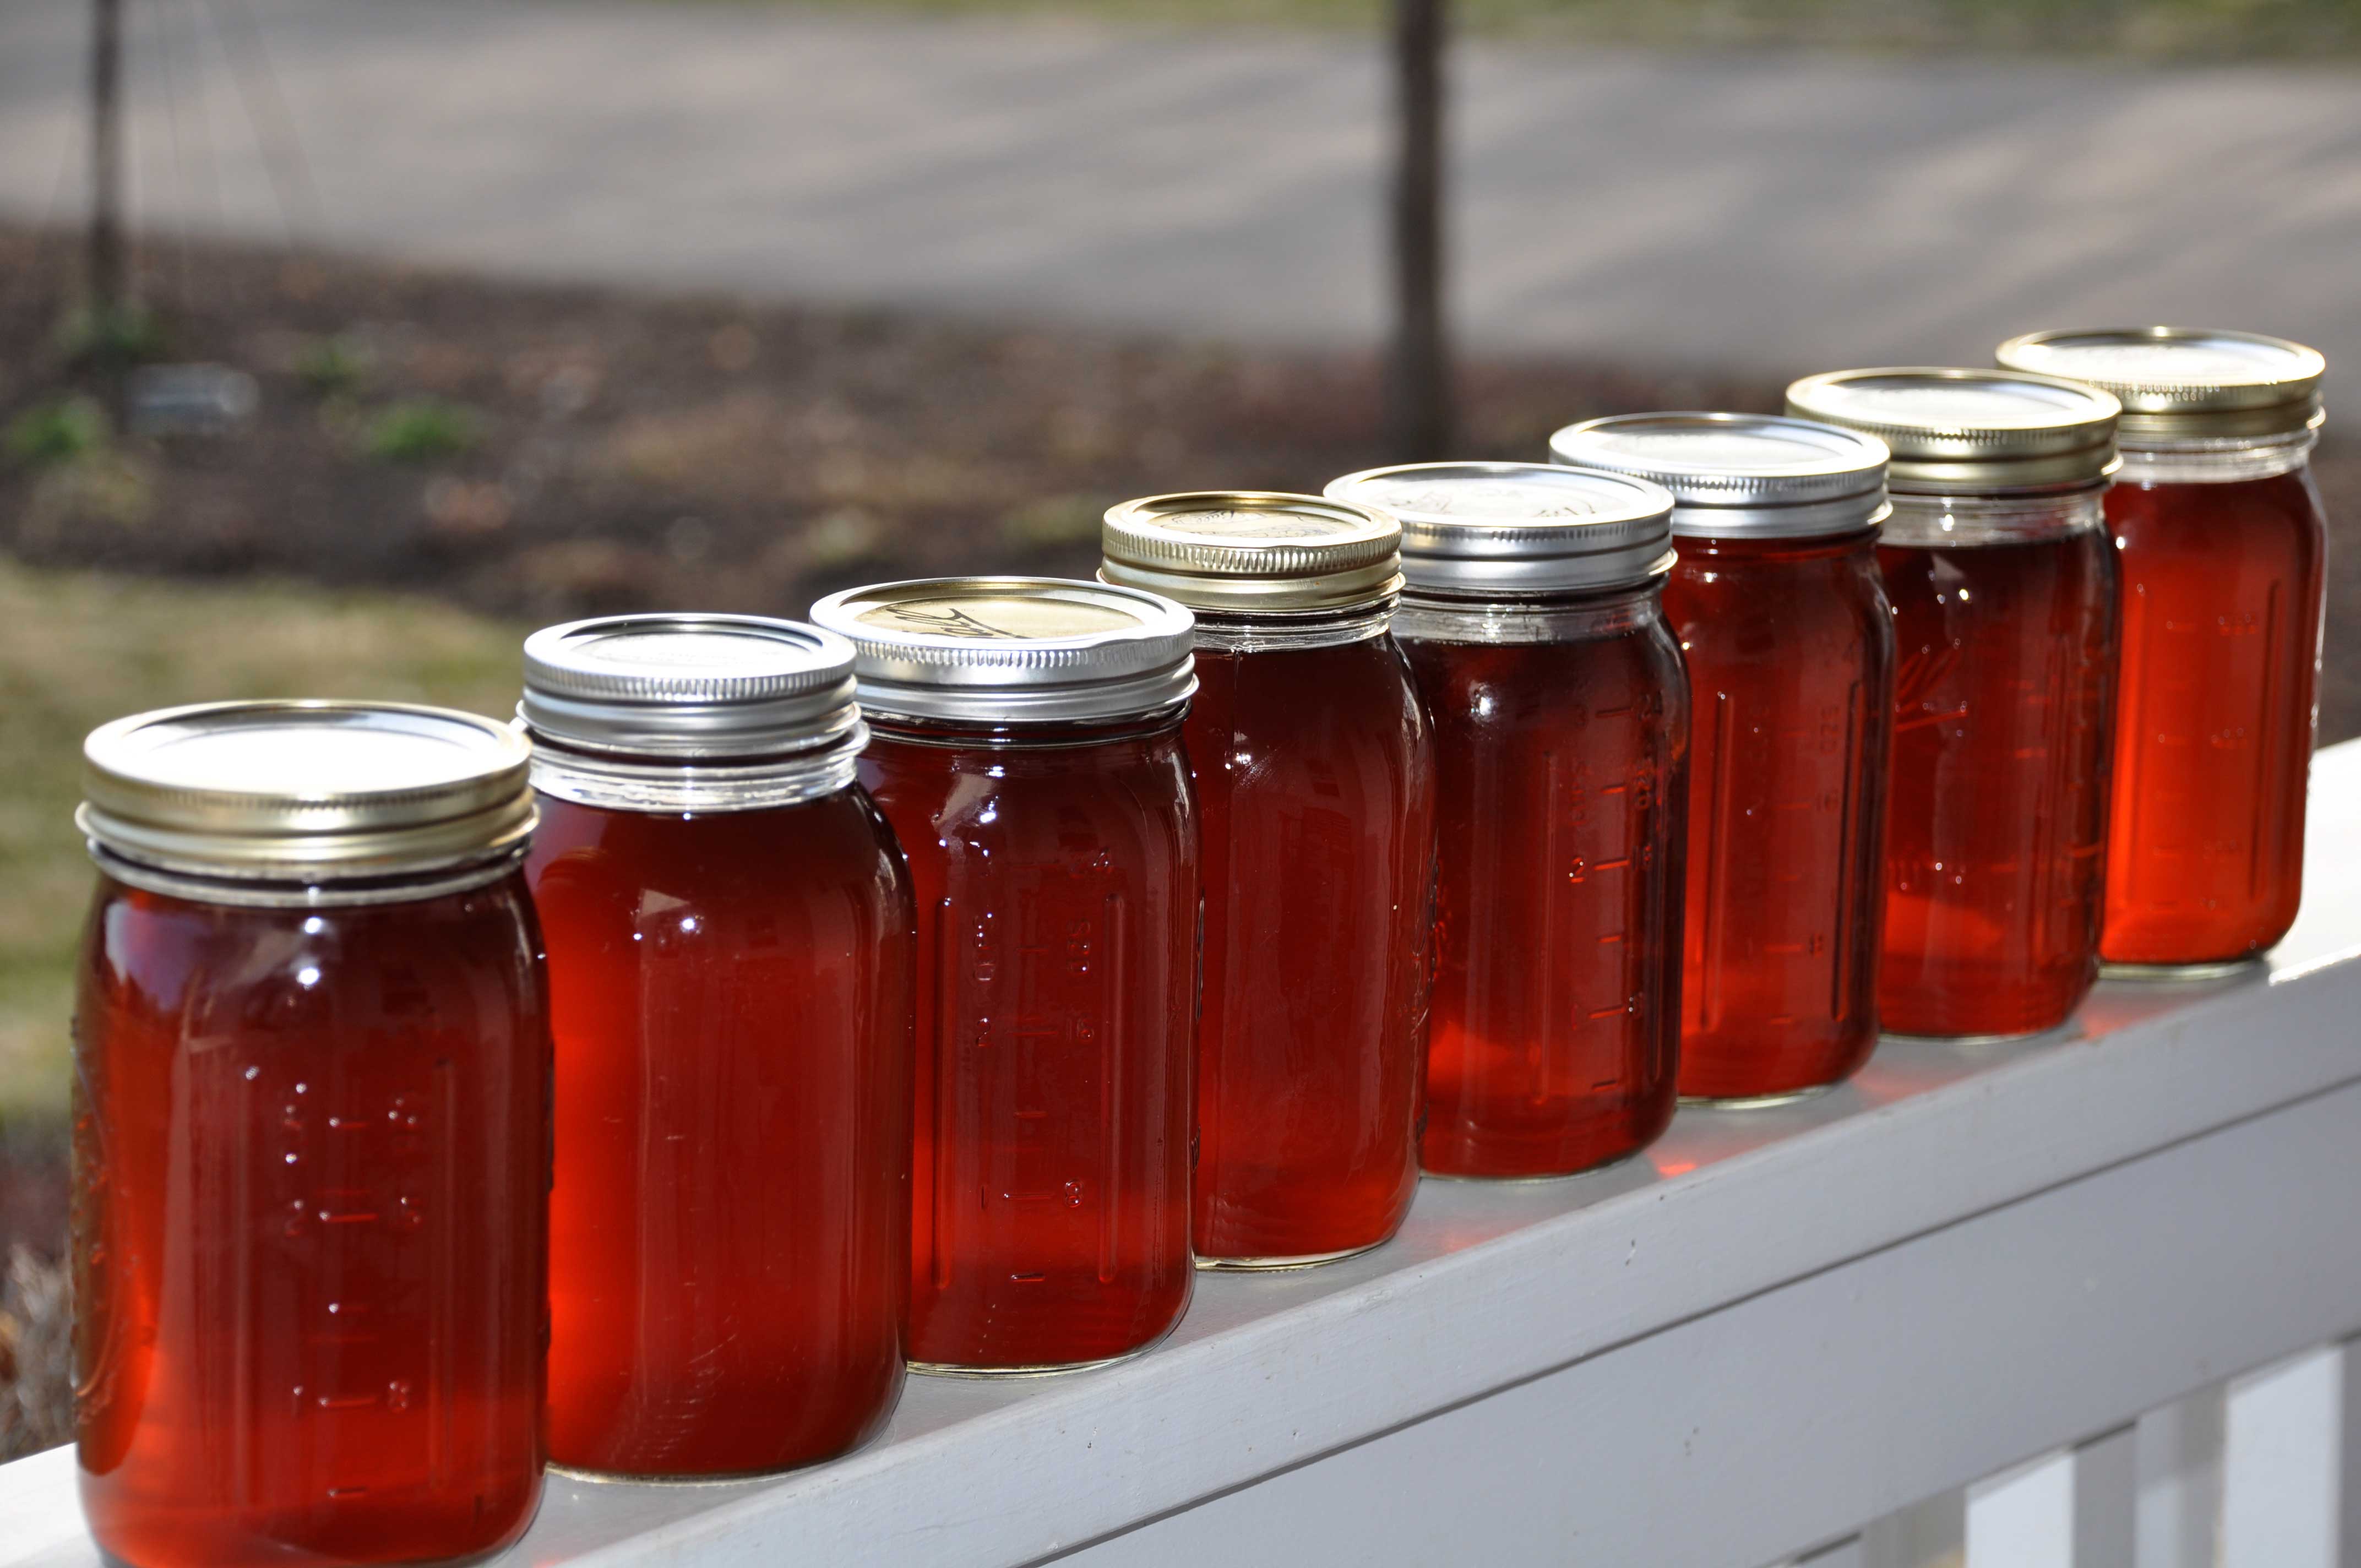
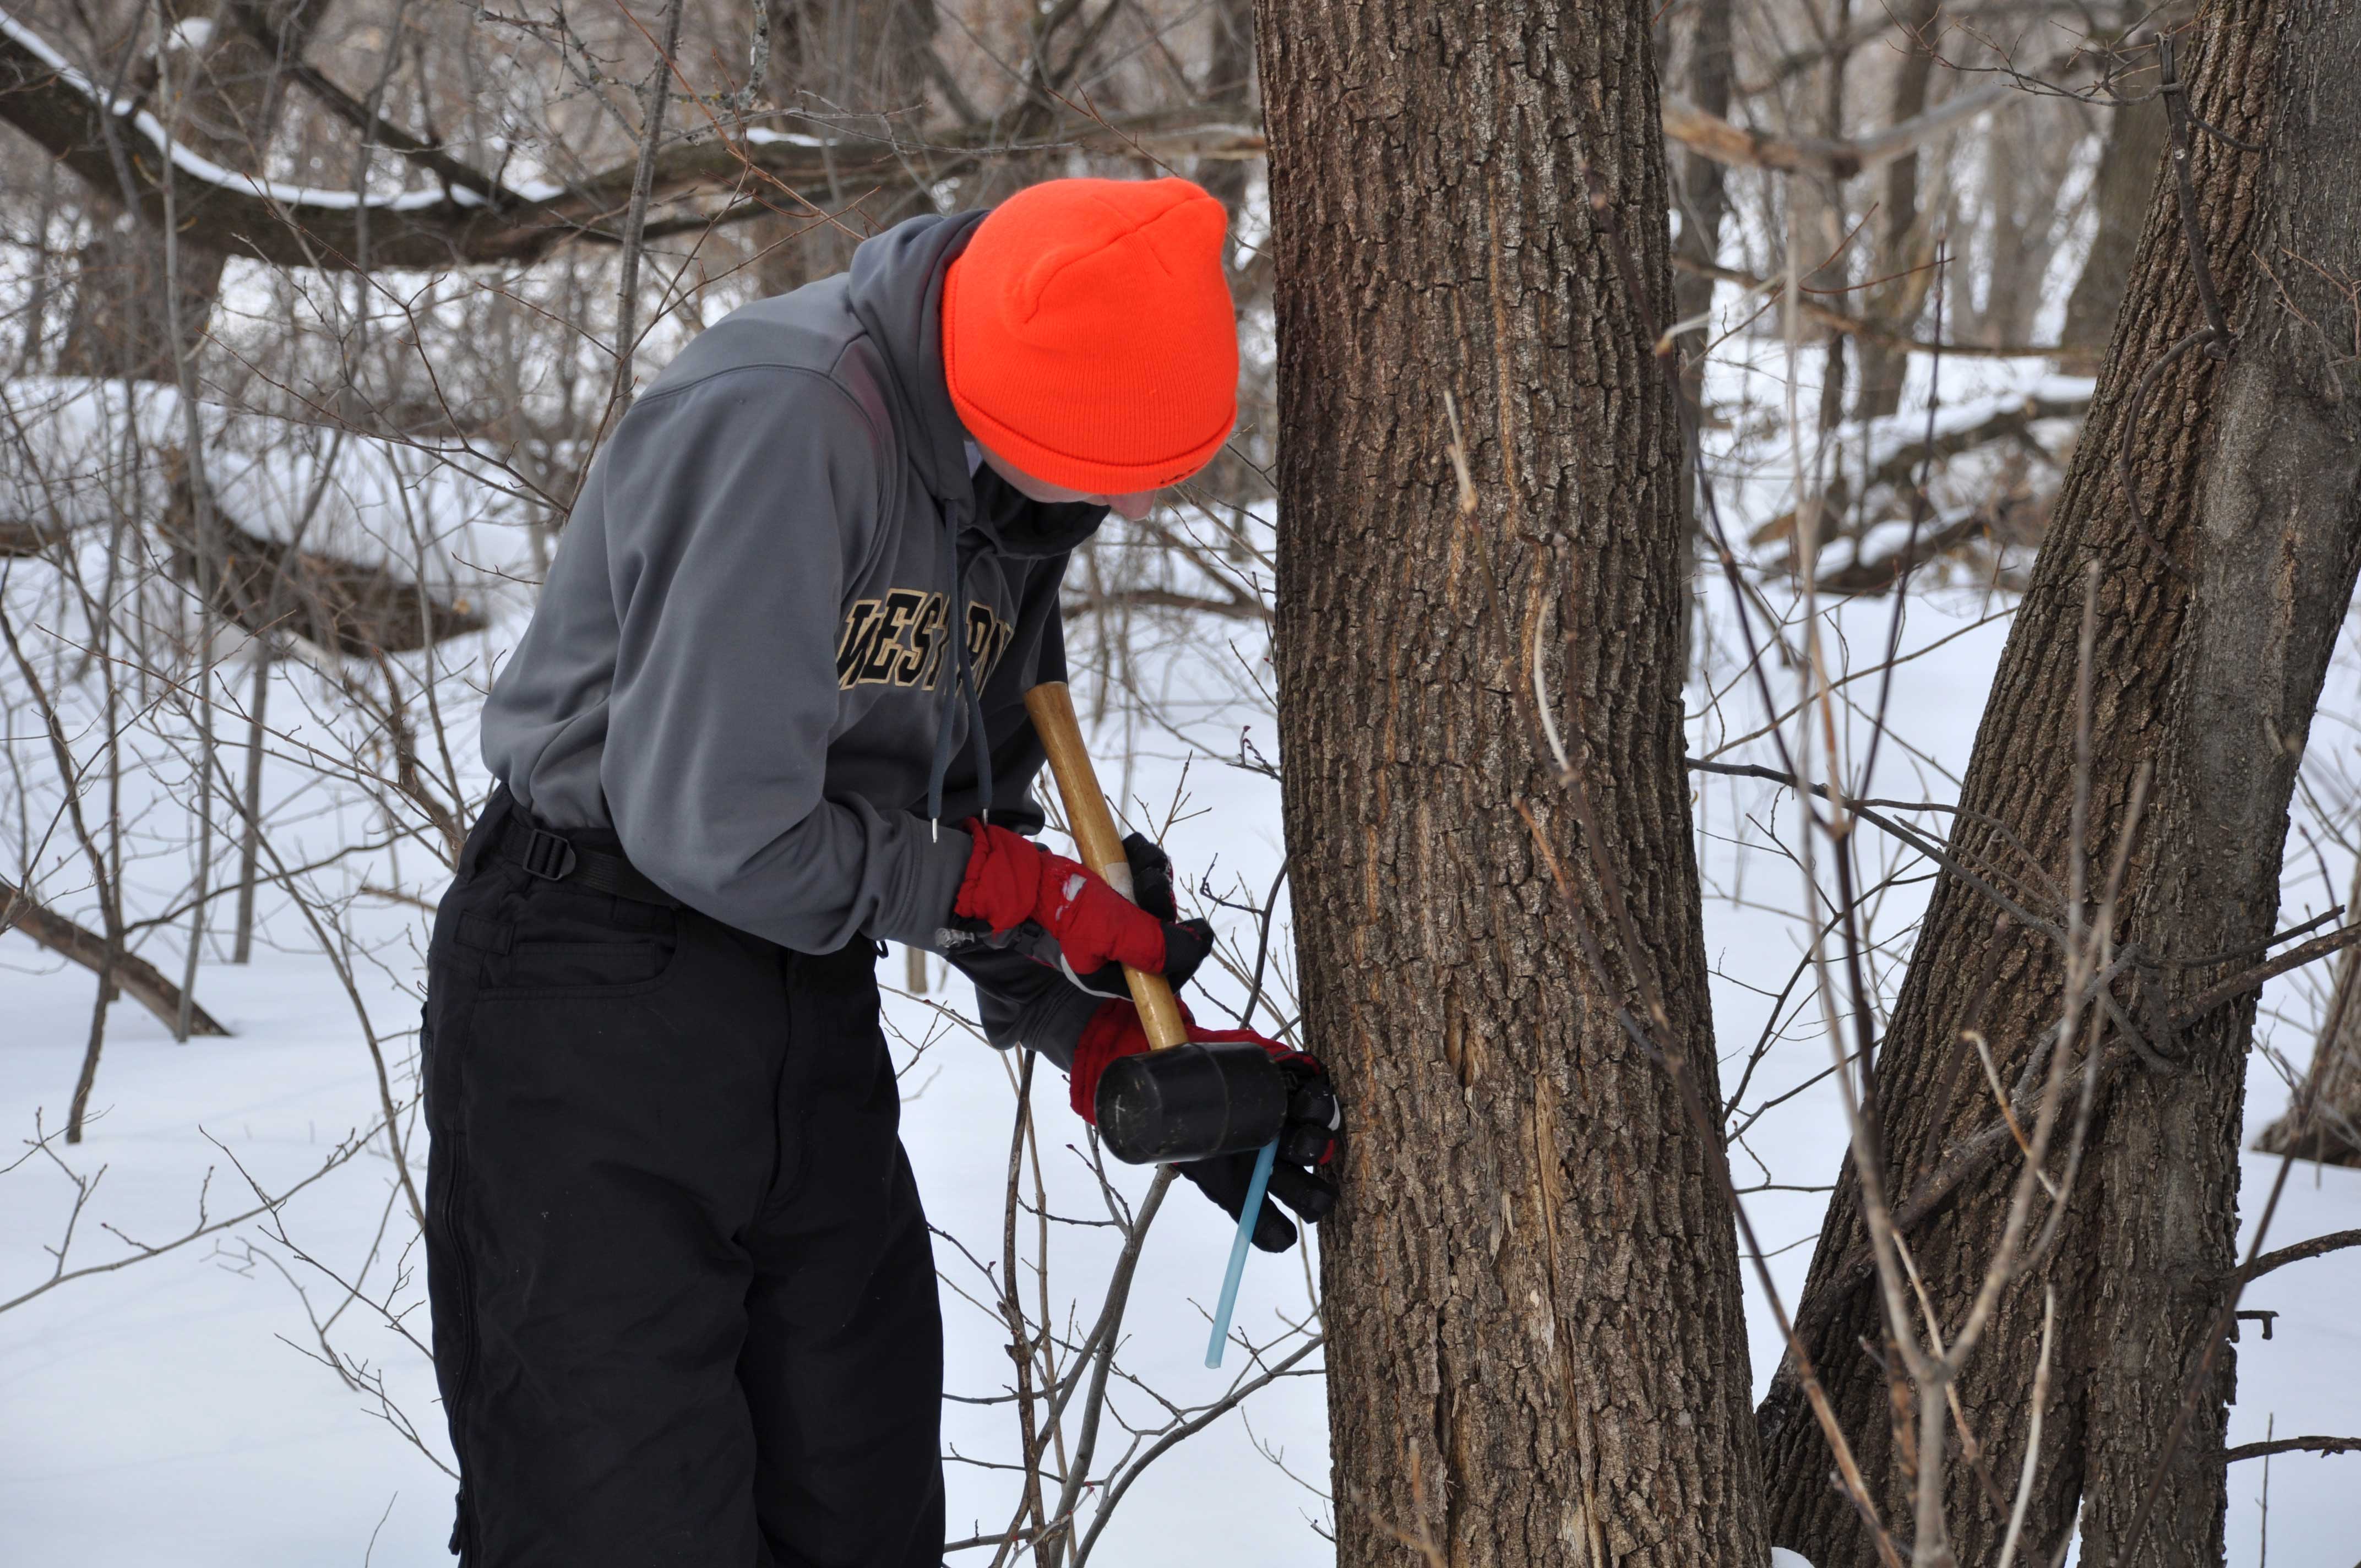
The warm temperatures today did manage to stir awake the juices of the maple trees.  We ventured in to the woods and discovered the first signs of the sap running.  Although it was not a very productive day (only about 1 gallon), it is a start.

6And after this long winter, I will celebrate any sign of life that reveals itself around here!
-Lynell

Leave a comment

Filed under Animals, Bees, Daily life, Maple Syrup

Hot Smoking in the Barrel Smoker: Beef Brisket

We have posted a lot about cold-smoking in the past because that is what we use our smokehouse for and the process we use most often.  Every single day the blog receives many visits from people searching for information on building a smokehouse, cold-smoking, or some variation of those searches.  But in addition to cold-smoking, we also have a simple barrel smoker for hot-smoking that Jesse’s uncle brought up from Texas.  Although we do not fire it up real often, we did make some time this past weekend to smoke a beef brisket. Yum!!

The firebox is heavy gauge steel box construction with an inlet vent control in the door. The smoke box is a 30 gallon drum that is split in half and hinged on one side.
DSC_0009

We have the hot smoker located just outside the access door on the garage because this type of smoker requires a lot of attention for feeding fuel and adjusting the vents. The biggest mistake in smoking brisket is to let the fire flare up and get too hot. A good temperature range is 200-225 deg F.

DSC_0001

Jesse likes to pat the brisket dry the night before, apply the dry rub, and then let it further dry in the refrigerator overnight. Notice that this brisket is wide and flat, which is not good. We are having a hard time finding a full brisket that has the fat cap still in place. Without the fat cap the brisket tends to dry out much easier.

DSC_0003

Jesse placed the brisket on the top wire rack where it is a little farther from the heat source, giving some buffer to prevent over-heating. He also places a pan under the brisket to force the heat to roll around the sides and circulate the smoke.
DSC_0012

After getting started, a nice smoke is coming out of the top vent and out of the seams in the barrel. We have heard that some people worry about getting their smoker tight to reduce air leaks, but that is a mistake because you want the smoke to pass over the meat.   Making a tight smoker will cut air flow and cause moisture to build up in the smoker, which can promote an acrid flavor.

DSC_00013

After attending a class on smoking at a retail store last year, we purchased  this handy digital probe thermometer. Although there are 2 dial temp gauges in the barrel itself, one in the bottom and another in the top, the dual read digital probe gives the most accurate readings of what is happening right at the brisket. The dual probe gives the temp inside the meat, and another reading just outside the meat (oven temp).   DSC_0107

In this photo the temp had spiked up to 243 deg F, so Jesse had to turn the vent down to try to cool it back down to the desired range of 200-225 deg F.

DSC_0108

When the brisket reaches 170 deg F, Jesse removes the brisket from the smoker, wraps it tightly in tinfoil with a little barbecue sauce, and then places it in the oven at 220 deg F for another 2 hours for finishing. It took about 7 hours of hot-smoking on this day in the barrel smoker to reach the 170 deg F.  Adding on the extra 2 hours for finishing in the oven, you can see that cooking a brisket in our barrel hot smoker is a whole day affair.  After tasting the finished product however, I think everyone would agree that it was well worth the wait.

Lynell

1 Comment

Filed under Food, Smoking

A Snowy Sunday

We woke up Sunday morning to a dreary sky, cool temperatures and giant snowflakes streaming down.  After a trip to church, we hunkered down for a relaxing day around home. All three kids were under one roof, with our older two home on a long weekend break from West Point.  We had our usual Sunday brunch of crepes and homemade sausage and Jesse fired up the smokehouse in the afternoon to do some cold-smoking.
fallsnow

As the day went on, the snow eventually turned to a slushy mix that coated the ground.
fallsnow1

Jesse cold-smoked some cheese and almonds for snacking and some pork chops for dinner.  (You can see my earlier post on cold-smoking almonds and cheese here.)  As usual, everything turned out delicious. Yum!!

fallsnow2With temperatures only reaching into the 40’s, we had the fireplace going to cozy up the house.  We did not go anywhere all day.  What a treat for all of us.

And just like that…the weekend was over and we had to return the kids to the airport early this morning for their trip back to New York and West Point.  Winter is definitely on its way though…and although it is my least favorite season, the silver lining is that it also means that more breaks from school are on the way… along with some more cozy family time.  I sure can’t complain about that. 🙂

Lynell

1 Comment

Filed under Daily life, Smoking

Spring? Finally.

Last Friday we received about a foot of heavy wet snow.  It was depressing and everyone was complaining and crabby, including me.  It felt like spring would never arrive.  April has been a strange and very snowy month.spring1

One week later and it looks like this…

spring11

Yes, I think spring has finally arrived.  The last two days we have enjoyed temperatures in the low 70’s.  It is not expected to last all week, but it sure has helped to melt the snow and get spring kicked into gear.

Last weekend, when it was still cold, we hosted a smoking party at our house.  Jesse was going to fire up the smokehouse while the temperatures were still cool with the snow on the ground, so he invited friends to bring over anything they wanted to smoke.  We had a real assortment of good stuff:  almonds, peanuts, cheese, cheese curds, leg of lamb, pork chops, pork roasts, ribs, and chickens.  Once the smokehouse was loaded up, we enjoyed chatting and having some beverages while we waited for the smokehouse to work its cold-smoking magic.

We also started cooking sap to make maple syrup the same day.  The sap ran very late this year due to the crazy spring.  We were not sure if it would run at all, but the trees finally started dripping and actually produced a lot of sap.

Jesse found this stainless steel pan at a restaurant equipment store and it works great on our outdoor stove to cook the sap.  It has a lot of surface area to help with evaporation and to cook the sap down faster.  The sap looks just like water when you first collect it from the tree to start cooking.

spring2

As it cooks longer, it starts to brown up and begins to have a sweet caramel-like aroma.  We cooked down enough sap last weekend to make one gallon of syrup.

spring3

This past Thursday evening Jesse fired up the stove once again and cooked down the rest of the sap overnight.  In total, we ended up with two gallons of syrup.  Yum!
spring13

Yes, spring is here.  The birds have been singing, the geese are honking, and the frogs have awoken and are singing their lovely spring song.

All varieties of wildlife are on the move. During the day yesterday, I was working at home and as I glanced up from the file I was reading, I noticed these turkeys come walking past the back of the barn and headed towards the river. I grabbed my camera and snapped a few shots.

We joke sometimes about living in a nature preserve.  I guess we have the river to thank for the wide array of wildlife we get to see and/or hear (the owls hooting at night are my favorite) on a daily basis.
spring4

Along with the melting snow comes spring flooding.  The water has risen rapidly in the last two days and the river is overflowing.
DSC_0101

We spent yesterday evening and today outside enjoying the warm temperatures by starting our spring cleanup.  I cut down any perennials that stood through the winter and raked all the leaves out of the gardens.

spring14

Tired of the chickens coming up by the house and digging in the dirt of my perennial garden, we decided to lock them in the vegetable garden fence today to enjoy the sunshine.  Ironically, we built this very fence in part, to keep the chickens out of the vegetable garden.  They loved kicking around the bit of straw, pecking at the grass, and digging in the dirt all day.
spring9

Underneath the piles of leaves I discovered some flowers eager to get growing.  These tulips had obviously decided that spring was here, despite the foot of snow we received just a week ago.
spring7

Likewise, the peonies are bursting out of the ground.  I love peonies so much.  They remind me of my grandma.

spring8Our old girl was out soaking up the sunshine today too. I love her an awful lot too.

spring6

The beehives are sitting empty across the field awaiting their new residents.  We ordered two nucs of bees that should arrive in about 10 days.  The nucs contain some frames of brood and a queen, so they are already somewhat established.  Since we are starting over again after a year of bee-keeping drama (swarming, robbing, etc.), it will be nice to have the hives get up and running quickly.
spring15

So, after a very long winter, it seems as though spring has arrived.  Finally.

There may likely be a few more bumps along the way, but we are definitely headed in the right direction.

Lynell

6 Comments

Filed under Daily life, Food, Maple Syrup, Miscellaneous

Cold-Smoking: Pork Ribs

I finally found time a few weeks back to fire up the smoke-house for some cold-smoking as the weather warmed up above freezing during the day.  Unless you are buying hogs by the 1/2 or 1/4, you will typically buy pork ribs from your grocer or butcher that are frozen. Since we have plenty of freezer space and a vacuum sealer, I like to smoke several racks of ribs so that we can pull them out of the freezer for a rib dinner whenever we are in the mood.

I start thawing the ribs two days before I’m going to run the smoker. One day to thaw, and another day (or at least overnight) to let them dry. After the ribs are thawed, I dry them off with paper towels and then liberally coat them with a dry rub. There are several good rubs available on the market; I like Famous Dave’s or Rendezvous (from Memphis), or you can mix up your own concoction.

ribs

Make sure to coat both sides and all the edges with the dry rub so that the seasoning can do its magic.ribs2

After the ribs are dry rubbed, separate them on cookie sheets so that they can dry in the refrigerator for 1 day or at least overnight. The reason to let them dry is that wet meats tend to allow the soot from the smoke adhere to the meat.

You can see that spring had not yet arrived (it still hasn’t), but with day time temps in the 20’s the heat from the smoker will keep the meat from freezing in the smokehouse. Frozen meat does not absorb smoke very well.

ribs3

After finally getting the firebox dug out from the snow, I was ready to start the fire. My favorite wood for smoking any kind of pork is white oak, although red oak is a close second. If I have some apple wood available, I will add a few sticks of apple to layer in some sweetness from the fruit wood.ribs4

I had enough space in the smokehouse to add in a chicken that I had brined in salt, sugar, and rosemary. If you haven’t yet tried brining your chickens and turkeys, I highly recommend it!

You can see the smoke starting to draft up through the floor of the smokehouse.

ribs5

Now that a good draft has started, I close the door and add a little more wood about once an hour. Depending on how smokey you like your ribs, you can smoke them from 2-6 hours. I like mine right at 4 hours.ribs6

This smokehouse is so easy and fun to use, but just to make sure everything goes right, I like to open a couple of beers and keep a close eye on it.ribs7

The last step of the process is to vacuum seal the ribs to ensure freshness for up to one year. If you don’t have a vacuum sealer, you can also wrap the ribs in a good butcher paper, but you will probably want to cook them within a few months.

ribs9

A few tips on cooking ribs. The key is to cook them low and slow. Coat them with a little barbecue sauce and place them in a cake pan covered tightly with tin foil, or you can wrap them individually with tin foil to seal in the juices. I like to cook them at about 220 F for about 4 hours, or just until they are ready to fall of the bone. Then I like to finish them off for a few minutes under the broiler in the oven or on the grill to give them a nice caramelized flavor, but don’t overdo this last step because it is easy to dry them out too much.

And the most important tip?  Enjoy with a nice full-bodied beer or a hearty glass of red wine!

Jesse

8 Comments

Filed under Food, Smokehouse, Smoking

Spring Preparations: Winter Sowing and Tree Tapping

The days are getting longer and the sun’s rays are growing stronger each day.  Even with a foot or so of snow still on the ground, I can feel spring in the air and we have begun our preparations.

I finally got around to getting some winter sowing done this past weekend.  My first attempt a few years ago was enough of a success to convince me to continue trying this process.  I started saving milk jugs earlier this year and requested a friend to do the same, so I had a good supply.

DSC_0001

I discussed the basics of the winter sowing process in this earlier post from 2010:

Sowing Seeds Outdoor in Winter

Some changes that I have made to the process since my first attempt is to not cut the milk jugs completely in half, but rather to leave the handle side attached to act as a hinge in the spring when you need to open the containers during the warm days.  I also write the flower variety on a craft stick and place it inside the container instead of writing on the outside of the milk jug, which wears off in the weather over time.

This year I am attempting to winter sow the following varieties of flowers:

  • Coneflower White Swan
  • Coneflower Bravado
  • Coneflower Magnus
  • Delphinium Magic Fountains (Cherry Blossom)
  • Delphinium Pacific Giants
  • Foxglove (Foxy Mix)
  • Larkspur Lover’s Mix

I am even attempting winter sowing some kale (Kale Winterbor Hybrid).  I will let you know how that turns out.

DSC_0005

The milk jugs are all taped up and ready for placement in the snow to await spring.  In a few months, these containers will house some little seedlings to add to my gardens.

I wrote the following post in the summer after my first attempt at winter sowing, showing the little seedlings and the bigger plants once transplanted to the garden:  Winter Sowing Update.

DSC_0006

It is hard to believe that this cost-effective process can yield such great results.  My biggest success in winter sowing to date has been my poppies and foxgloves.  I wrote about my foxglove successes in winter sowing in 2011: Foxgloves: A Favorite.

On the flip side, I have struggled with the germination of Delphinium, typically only getting a few seedlings out of a packet of seeds.  I adore Delphiniums in my garden so much however, that despite my limited success, I continue trying to winter sow them.  And considering the cost of perennial plants, a $2 packet of seeds is still a good deal, even if I do eventually only get 3 or 4 plants for the garden.

DSC_0009Besides winter sowing, we also got some trees tapped in hopes of getting some sap this year.  Last year was such a strangely warm winter and spring that the sap never ran and we were unable to make any maple syrup.  The summer continued with very little rain and drought conditions.

Jesse’s mother sent him an article, Maple Syrup and Drought, from the University of Minnesota Extension website that discusses the dilemma of tapping maple trees after a drought year. After reading the article and comments, Jesse decided to only put one tap in each tree, as opposed to the two or three he usually does in the bigger trees.

DSC_0050

Our youngest helped insert the spiles into the drilled holes.DSC_0048

After hanging milk jugs on the trees to collect the sap, we will be ready to go when the sap starts running.DSC_0049

Not only do we all enjoy the process of making the maple syrup, we also love having it on our pancakes, waffles, french toast, etc., and in our oatmeal throughout the year.  Last year, we missed both the maple syrup process and the product. We are hoping for normal spring conditions this year that promote a healthy sap run for our trees.

I hope your spring preparations are going well in whatever part of the world you live!

Lynell

For additional posts on making maple syrup, see the following:

Maple Syrup Adventure: Part I  (March 3, 2010)

Spring Flooding and Maple Miscalculations  (March 14, 2010)

Maple SyrupAdventure: Part II  (March 28, 2010)

Leave a comment

Filed under Flower, Gardens, Maple Syrup

Finally! Productivity

September 2nd…Where has the summer gone?  It feels like I haven’t gotten anything done this summer!!

After missing the harvesting window on so much of our garden bounty this summer, we finally managed to be productive today and do some canning.  We set up a summer kitchen out on our back deck for sterilizing and processing jars in a hot water bath.

It worked fabulous because all of that moisture from the boiling water that usually ends up saturating my kitchen stayed outdoors.  We used the two-burner propane stove that Jesse purchased for making maple syrup this spring and it was perfect!

We started out with our tomatoes.  I don’t know about all of you, but our tomato plants suffered from a serious case of blight this year.  We have nonetheless still managed to enjoy a good harvest.  Cheating a bit, we use a package mix that has all the spices and all we have to do is add the freshly chopped tomatoes.  We processed 35 pints of salsa.

After the tomatoes, we started processing our apples.  This turned out to be a lot more work than I had anticipated.  This is really the first year that our tree has produced a decent amount of apples and I’m not sure how I feel about harvesting apples after today.  Peeling, coring, cutting up, boiling until softened, grinding up in the food processor, heating again until boiling….what a mess!!

We processed 7 quarts of applesauce and approximately 8 pints of apple butter.  Based on the amount of work that went into these jars, I sure hope we enjoy them.
So, finally…a day of productivity here on the farm.  We have managed to preserve some of the produce from our garden.  It makes me feel good…giddy…happy…satisfied.

Some time this winter, probably in January, I will be feeling even happier as I pop open a jar of salsa or apple butter for us to enjoy.  It will remind me of summer and of how grateful I am to live here.

-Lynell

8 Comments

Filed under Food, Freezing and Canning

Cold-Smoking: Almonds and Cheese

Time has gotten away from me and I have not posted anything for a while.  I had started this post shortly after my last post on the cold-smoked pork chops and am finally getting around to finishing it up.

So, anyhow, along with those garlic sage pork chops that we smoked a few weeks ago, we also threw some almonds and a block of sharp cheddar cheese in the smokehouse.  We have tried smoking both in the past, but were disappointed with the overpowering smoke flavor.


This time around we smoked the cheese for about 1.5 hours and the almonds for about 2.5 hours.  Once again, the cheese was still too smokey and overwhelming for my taste.  I think we will cut back to an hour next time and see if that does the trick.

The almonds, however, turned out just perfect!  Unlike commercially “smoked” nuts that are commonly flavored with liquid smoke, the smokey flavor of these almonds was fresh and subtle.  You can see in the picture that we put them in a wire strainer basket to allow the smoke to circulate around the almonds.

After cold-smoking, we followed the recipe below to finish the flavoring process.

Spicy Smoked Almonds

  • 1 pound unblanched raw smoked almonds
  • 2 T. olive oil
  • 1/4 t. cayenne pepper
  • 1/2 t. garlic powder
  • 1 T. kosher salt finely ground (coarse salt doesn’t stick to the almonds very well)
  • 2 t. chili powder
  • 1 t. fresh ground black pepper

Preheat oven to 375 deg F.

Combine the olive oil and seasonings, then mix in the almonds until they are well coated. Spread them evenly on a cookie sheet (one with sides works best).

Bake the coated almonds for 15 minutes stirring them a couple of times to roast them evenly. Remove them from the oven and let them cool on the cookie sheet.

When cool they should look dry and coated with the seasonings, and they are ready to serve with no chemical smoke flavoring!

We enjoyed snacking on them while sipping a robust red wine. Give them a try some time and enjoy!

Lynell

2 Comments

Filed under Food, Smokehouse, Smoking

Cold-Smoking: Garlic and Sage Pork Chops

Cold temperatures and some much-needed spare time over the holidays provided the perfect opportunity to fire up the smokehouse and do some cold-smoking.  We decided to do some pork chops and turned to our favorite smoking resource for a brine recipe:  Charcuterie: The Craft of Salting, Smoking and Curing by Michael Ruhlman and Brian Polcyn.

Roughly following the recipe for the Garlic-Sage-Brined Pork Chops, we mixed up the following brine:

  • 2 quarts water
  • 1/2 c. kosher salt
  • 3/4 c. packed dark brown sugar
  • 4 T. fresh sage leaves (we used ground sage and only about 3 T.)
  • 2 garlic cloves, lightly smashed
  • 1 T. fresh ground black pepper

After mixing up the brine to dissolve all the ingredients, we placed 6 thick bone-in pork chops in a gallon Ziploc bag and put them in a cooler in the garage to soak overnight.

In the morning, we put the brined pork chops on the steel rack in the smokehouse and let them sit for a few hours to dry.

Jesse eventually fired up the firebox and smoked the chops for about 5 hours with apple wood. The smell was mouth-watering.

The chops were grilled on New Year’s Eve in 15 deg F weather. As usual with a finely cold-smoked meat product, the meat was pink all the way through the chop from the smoking, the brining kept the chops moist and flavorful, and a side dish of sauerkraut or applesauce were great complements. A cold Blue Moon beer was the finishing touch to a great meal. If only Jesse’s little brother would have sent us a nice hand-crafted box of chocolate truffles (www.intriguechocolates.com) for Christmas, the meal would have been perfect!

Happy New Year!

Lynell

5 Comments

Filed under Food, Smokehouse, Smoking

More on Building a Smokehouse

As it turns out, my original post on building our smokehouse has been the number one hit that brings people to my blog.  Based on the level of interest and/or lack of information out there on the web, I thought I would try to post some more information for people interested in constructing their own smokehouse.

The most helpful resource we found when researching how to build a smokehouse was a little publication by Storey Publishing appropriately titled, Build a Smokehouse.  It is available on Amazon for $3.95, a real bargain, or visit their website at www.storey.com and search for “smokehouse.”

This great little book goes through some basic information on smoking food, explains the differences between hot-smoking and cold-smoking, and provides a helpful description of how smokers and smokehouses work. There are also detailed instructions for building a block smokehouse similar to the design that we used, and some smaller smoker projects if you don’t want such a large structure. The “hot smoke pit” is cheap and easy to build anywhere. In addition, the “barrel smoker” and the “box smoker” are also very good alternatives for cold-smoking smaller quantities at a much lower cost.

Feel free to ask questions in the comment section and we will do our best to answer them.

Lynell

2 Comments

Filed under Outbuildings, Smokehouse, Smoking