Monthly Archives: February 2013

Spring Preparations: Winter Sowing and Tree Tapping

The days are getting longer and the sun’s rays are growing stronger each day.  Even with a foot or so of snow still on the ground, I can feel spring in the air and we have begun our preparations.

I finally got around to getting some winter sowing done this past weekend.  My first attempt a few years ago was enough of a success to convince me to continue trying this process.  I started saving milk jugs earlier this year and requested a friend to do the same, so I had a good supply.

DSC_0001

I discussed the basics of the winter sowing process in this earlier post from 2010:

Sowing Seeds Outdoor in Winter

Some changes that I have made to the process since my first attempt is to not cut the milk jugs completely in half, but rather to leave the handle side attached to act as a hinge in the spring when you need to open the containers during the warm days.  I also write the flower variety on a craft stick and place it inside the container instead of writing on the outside of the milk jug, which wears off in the weather over time.

This year I am attempting to winter sow the following varieties of flowers:

  • Coneflower White Swan
  • Coneflower Bravado
  • Coneflower Magnus
  • Delphinium Magic Fountains (Cherry Blossom)
  • Delphinium Pacific Giants
  • Foxglove (Foxy Mix)
  • Larkspur Lover’s Mix

I am even attempting winter sowing some kale (Kale Winterbor Hybrid).  I will let you know how that turns out.

DSC_0005

The milk jugs are all taped up and ready for placement in the snow to await spring.  In a few months, these containers will house some little seedlings to add to my gardens.

I wrote the following post in the summer after my first attempt at winter sowing, showing the little seedlings and the bigger plants once transplanted to the garden:  Winter Sowing Update.

DSC_0006

It is hard to believe that this cost-effective process can yield such great results.  My biggest success in winter sowing to date has been my poppies and foxgloves.  I wrote about my foxglove successes in winter sowing in 2011: Foxgloves: A Favorite.

On the flip side, I have struggled with the germination of Delphinium, typically only getting a few seedlings out of a packet of seeds.  I adore Delphiniums in my garden so much however, that despite my limited success, I continue trying to winter sow them.  And considering the cost of perennial plants, a $2 packet of seeds is still a good deal, even if I do eventually only get 3 or 4 plants for the garden.

DSC_0009Besides winter sowing, we also got some trees tapped in hopes of getting some sap this year.  Last year was such a strangely warm winter and spring that the sap never ran and we were unable to make any maple syrup.  The summer continued with very little rain and drought conditions.

Jesse’s mother sent him an article, Maple Syrup and Drought, from the University of Minnesota Extension website that discusses the dilemma of tapping maple trees after a drought year. After reading the article and comments, Jesse decided to only put one tap in each tree, as opposed to the two or three he usually does in the bigger trees.

DSC_0050

Our youngest helped insert the spiles into the drilled holes.DSC_0048

After hanging milk jugs on the trees to collect the sap, we will be ready to go when the sap starts running.DSC_0049

Not only do we all enjoy the process of making the maple syrup, we also love having it on our pancakes, waffles, french toast, etc., and in our oatmeal throughout the year.  Last year, we missed both the maple syrup process and the product. We are hoping for normal spring conditions this year that promote a healthy sap run for our trees.

I hope your spring preparations are going well in whatever part of the world you live!

Lynell

For additional posts on making maple syrup, see the following:

Maple Syrup Adventure: Part I  (March 3, 2010)

Spring Flooding and Maple Miscalculations  (March 14, 2010)

Maple SyrupAdventure: Part II  (March 28, 2010)

Leave a comment

Filed under Flower, Gardens, Maple Syrup

Bat Removal and Relocation: Part I

We have a fairly healthy bat population in the hay loft of our barn. On summer evenings, we have stood near the barn and counted well over one hundred bats leave for their evening feed. In northern Minnesota a common bat type is the small brown bat. We have seen a few of our bats up close in the barn and they seem to be the size and description fitting the small brown bat.

Not everyone is comfortable with bats flying overhead at dusk or later sitting around the bonfire, but we have never had any problems. I think everyone is aware of how beneficial bats are for controlling mosquito and bug populations by eating as many as 5,000 bugs each night. Since our hobby farm is located along the Rum River, which has many stagnant backwater ponds, we would like to keep the bats around the farm doing their insect patrols.

While the barn has stood empty and mostly unused, we have slowly been making progress in removing calf pens and cow stanchions so that we can use the space for more garden and farm storage. The bats are mostly self-contained in the loft area of the barn, but from time to time a few of them end up in the lower area. In addition, the gaps in the floor boards of the hay loft allow bat guano to sprinkle down. So we decided that if we are going to continue to upgrade the barn, the bats needed to be relocated. Here you can see the thick layer of bat guano collecting on the hay loft floor.

DSC_0061

Here is the main entrance for the bats into the hayloft. You can see the heavy use around the hay-fork rail where they have worn off the paint from all the flights in and out.

entranceAlthough building a bat house is pretty straight forward and something we expected we would do ourselves based on plans in our “Country Wisdom & Know How” book from Storey Publishing, we also didn’t want to miss the opportunity to install the bat house before they began to return from migration. We found a design we liked from a bat conservatory organization in Michigan (www.batconservatory.org) that uses the proceeds from the bat houses to fund their projects. Here is a picture of the bat house we ordered that has the capacity for up to 300 bats. At the bottom there is a green landing mesh that is easy for the bats to land on when they are returning to their roost.box2
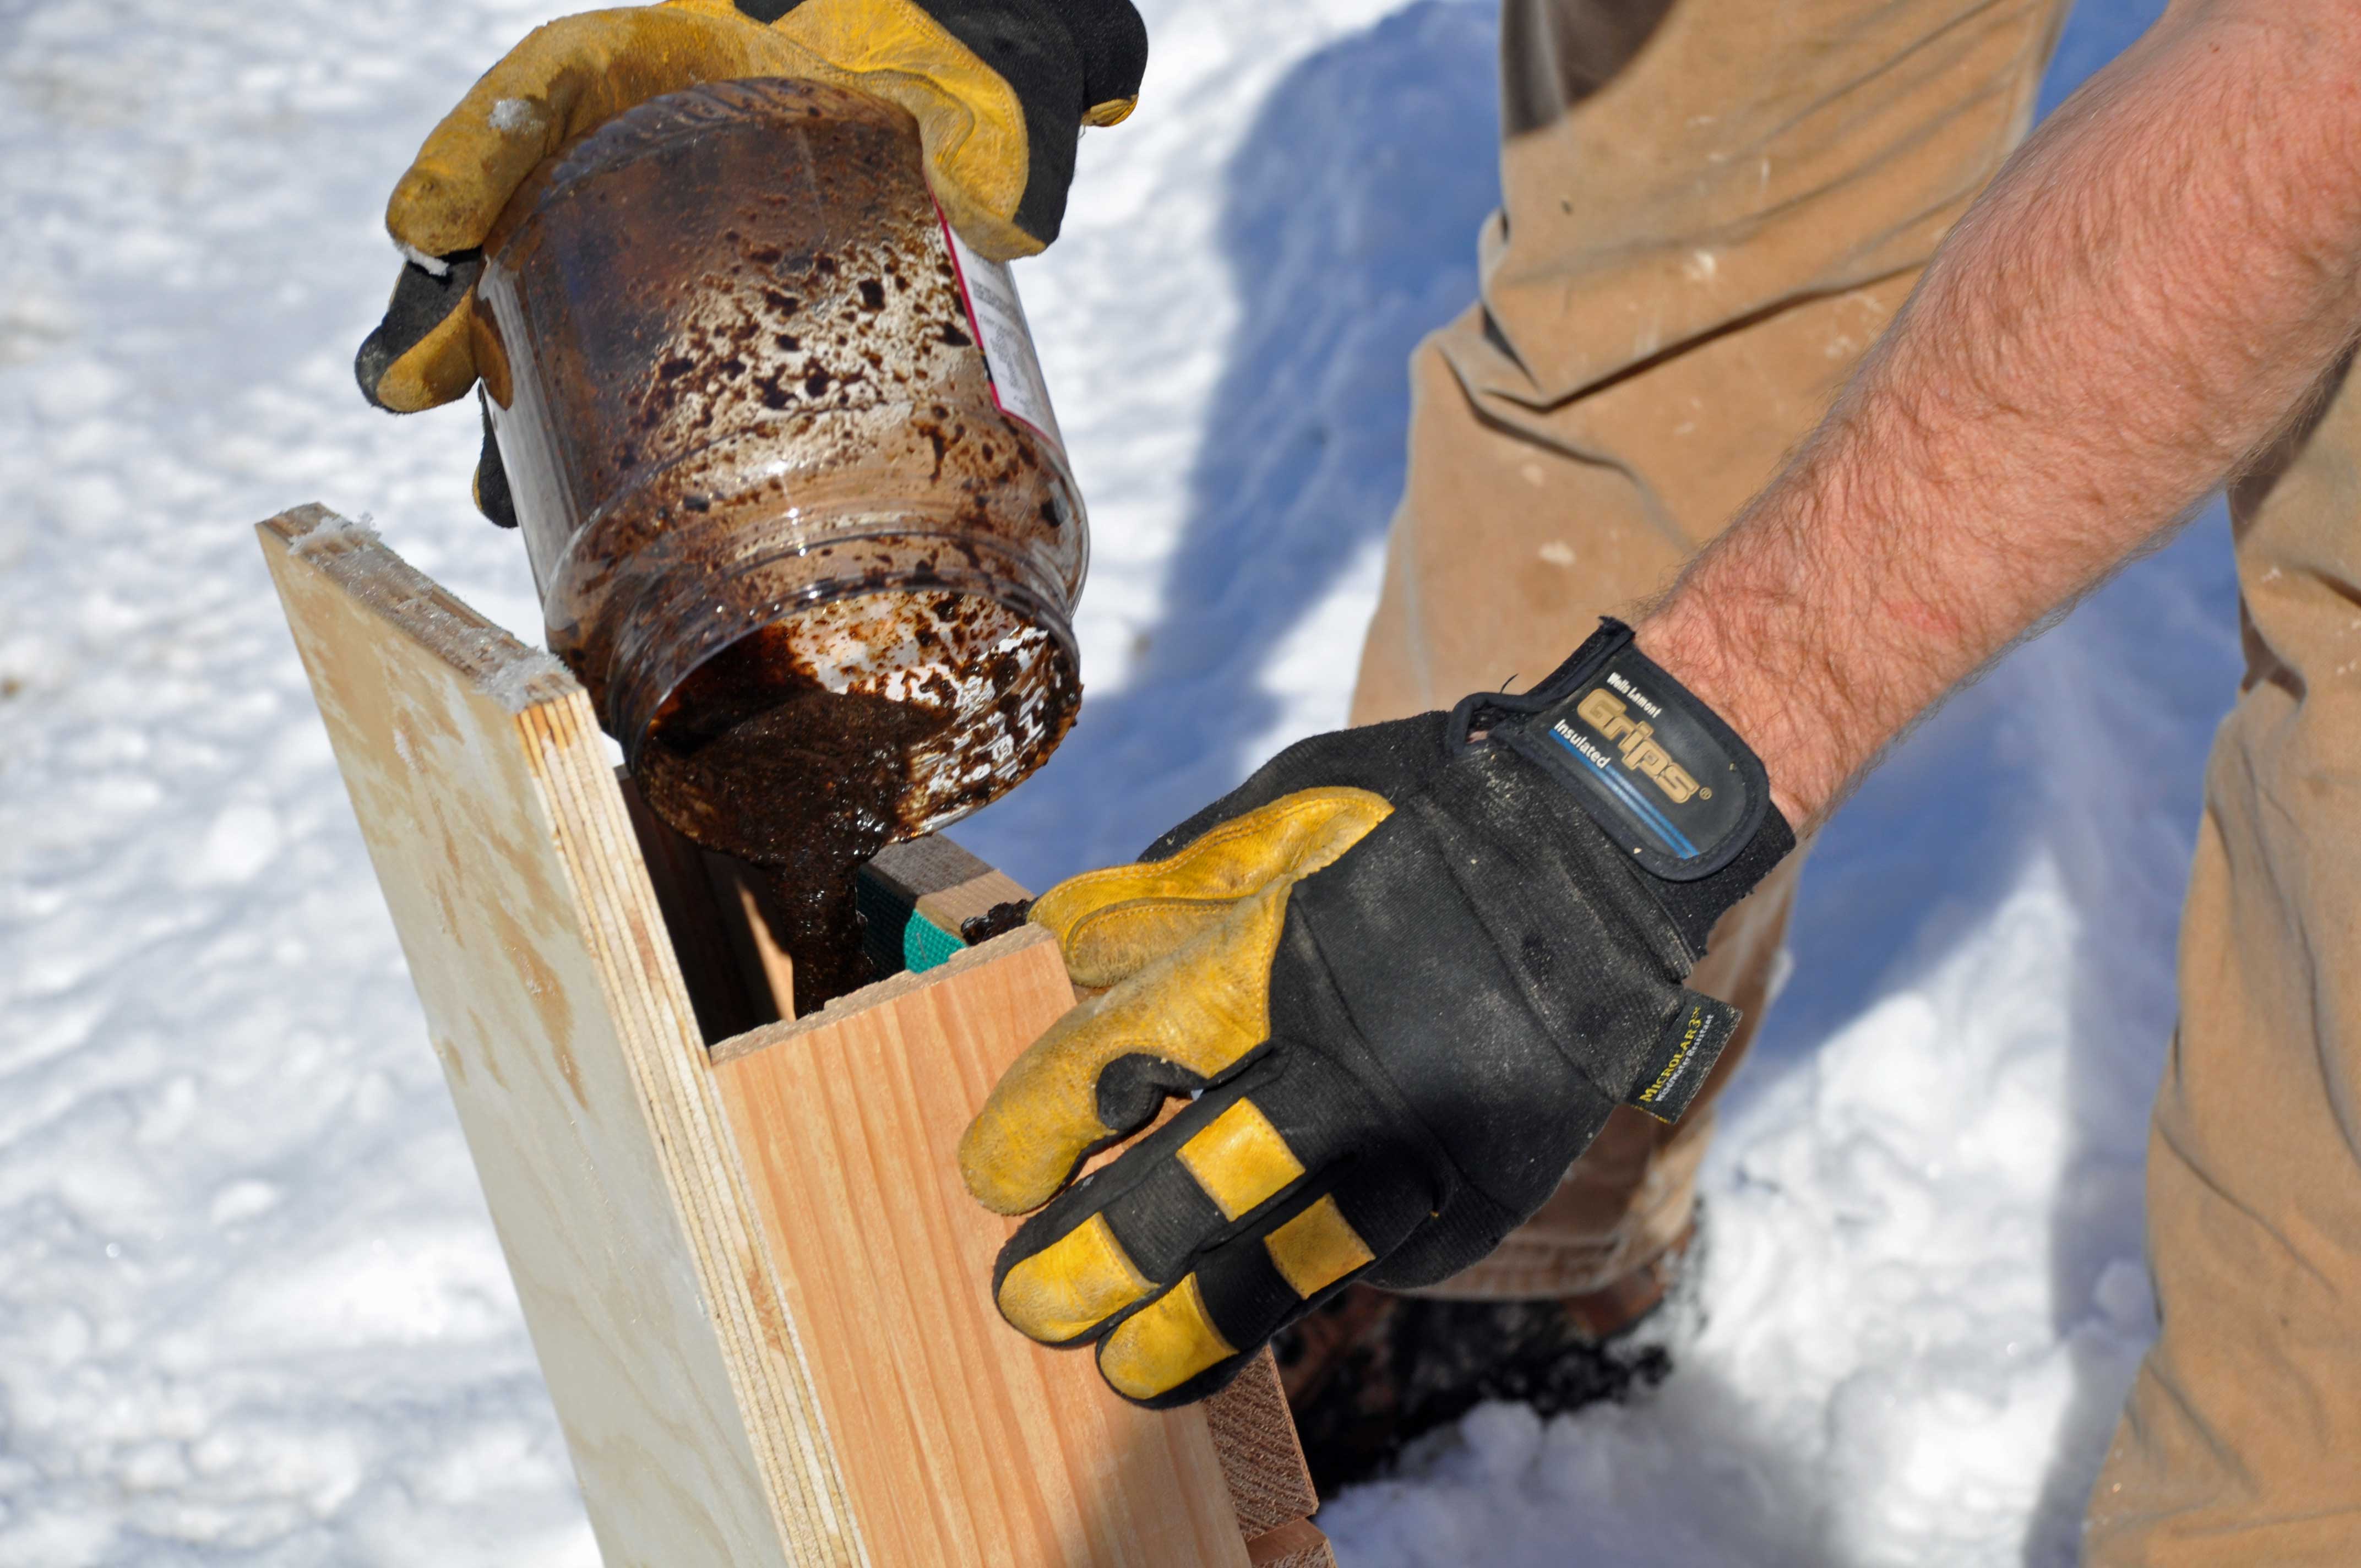
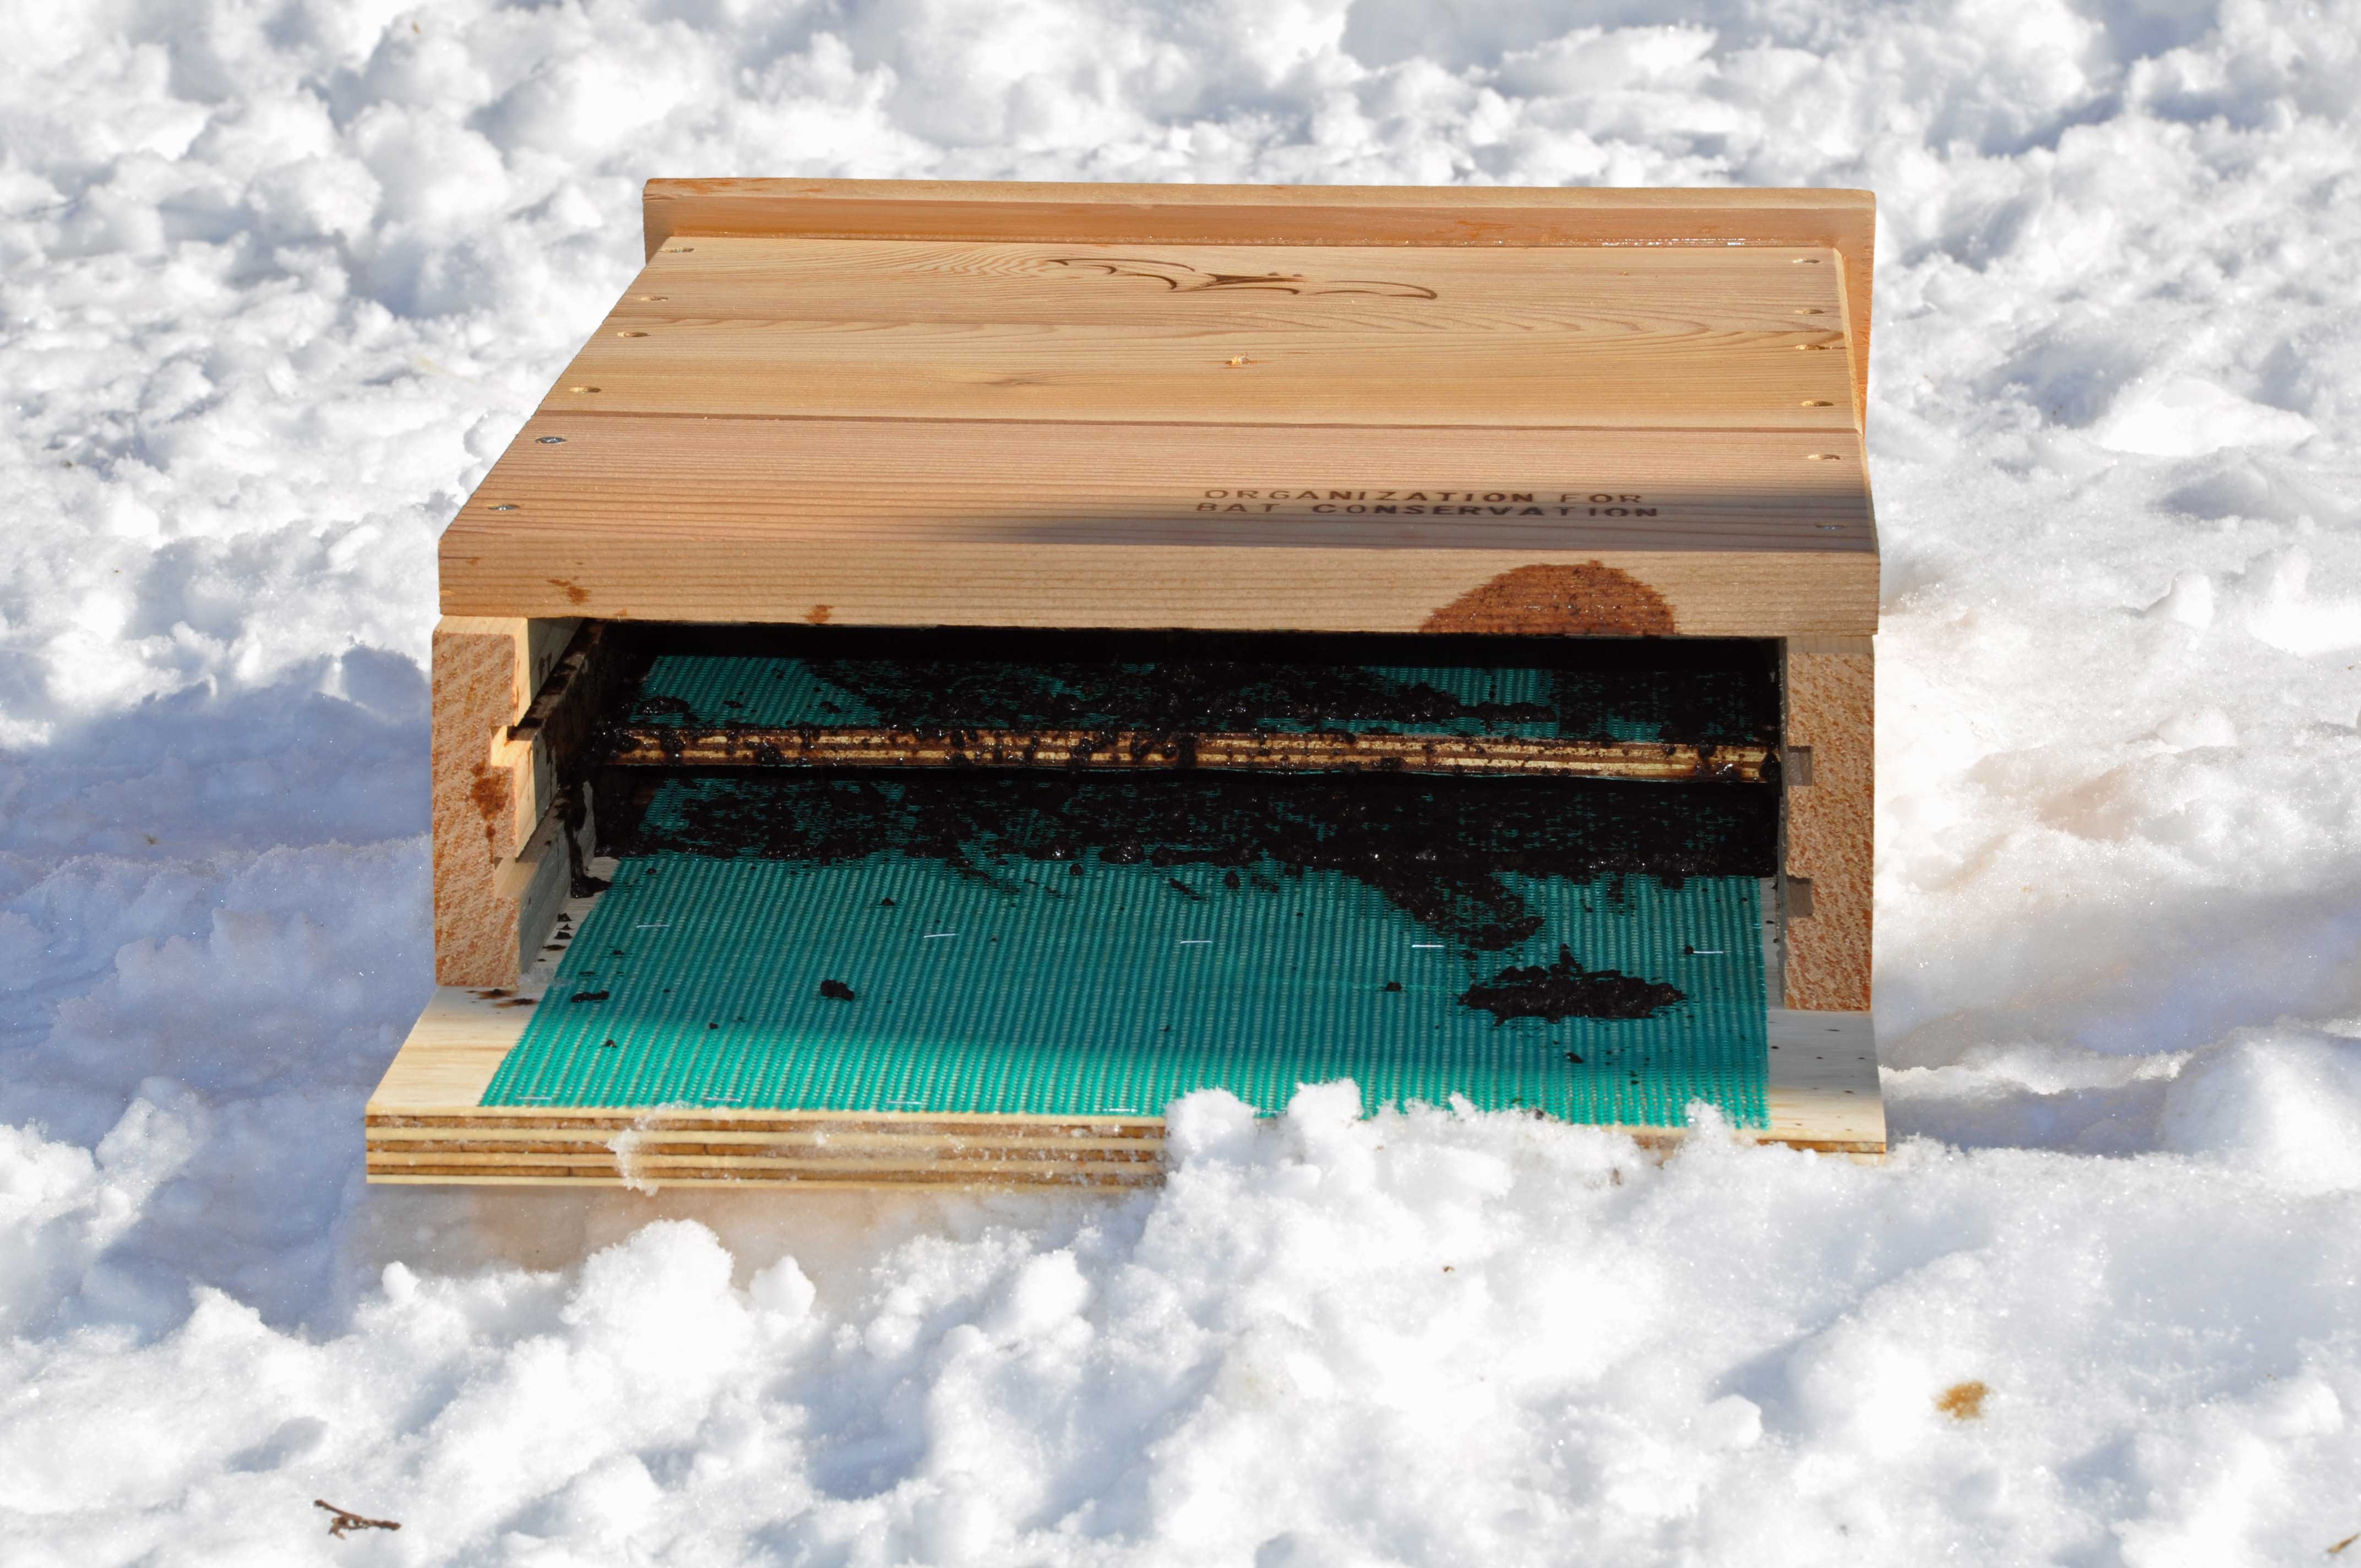
In the next picture you can see the tight crawl spaces that the bats like for roosting. When they pack themselves into these tight spaces it helps to retain their body heat and keep each other warm in cold weather.insideOur Storey book article on bats recommended “seasoning” the new bat house with guano so that it has a familiar scent. The process was to collect some guano from the hay loft and mix it with some water to create a slurry that could be poured into the bat house. This seemed kind of gross to us, but if it helps to make the bats feel comfortable in their new home then, why not?
guana2Here is our new “well-seasoned” bat house, ready for installation.inside2Our research indicated that to have the best chance for relocation, the new bat house should be located as close as possible to the current bat entrance. Well, that would be high up in the peak of the barn. The extension ladder wasn’t quite long enough, so in typical farm fashion, I placed the ladder into the bucket of the tractor. This type of work isn’t for everyone. We did luck out and it was a glorious warm sunny date for February. Even warm enough to wear a short-sleeved shirt!DSC_0028In order to have hands free for climbing the ladder, we attached a rope to the bat house so that it could be lifted up once I was comfortably positioned at the top.DSC_0031Up comes the bat house to its new location.DSC_0033It was a little dicey to hold the bat house in place and manage the screws and screw gun all at the same time. Note to self: next time start the screws in pilot holes before climbing the ladder!DSC_0036Here goes nothing…..do not stand under the ladder in case I drop something!DSC_0039

The installation is now complete. It would be nice to have positioned the bat house a little higher, but when you are on the top of the ladder it apparently seems high enough.DSC_0043
The next question to answer is whether or not the bats are hibernating in the barn or if they have migrated to somewhere warmer for the winter. Since our barn has no heating or cows keeping it warm in the winter, and since there is no evidence of bat sounds on warm winter days, we believe that our bats have migrated for the winter and will return in early spring. Our research didn’t offer any definitive answers on hibernating versus migrating for small brown bats, so we will have to keep an eye out for them inside the barn. If there are bats that become trapped in the barn, then we will have to install a one-way entrance so that they can get out but cannot come back in.

Now, what are we going to do with all those other openings in the barn wall that the bats can come through? Guess we have to start plugging them all. Small brown bats can crawl through holes as small as 3/8 inch in diameter, so every hole needs to be plugged or covered.  A sunny day is perfect for finding all the openings. Where to begin?DSC_0051

We decided that it would be easiest, low-cost, and fairly unobtrusive visually to install wire mesh over the openings – especially since there were some very large openings! We had a large roll of wire screen mesh leftover from the screened porch when we built the house. I save everything!DSC_0054

Wire screen mesh can be cut easily with a sharp sheet rock knife along a straight edge. I cut strips that were 6-8 inches wide the length of the screen and then installed them over the openings using a staple hammer. I used a lot of staples to make sure that the bats couldn’t find any new ways into the barn.
DSC_0059

We will likely not have covered every possible entrance, but we hope that enough have been covered that the new bat house looks more attractive and they make that there new home.

DSC_0097We should know in a few weeks whether we have been successful!

Jesse

6 Comments

Filed under Animals, Barn, Outbuildings

More Snow…and Tulips

Winter seems to just keep going on and on here.  We received several more inches of fresh snow this morning.  February is almost over though, so logically, I know the end is getting near.DSC_0006

Nonetheless, the drudgery and length of winter here in Minnesota can sometimes get me down.

This morning, as I walked into Target, I saw bouquets of tulips on display.  I knew that a splash of spring in the house would definitely lift my winter weary spirits.
photoSo, I decided to treat myself and I chose a beautiful pink color for big impact.  I couldn’t wait to get them home.
photo1I feel so much better already.  Life is so dull without flowers.  Thank you, Target, for this lovely pick-me-up.

Come on, spring!  Hurry up!

Lynell

1 Comment

Filed under Daily life, Flower

Making a Farm Table from Salvaged Lumber

With the completion of the first phase of our patio and fire-pit area last spring, I went in search of finding a suitable table to add to the area.  We visited many outdoor furniture stores and I searched endlessly on-line, not knowing exactly what it was I was searching for.

patio15I felt like too many of the table sets looked modern and would seem out-of-place with the barn as the backdrop.  Finally, I stumbled across a table that caught my eye on the Restoration Hardware website; it was a big chunky farm table made from 100-year-old salvaged elm doors, with a hefty price tag of around $3,500.00…and that was on sale.

I showed it to Jesse and after he studied it a bit, he told me he thought he could make something similar.  He forwarded the picture to his dad, who is a skilled wood craftsman, and they discussed how to tackle the project.

larkspurWhen we first purchased the farm twelve years ago, an old farmhouse stood on the property.  Before tearing it down to build our current house, Jesse and his dad salvaged materials from the old structure; bricks, wood flooring, baseboard and trim, doors, and floor stringers made from rough sawed wood.  We used some of the wood flooring in our new home and stored the rest of the salvaged wood in the barn for some unknown future use.  Jesse thought he could use some of the salvaged elm floor stringers to make the farm table.

We planned the project so that our oldest son would be home on leave from West Point.  He is very interested in woodworking and we thought it would be a great learning opportunity for him.  We also coordinated with Jesse’s dad to make sure he could come down to advise and assist.
DSC_0019

After digging the boards out of the loft of the barn, the first task was to remove all the nails.  The next challenge was to plane the boards down to both make them smooth and to create some uniformity in their thickness.
DSC_0018

Basing the table measurements off the dimensions of the Restoration Hardware  table, they started to assemble the table and square up the ends.

DSC_0027Once the boards for the table top were planed and cut to the proper length it was time to work on the structure that would hold everything together. The guys decided that 1 1/2 in. angle iron would provide the proper strength and be consistent with the rugged appearance. Our son started to measure, mark and drill the holes in the angle iron that the carriage bolts would be bolted through.
DSC_0024

With the angle iron prepared it was time to square up the table and begin to drill the holes and mount the angle iron. Measure twice and cut once 🙂

DSC_0023

There was quite a bit of discussion on how to design and build the legs for the table. Jesse’s dad does a good job of explaining what they are doing and why. Jesse and his dad have done so many projects together over the years that they usually quickly understand where they are going, so bringing our oldest son up to speed is an important step.DSC_0025

They clamped the boards for the legs together and drilled holes to attach the angle iron that will connect the legs to the table top. To better drill straight holes and minimize errors, they modified a jig.DSC_0026

Without too much trouble, they attached the legs and marked the holes for the table top through the angle iron supports.
DSC_0028

The guys were surprised how heavy the table was now that it was completely assembled. They turned the table over and stepped back to admire their handiwork. Things were looking pretty good.
DSC_0032

We have had some outside furniture over the years and have tried many stains and varnishes but they have never held up to the elements. To avoid the peeling and to keep a rustic look, we decided to use a natural oil sealant. The old dry lumber really soaked up the oil and highlighted the grain nicely. We will need to apply a fresh coat each spring, but this approach should avoid having to sand and reapply varnish every 2-3 years.DSC_0002

I used a small art brush to get the oil in between the boards. DSC_0007

Here is the finished product as the second coat of oil is still soaking in and drying off. The shine goes away and a nice natural feeling surface remains. DSC_0014

And finally…our new farm table!  Total cost of the table was around $200 for the angle iron and carriage bolts.  Much better than $3,500, don’t you agree?

DSC_0017I absolutely LOVE our new table!  The price was right and I think it fits perfectly with our farm setting.

Most importantly though, I love it because it was made by these three special guys working together.

Lynell

2 Comments

Filed under Daily life, Kids

Winter Days

As winter plods along, I find myself gazing out at our screen porch often.  It is such a lovely space to enjoy the outdoors in the spring, summer and fall.  We frequently eat meals out here, enjoy our morning coffee, and curl up on the couch after dark to listen to the crazy sounds of the wildlife along the river.
DSC_0008

Even in the doldrums of winter, this space is inviting when the sun is shining.

DSC_0009As a good Minnesotan, I can’t resist commenting on our weather…that is just what we do.  While the east coast is expecting a “historic” storm and the national media is all abuzz, we are expecting anywhere from 9-15 inches of snow here on Sunday…just another wintery Minnesota day.

For now, I will have to be content with admiring our screen porch from indoors.

Lynell

4 Comments

Filed under Daily life