Monthly Archives: October 2013

Seeing RED

The thing that I like least about blogging is the writing part.  Sometimes I just do not have anything particularly interesting to say.

The thing that I love about blogging is the pictures.  I love to take pictures. I love to see other people’s pictures.  And I love to share my pictures.

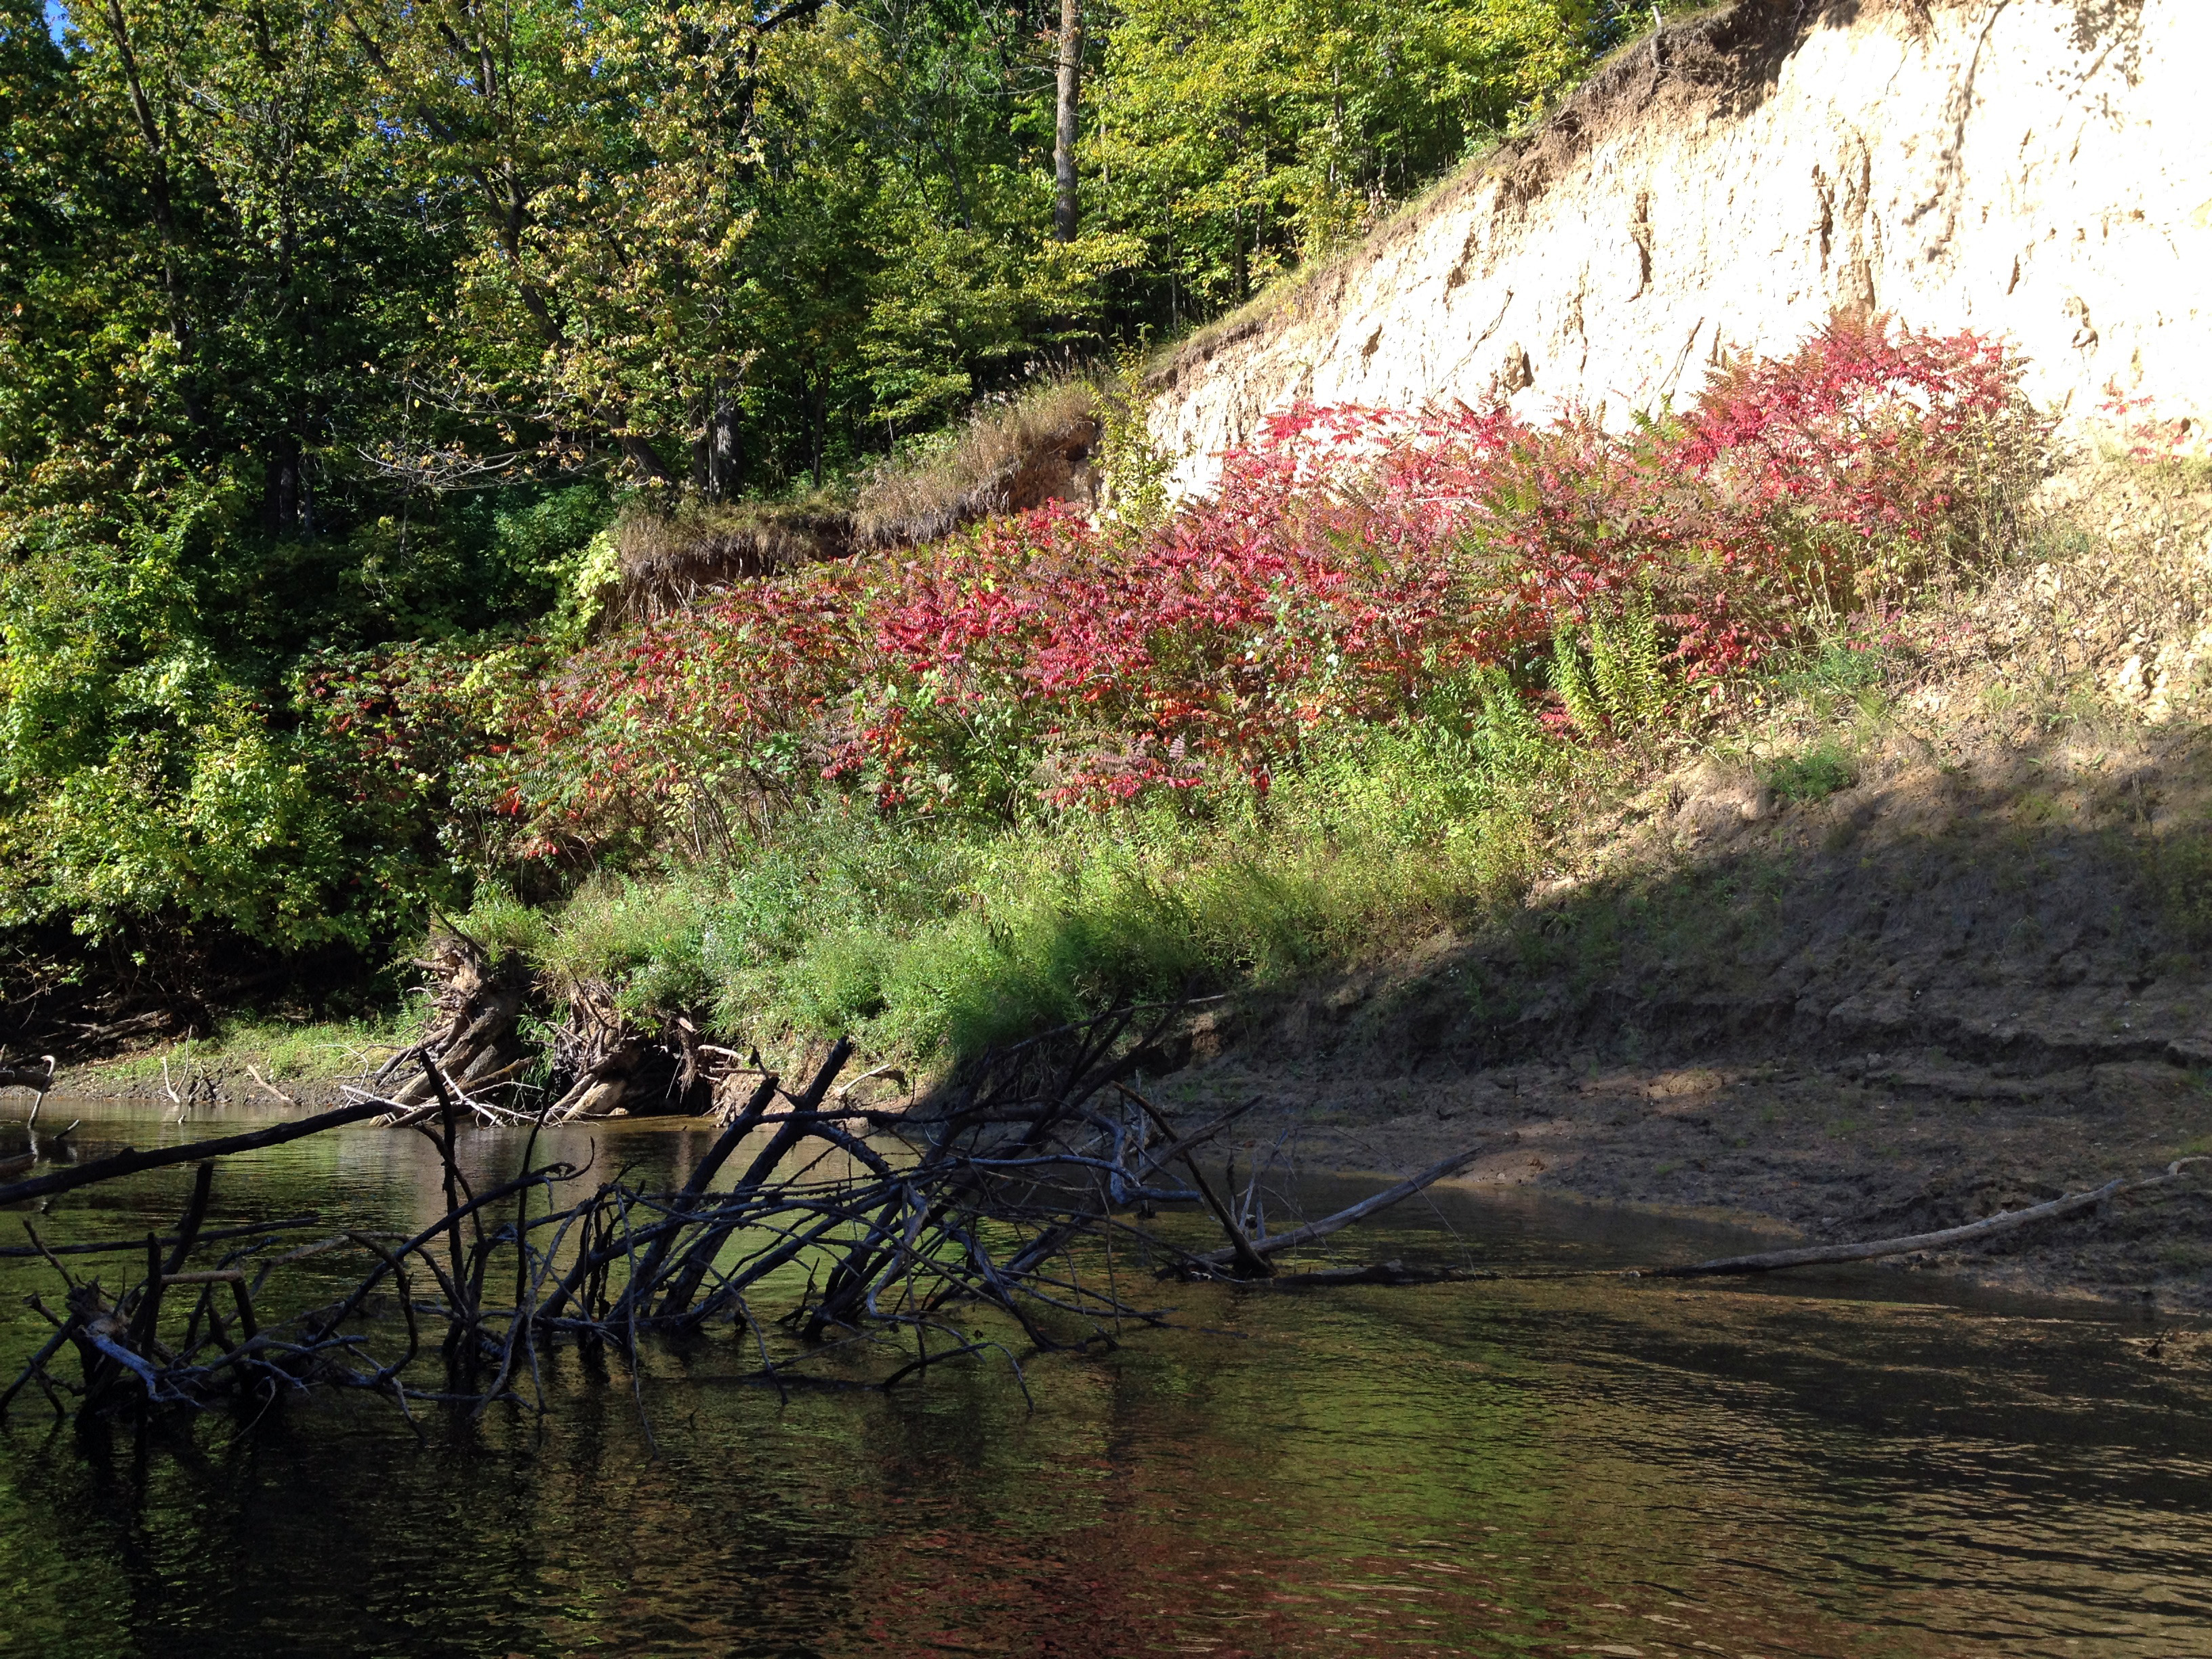
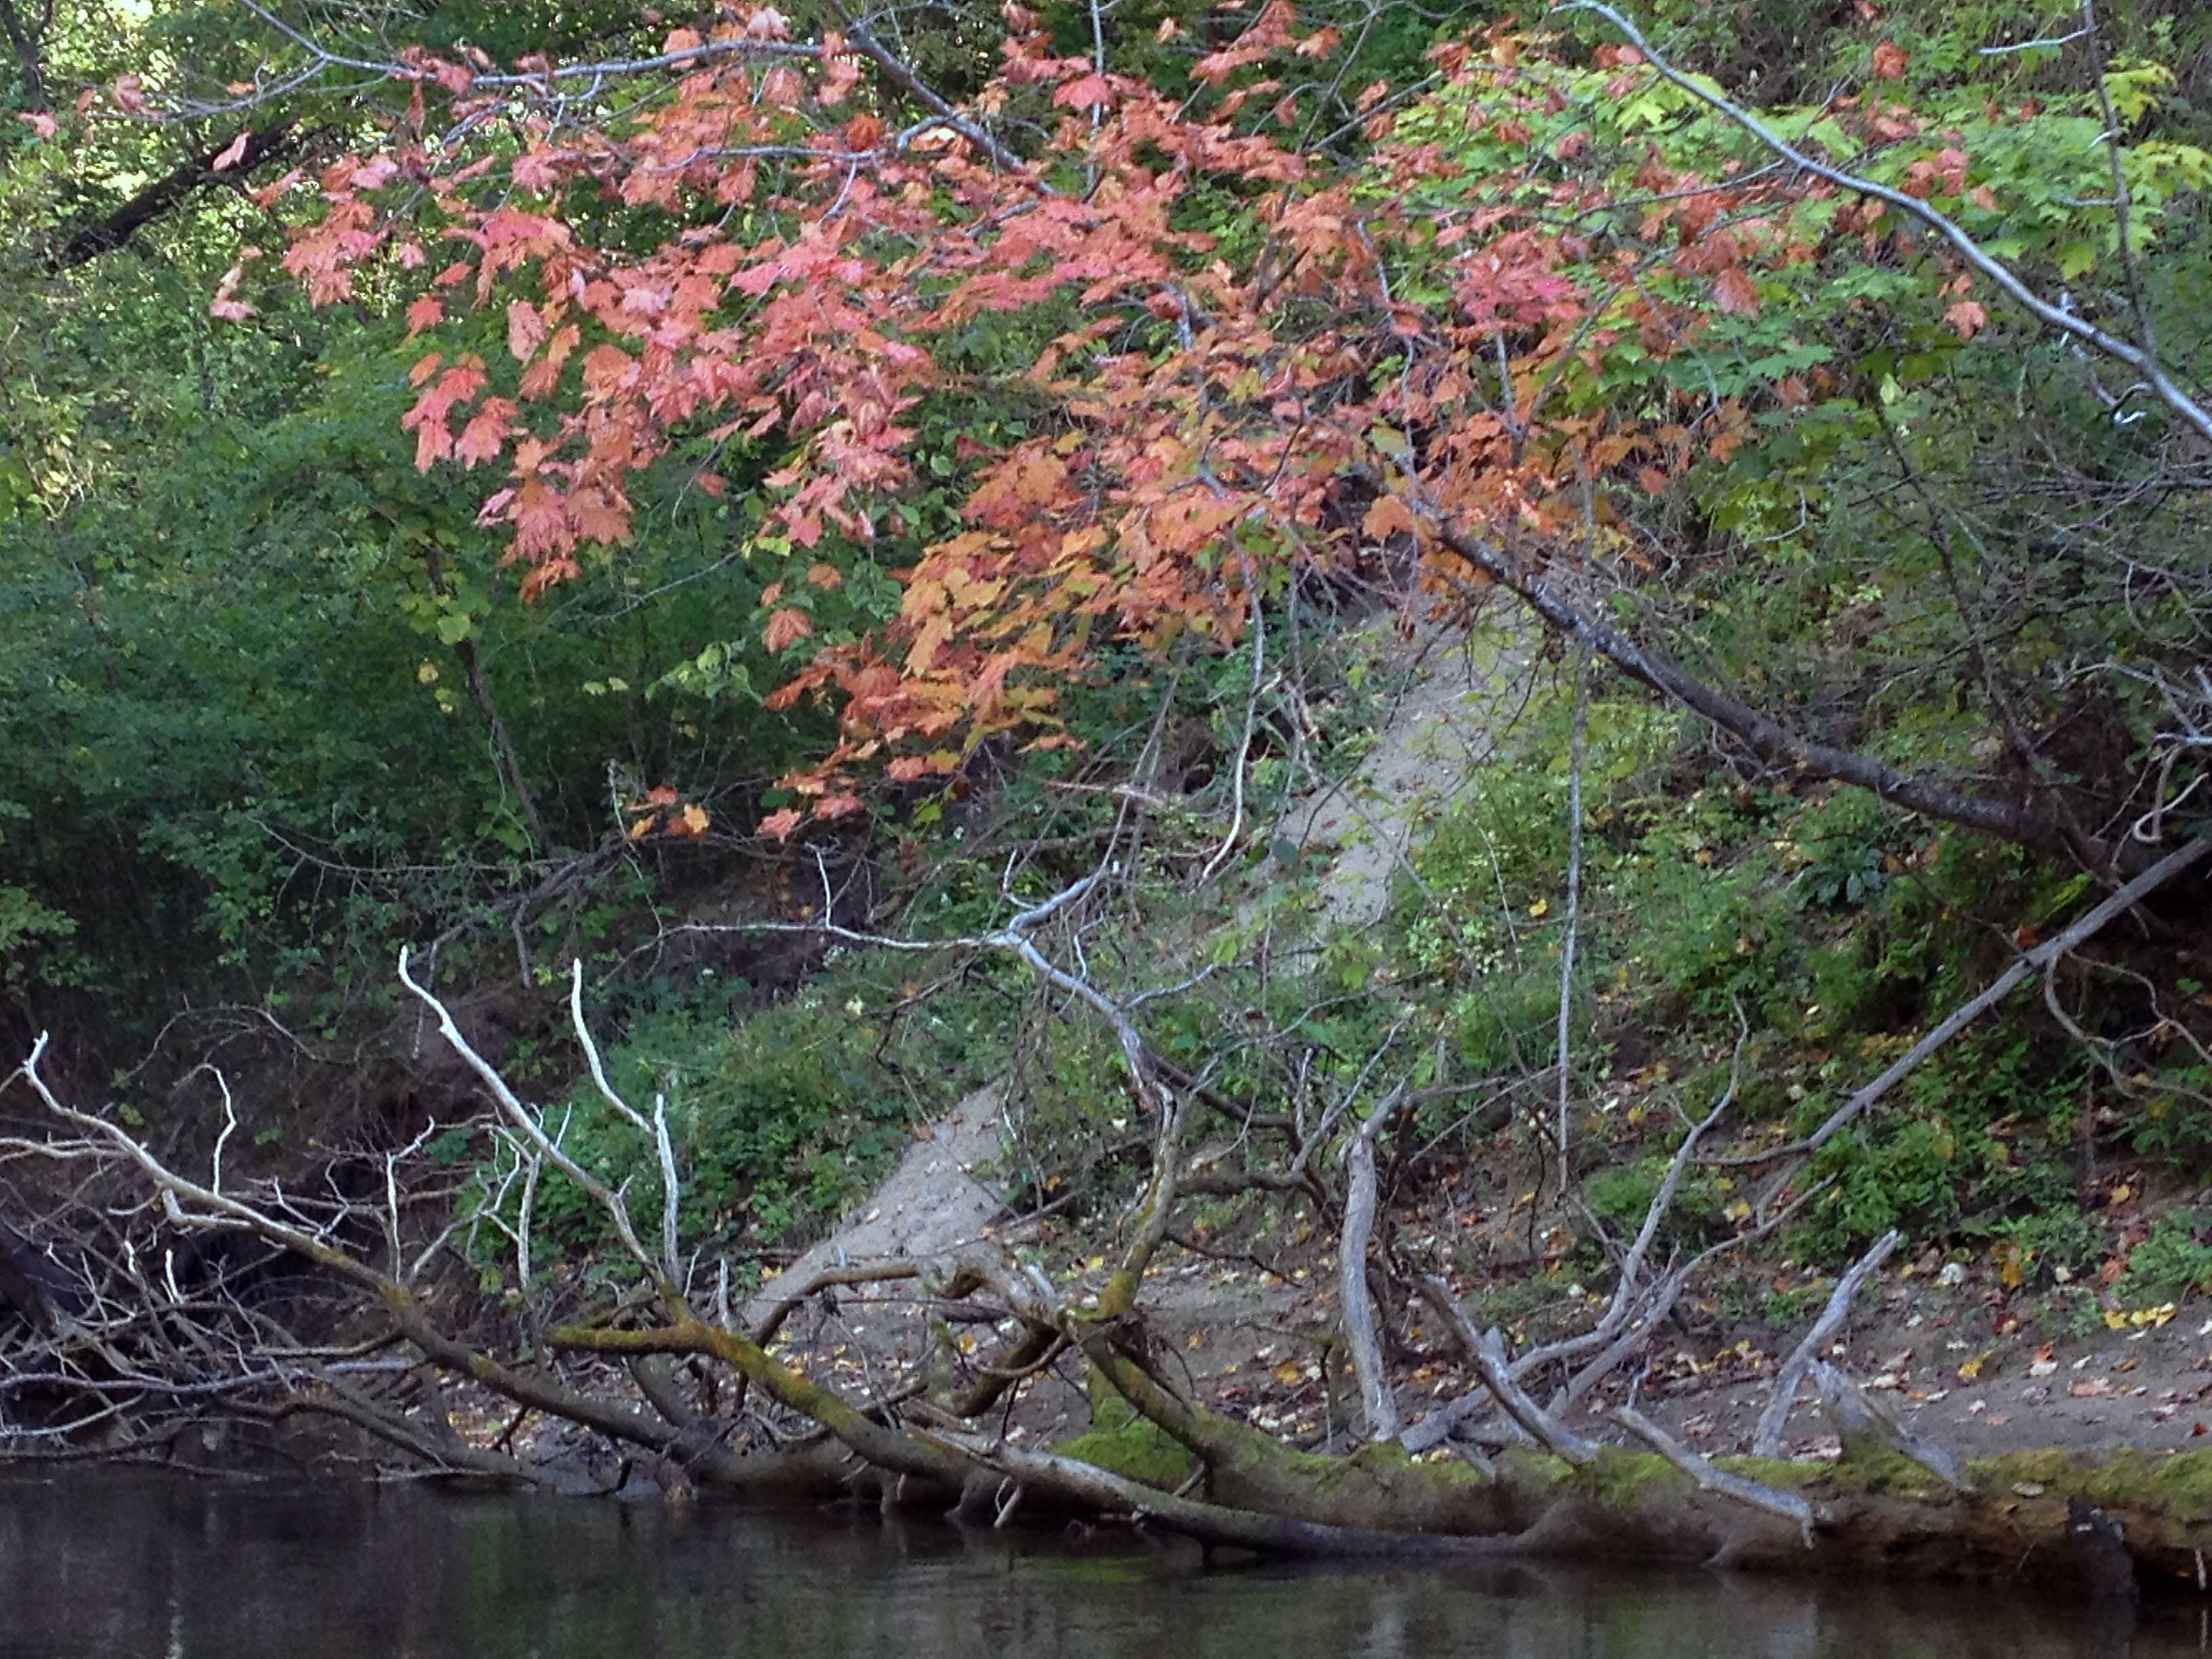
So, that’s exactly what I am going to do in this post – just share a few of my pictures.  As I looked at the latest collection of my shots, I noticed a lot featuring various shades of red. Below are just a few.

Our prairie-fire crabapple tree outside the kitchen window is full of red fruit and reddish leaves.

red
A closer-up view of the fruit.  And notice the red granary is in the background.DSC_0036

My Autumn Joy Sedum plants have turned a very dark pinkish-red.  Even after several hard frosts, they are still looking good. DSC_0050

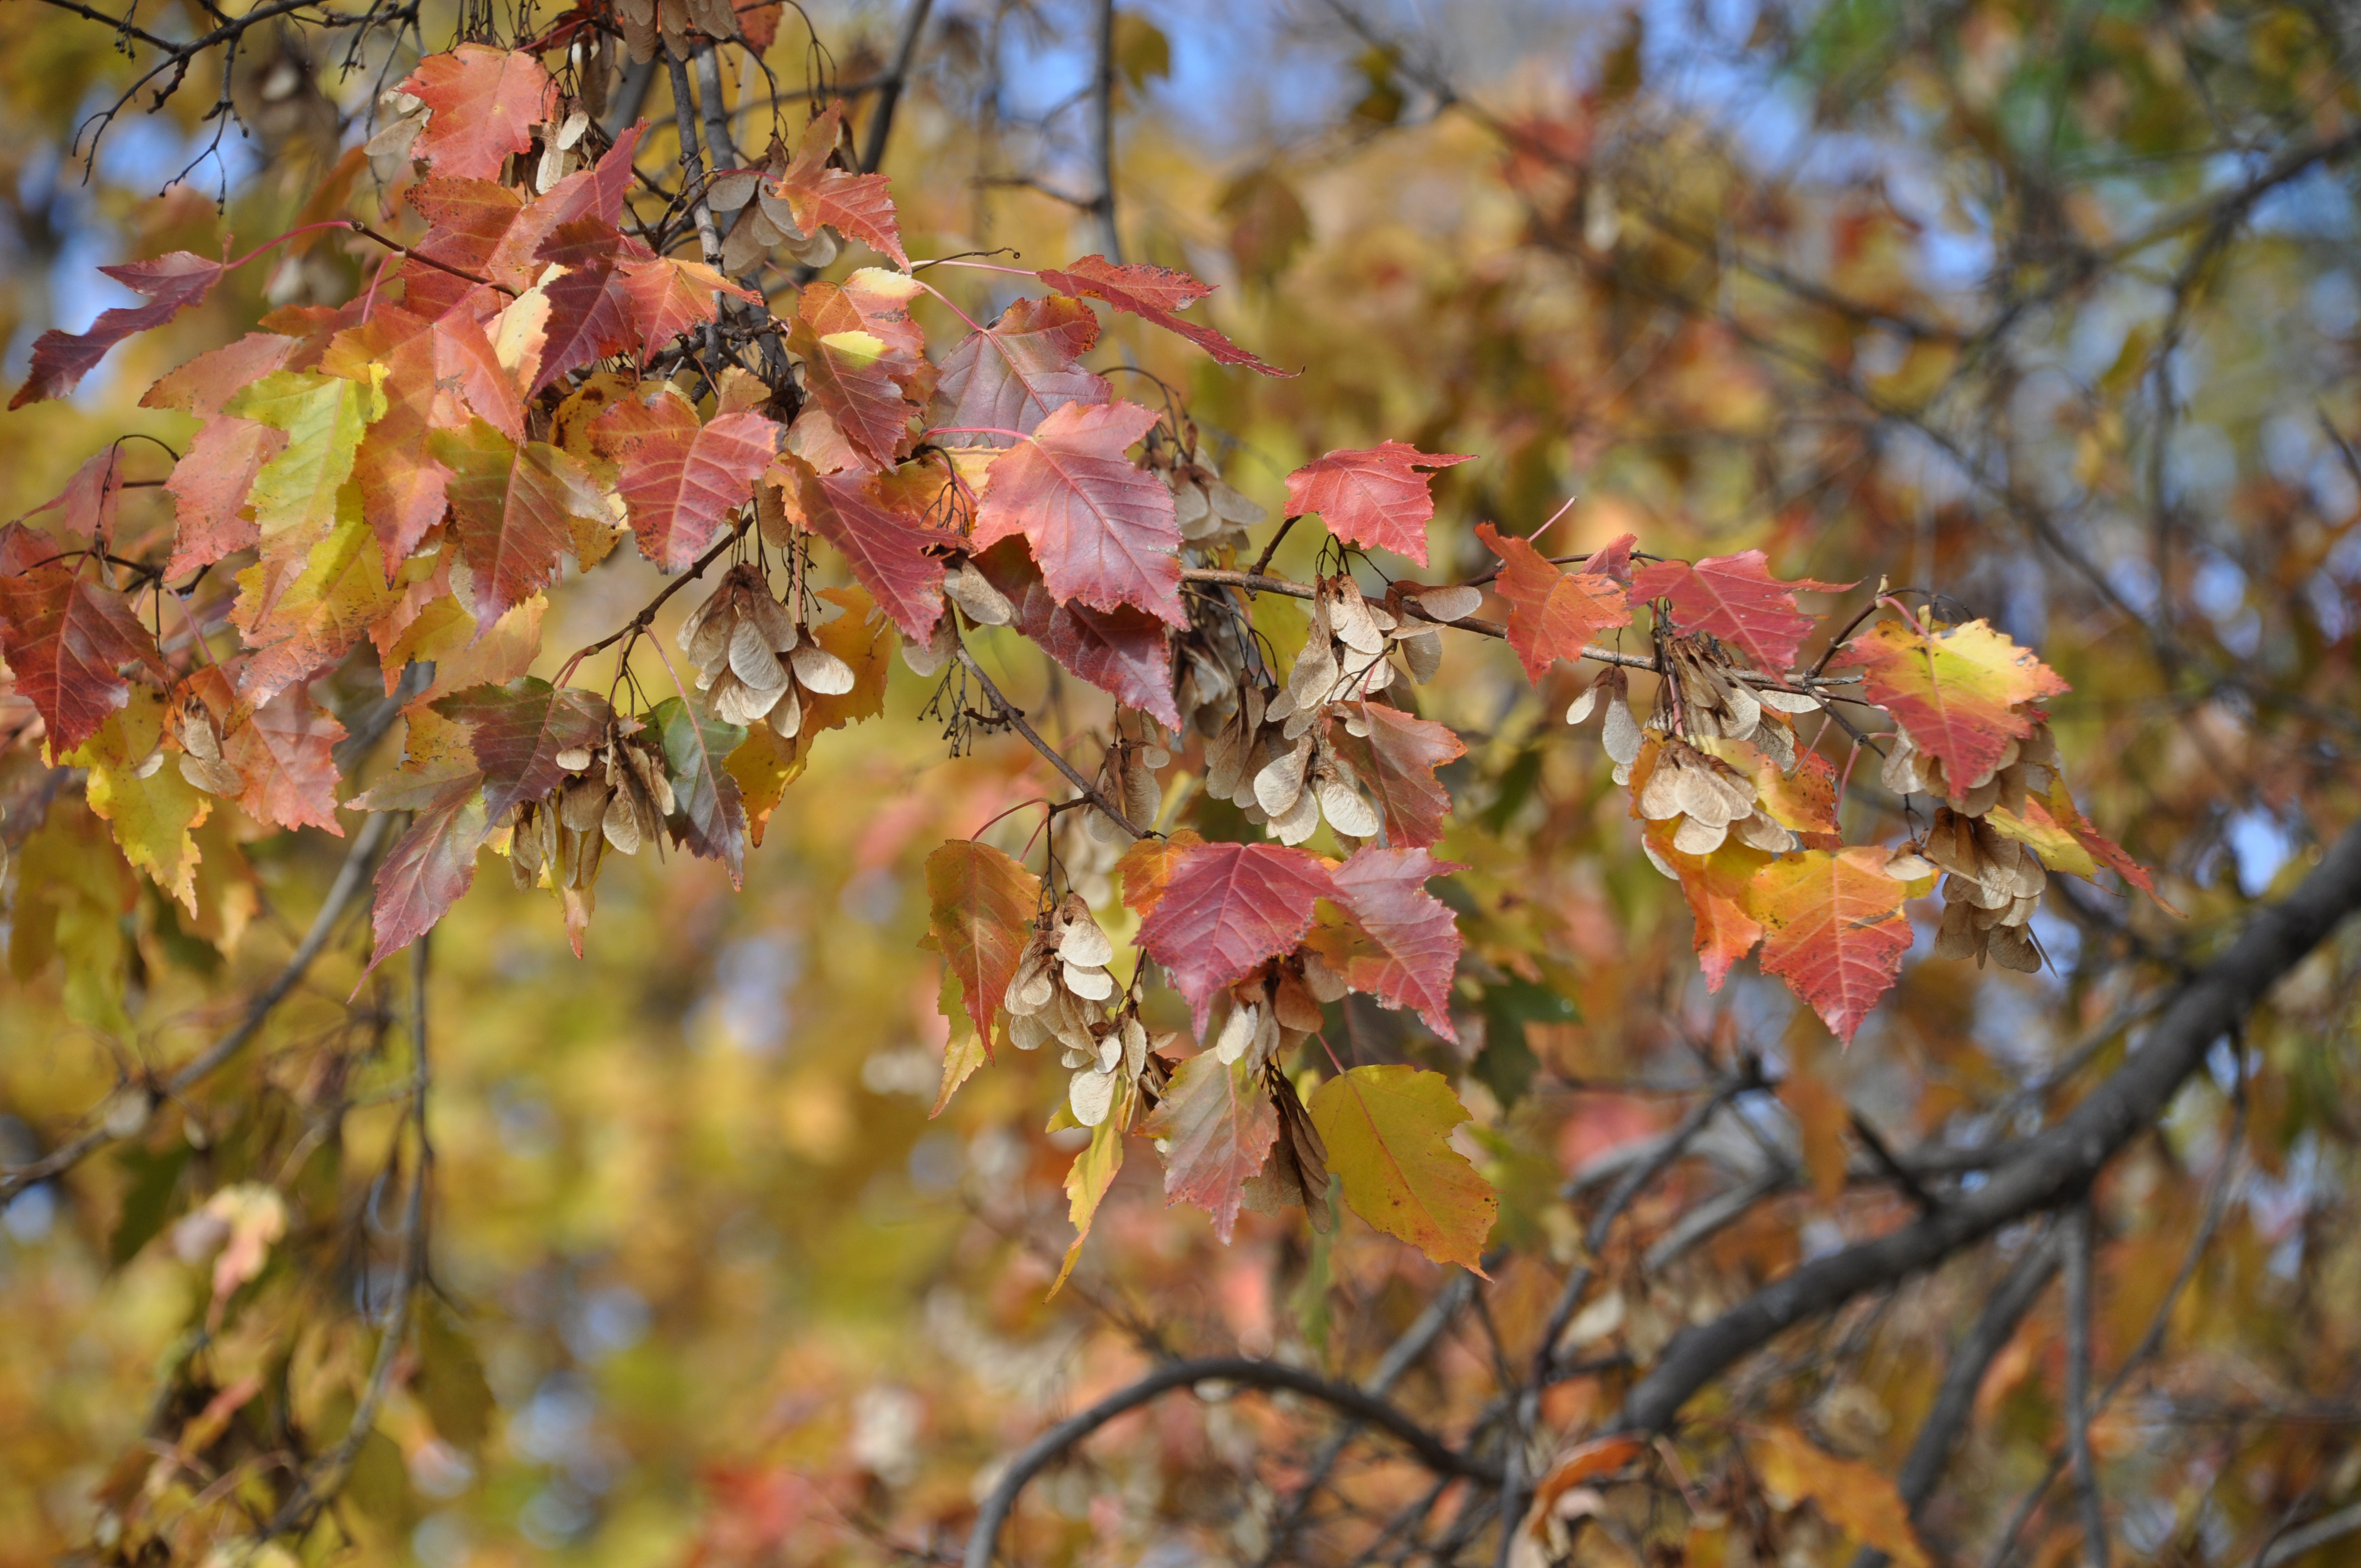
Some leaves from one of our many Autumn Blaze Maple trees around here.  While many other trees have shed their leaves, these are hanging on to theirs for now.

DSC_0054

While walking through the woods behind the house to mark small maple trees for transplanting next spring, I came across this red fence post.  It is a remnant from the previous owners who once had cattle in the woods around the house.
DSC_0091

Our singular Amur Maple tree is showing off some nice shades of red.
DSC_0098

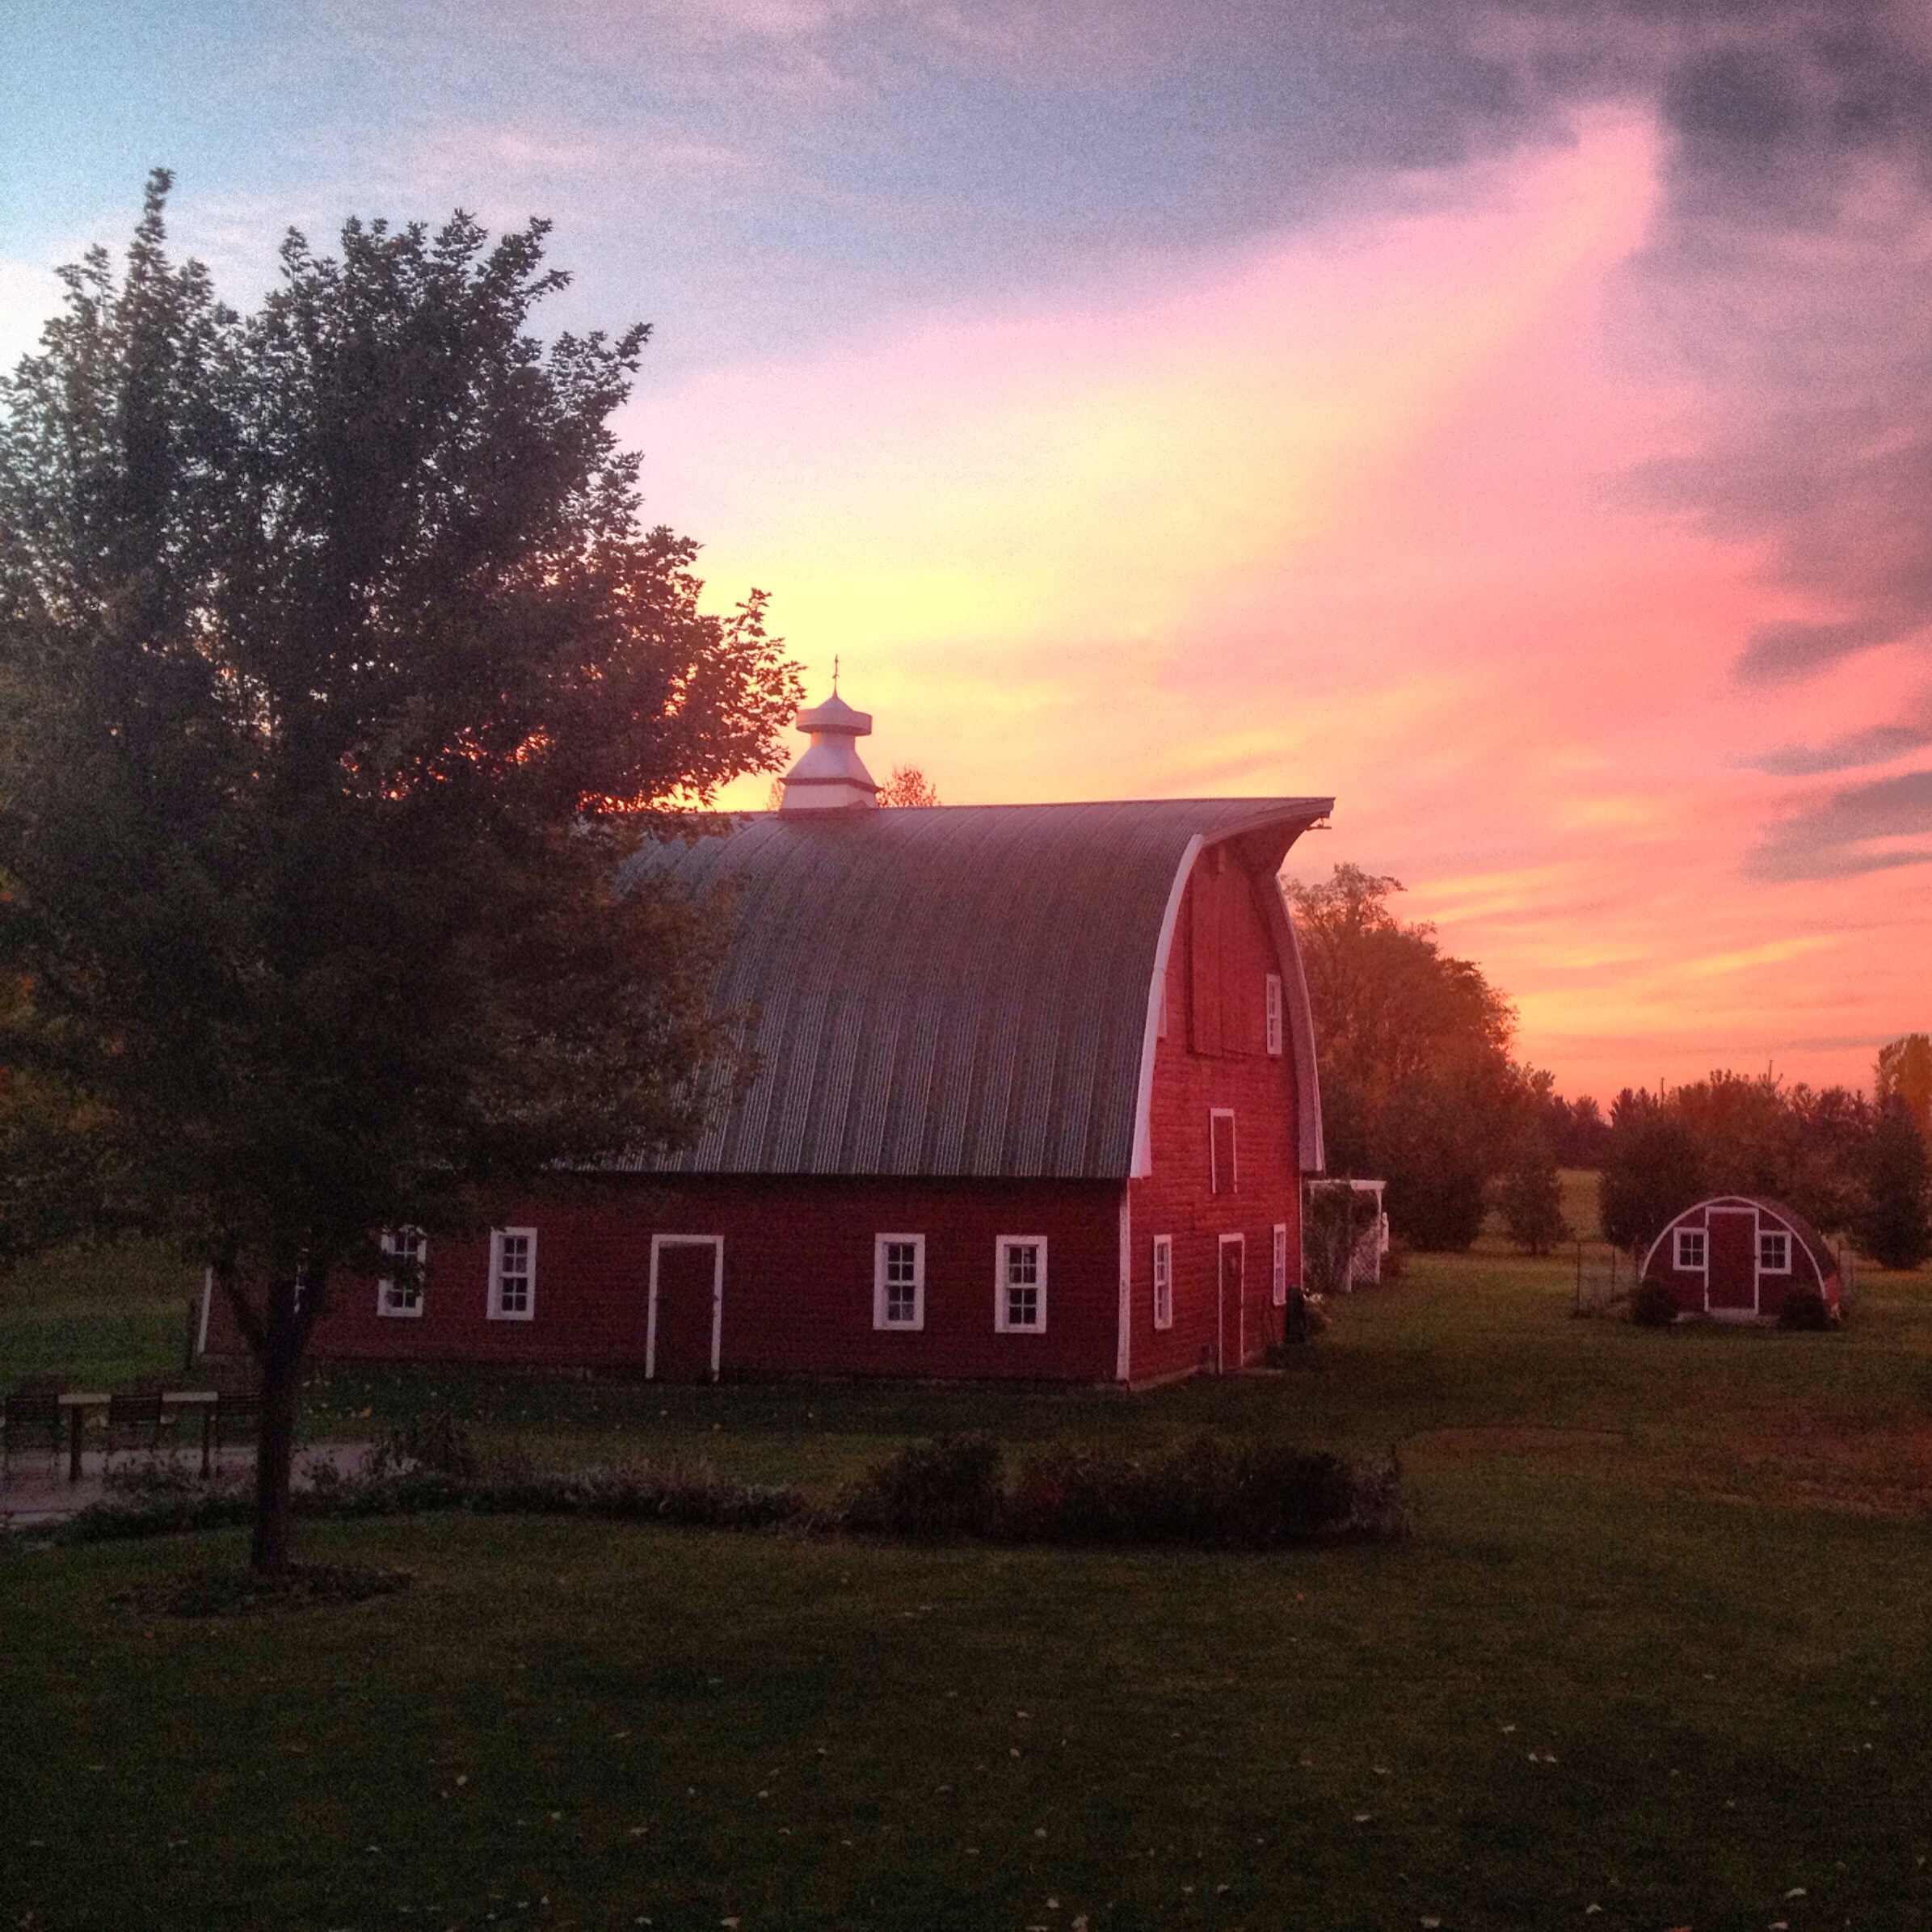
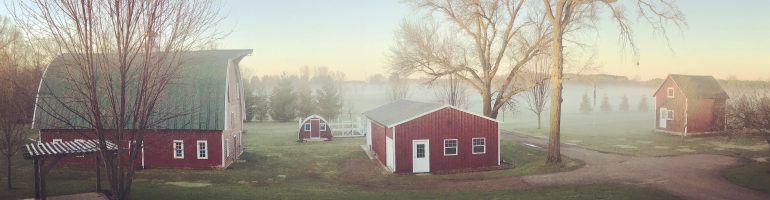
And one of my favorite sites around here…our red barn.  red2

A view of two of the brilliant-colored Autumn Blaze Maples.
red3

And last, but not least, here come the guys across the field on our Razor – Jesse on the left and our youngest behind the wheel.  Ok, this picture does not really fit into my “red” theme, but I like it anyhow.  And there are some red trees in the background. 🙂
red4
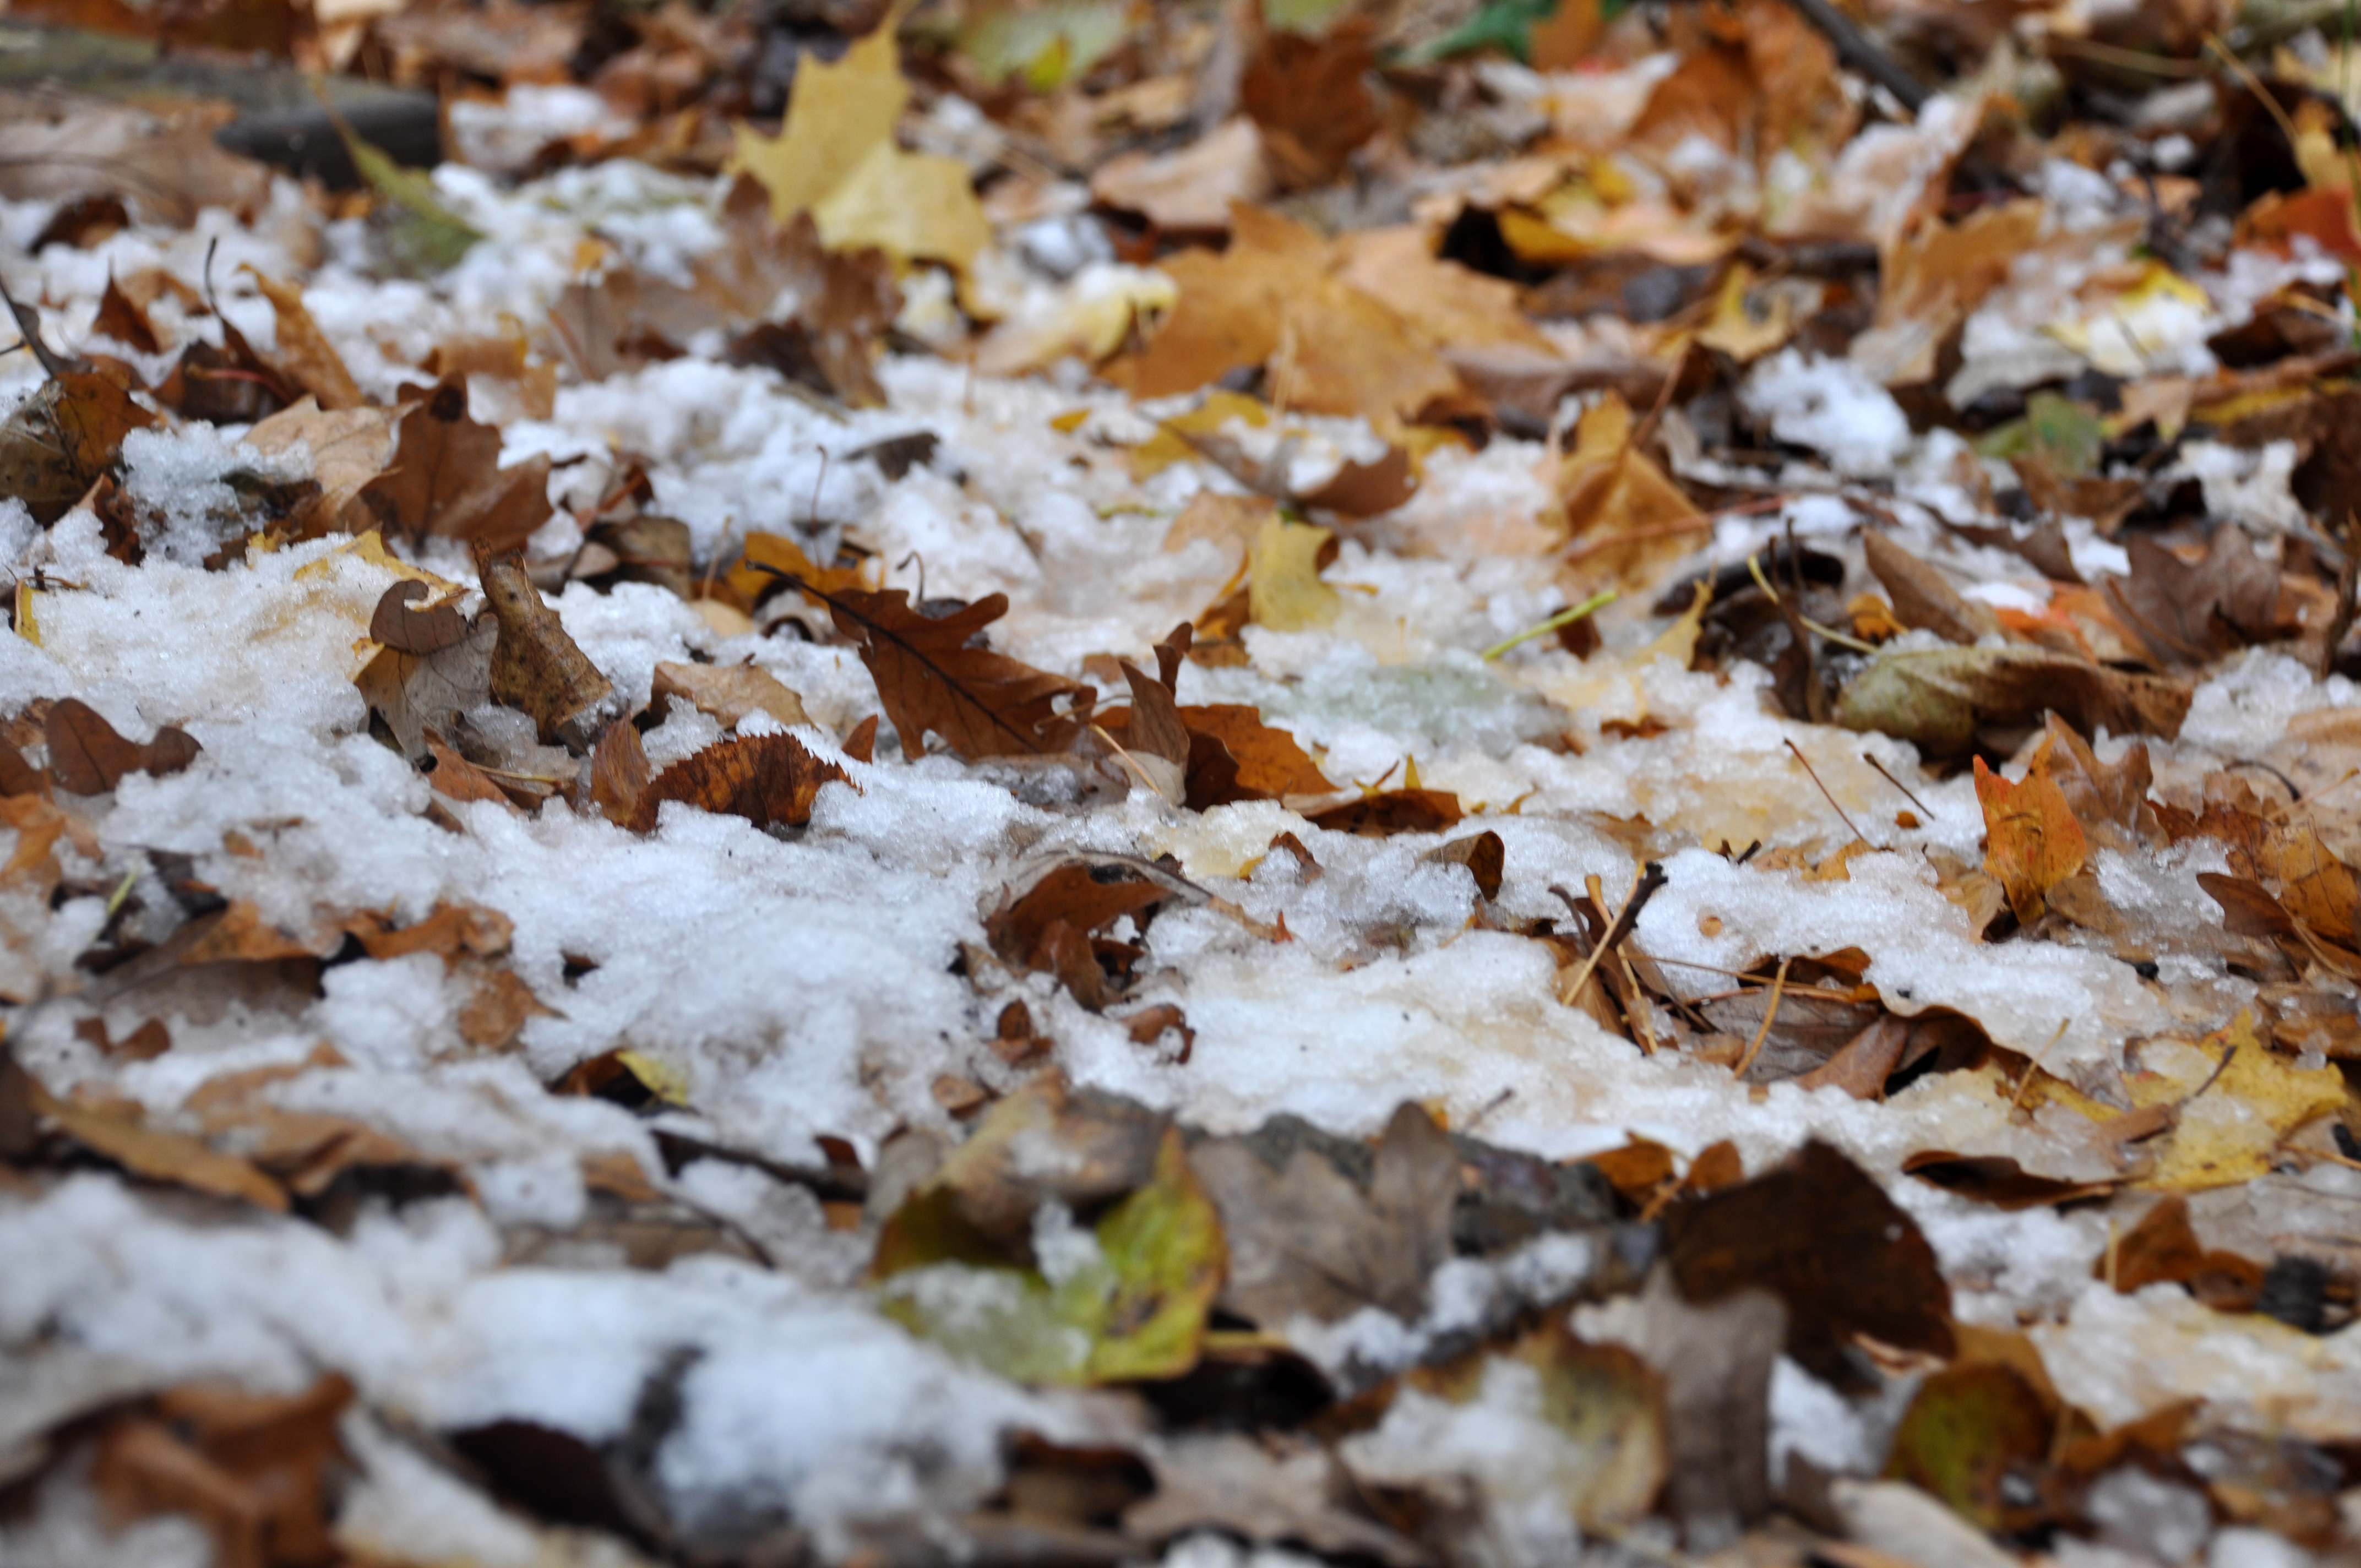
We have spent today starting our preparations for winter.  Jesse started his first round of the leaf battle and I stayed inside to remove screens and wash the windows.  I want to make sure I have clear and unobstructed views when the snow starts to fall.  😦

Lynell

3 Comments

Filed under Barn, Daily life, Granary, Outbuildings, Photography

Hot Smoking in the Barrel Smoker: Beef Brisket

We have posted a lot about cold-smoking in the past because that is what we use our smokehouse for and the process we use most often.  Every single day the blog receives many visits from people searching for information on building a smokehouse, cold-smoking, or some variation of those searches.  But in addition to cold-smoking, we also have a simple barrel smoker for hot-smoking that Jesse’s uncle brought up from Texas.  Although we do not fire it up real often, we did make some time this past weekend to smoke a beef brisket. Yum!!

The firebox is heavy gauge steel box construction with an inlet vent control in the door. The smoke box is a 30 gallon drum that is split in half and hinged on one side.
DSC_0009

We have the hot smoker located just outside the access door on the garage because this type of smoker requires a lot of attention for feeding fuel and adjusting the vents. The biggest mistake in smoking brisket is to let the fire flare up and get too hot. A good temperature range is 200-225 deg F.

DSC_0001

Jesse likes to pat the brisket dry the night before, apply the dry rub, and then let it further dry in the refrigerator overnight. Notice that this brisket is wide and flat, which is not good. We are having a hard time finding a full brisket that has the fat cap still in place. Without the fat cap the brisket tends to dry out much easier.

DSC_0003

Jesse placed the brisket on the top wire rack where it is a little farther from the heat source, giving some buffer to prevent over-heating. He also places a pan under the brisket to force the heat to roll around the sides and circulate the smoke.
DSC_0012

After getting started, a nice smoke is coming out of the top vent and out of the seams in the barrel. We have heard that some people worry about getting their smoker tight to reduce air leaks, but that is a mistake because you want the smoke to pass over the meat.   Making a tight smoker will cut air flow and cause moisture to build up in the smoker, which can promote an acrid flavor.

DSC_00013

After attending a class on smoking at a retail store last year, we purchased  this handy digital probe thermometer. Although there are 2 dial temp gauges in the barrel itself, one in the bottom and another in the top, the dual read digital probe gives the most accurate readings of what is happening right at the brisket. The dual probe gives the temp inside the meat, and another reading just outside the meat (oven temp).   DSC_0107

In this photo the temp had spiked up to 243 deg F, so Jesse had to turn the vent down to try to cool it back down to the desired range of 200-225 deg F.

DSC_0108

When the brisket reaches 170 deg F, Jesse removes the brisket from the smoker, wraps it tightly in tinfoil with a little barbecue sauce, and then places it in the oven at 220 deg F for another 2 hours for finishing. It took about 7 hours of hot-smoking on this day in the barrel smoker to reach the 170 deg F.  Adding on the extra 2 hours for finishing in the oven, you can see that cooking a brisket in our barrel hot smoker is a whole day affair.  After tasting the finished product however, I think everyone would agree that it was well worth the wait.

Lynell

1 Comment

Filed under Food, Smoking

A Snowy Sunday

We woke up Sunday morning to a dreary sky, cool temperatures and giant snowflakes streaming down.  After a trip to church, we hunkered down for a relaxing day around home. All three kids were under one roof, with our older two home on a long weekend break from West Point.  We had our usual Sunday brunch of crepes and homemade sausage and Jesse fired up the smokehouse in the afternoon to do some cold-smoking.
fallsnow

As the day went on, the snow eventually turned to a slushy mix that coated the ground.
fallsnow1

Jesse cold-smoked some cheese and almonds for snacking and some pork chops for dinner.  (You can see my earlier post on cold-smoking almonds and cheese here.)  As usual, everything turned out delicious. Yum!!

fallsnow2With temperatures only reaching into the 40’s, we had the fireplace going to cozy up the house.  We did not go anywhere all day.  What a treat for all of us.

And just like that…the weekend was over and we had to return the kids to the airport early this morning for their trip back to New York and West Point.  Winter is definitely on its way though…and although it is my least favorite season, the silver lining is that it also means that more breaks from school are on the way… along with some more cozy family time.  I sure can’t complain about that. 🙂

Lynell

1 Comment

Filed under Daily life, Smoking

Morning Light

We left town last Friday morning for a long weekend out at West Point to visit our two cadets and to attend the Homecoming football game. As we were heading out the door on our way to the airport, the sun was coming up and it was just one of those sunrises…the pink, orange and yellow kind.

Jesse encouraged me to snap a few pictures with my iPhone.  The barn against the sky was just too pretty to go undocumented. I did a quick edit in Instagram to lighten it up.

barnskyThe weekend went by in a flash and we are back at home again on the farm.  Our cadets are coming home this upcoming weekend for a visit over a long weekend for them.  It will be nice to have everyone at home, even if it is only briefly.

Lynell

Where we love is home – home that our feet may leave, but not our hearts.

-Oliver Wendell Holmes


1 Comment

Filed under Barn, Photography

Shades of Honey – Honey Harvest 2013

Some of you right remember that we started over with our bees this season after a roller coaster of a year last summer. (See my post:  Starting Over Again – Bees 2013). We purchased 2 nucs and installed several old brood frames that had pretty good honey and pollen stores from the previous year. With the honey and pollen already in the brood frames and the dandelions nearly starting to bloom, we decided that we could forego feeding the bees sugar syrup and pollen patties to get them off the ground.

Unfortunately, we had a very long cold and wet spring that kept the bees inside the hive instead of out foraging and being productive. July was a good weather month but August was very hot and dry, which are also not very productive conditions for the bees. We have learned from past experiences that the hives have a higher chance of surviving our harsh Minnesota winter if we have them fill 3 deep brood boxes before adding honey supers. Both hives grew into their 3 brood boxes in June and were ready for their honey supers a couple of weeks before the basswood trees bloomed. One hive was a little more productive and filled 2 honey supers and the other filled only 1 honey super.

honeyharvest1

In past years, I have been frustrated with the difficulty of un-capping the frames when the honey supers were loaded with 10 frames, as not all the frames were drawn to a full depth that would allow for the cappings to extend beyond the frames. When this happens we have to use a manual capping scratcher that does not open the honey cells as well for spinning. It also damages the comb much more, which requires extra effort from the bees to repair the damage the following year. When the bees are drawing and fixing comb, they are not out foraging and collecting honey. So I decided to try using only 9 frames in each honey super so that there was more room to fully draw the comb past the frames.

honeyharvest2

This approach worked quite nicely. See how easily the cappings are removed with the hot knife? This method does create more cappings, but leaving the cappings in the un-capping tubs for a couple of days was enough for them to drip clean and leave us with almost another gallon of honey. The extra cappings will also be useful in creating more candles.

honeyharvest3

It is so much fun to watch the honey flow from the spinning tank and into the double strainer. Although the entire process can only be described as a sticky mess, it is well worth the efforts.

honeyharvest5

The final results from the 3 honey supers was about 6 gallons of honey. Not a great year, but much better than last year for sure!honeyharvest6

One thing that immediately caught our eye as we started to do the bottling process, was the very light color of the honey this year compared to earlier years. I would typically classify our honey as light amber (the jar on the right below was from last year) and this year I would have to say there is no amber color at all.

I cannot conclusively say why the big change, but here are some possible factors. This is the first year that we had only Carniolian breed, previous years have been either both hives Italian breed or one of each breed. The long cold wet spring could have limited access to some plants, and additionally the hot dry late summer period could have also limited some plants. This spring we also plowed under a dwindling alfalfa field that was adjacent to the hives. I will consult my local beekeeping guru and see if he can share some thoughts on this as well.

honeyshades1

Below is a really strange jar that caught my attention. I had a half full jar of the previous year (darker) honey, and decided to scrape the last bit of new (lighter) honey into the same jar. Surprise, surprise…the next morning the light honey was on the bottom and they stayed separated! Obviously the new honey is more dense (less moisture) than the old honey, but why didn’t they just blend together?!?!

honeyshades

For that, I do not have any ready answers. Maybe one of you chemistry-minded folks can educate us.

Jesse

1 Comment

Filed under Bees

Harvest Sky

On my way back from a walk last week, I noticed some amazing clouds in the sky.  Never without a camera thanks to my iPhone, I took a picture.

Harvest time is upon us and in the distance to the left you can see the remaining stand of corn in our neighbor’s field.  In the forefront is the soybean crop he has planted in our field.fallsky

I took this photo on my iPhone 4s and did a quick edit in Instagram. Technology today makes  photography so easy and accessible.  I absolutely love it!

Lynell

2 Comments

Filed under Daily life, Photography

River Views

On a beautiful Sunday afternoon a few weeks ago, Jesse and I decided to take our two-person kayak down the river.  It had been a week of tragedy in our small Minnesota town.  Earlier in the week, a swim teammate of our daughter was killed in an automobile accident.  She was only 18 and had just graduated with our daughter in June.  We went to the funeral on that Saturday to offer our support and represent our daughter, who is at school out east and could not be there.  It was heartbreaking.

And then on Sunday morning we learned of another community member, a business person and father in his 40’s, that had passed away unexpectedly in his sleep. More tragedy.  Although we did not know him well, an untimely death of someone in a small community is always a shock.

Having a quiet and relaxing day seemed appropriate…so we decided to head to water.

We put the kayak in the river in the backwater behind the house and made our way on to the main part of the river.  Fall is a great time to kayak here because the mosquitos have mostly died off and the air is crisp and fresh.

I took my iPhone 4s along and was snapping pictures along the way.
kayak1

I still cannot believe that it took us a decade of living on the river to finally get around to buying ourselves some kayaks. Why did we wait so long?

I took a bunch of “selfies”, but this is the only arguably decent one of the bunch.  The angles are not real flattering for us older folks.  I guess selfies are best left to the younger generation.  🙂

kayak2

Going down stream is very relaxing and for the most part, requires little effort.

Most of the foliage was still green, but some Sumac along the shore was starting to show some fall color.

kayak3

The Rum River is a fairly messy river, with trees down and random stumps protruding here and there.  The DNR or someone else must cut a path through the debris occasionally to keep the waterway open to kayaks and canoes. We are grateful for the efforts, whoever it is.

kayak4

Because of the frequent changes in the water level due to spring and summer flooding, there is a lot of erosion.  Trees along the bank gradually have the dirt around their roots washed away and some tip into the water, creating the clutter.

kayak5

The sun sparkled on the water in open areas.

kayak6

Sometimes when we are kayaking, we just stop paddling…and coast…and listen…to the silence…to nature.

It is so peaceful.

kayak7

A few random maple trees were showing off their colors already.

kayak8

The river is very shallow in some areas, but we almost always are able to skim across the surface in the kayaks.

You can see more fallen trees along the bank. The erosion and fallen trees are not alarming.  I would imagine this process of transformation has happened for decades on the Rum River.

kayak9

I was so busy taking pictures around every turn that I did not paddle much.

It made the ride even more lovely for me.  🙂

kayak10

More signs of erosion where the sandy river banks are washing away.

kayak11

After about an hour, we coasted into Riverside Park, where we had dropped off the trailer ahead of time.

kayak12

What a perfect way to spend a Sunday afternoon.

kayak13

We are so grateful to be alive and living this blessed life.

Lynell

4 Comments

Filed under Daily life

The Front Door

Fall has definitely arrived here in Minnesota and as usual, I am way behind in drafting posts about what has gone on around here.  I have taken hundreds of photos over the summer, but putting those photos into a post takes time…something I always seem to be lacking.

I took this photo of our front porch today.  We harvested our pumpkins a few weeks ago and have kept them in the barn until yesterday.  With a cool and rainy day upon us, we decided it was time to bring them out and display them on our front steps.  The bright orange sure livens up the entrance to our house!

frontdoor

We have decided to take a year off from growing pumpkins and squash after a nasty infestation of squash bugs for the second year in a row. (You can read more about squash bugs here).

If you have not dealt with these buggers in your garden, be happy.  They are disgusting and we just do not want to deal with them next year again.  We are hoping the absence of their favorite feeding ground for a year will break the cycle and we can resume growing pumpkins and squash without battling those bugs all summer long. We took a year off from growing potatoes after repeated infestations with potato bugs and it seemed to work. Being cautious, we planted a small row of potatoes this year and enjoyed a potato bug-free  season!

On the bright side, we did manage to battle through the squash bugs and grow some pumpkins before they totally destroyed the vines.  Our squash crop however, was a total loss.

My ferns on the porch are continuing to thrive in this cooler weather.  I hate the thought of them being killed off by the frost.  I may try to bring them inside and see how long I can stretch out their life into the fall and winter.

I hope you are enjoying the fresh air and bright colors of fall in your part of the country.

Lynell

2 Comments

Filed under Daily life, Flower, Gardens, Vegetable