Category Archives: Outbuildings

Capturing the Splendid Fall

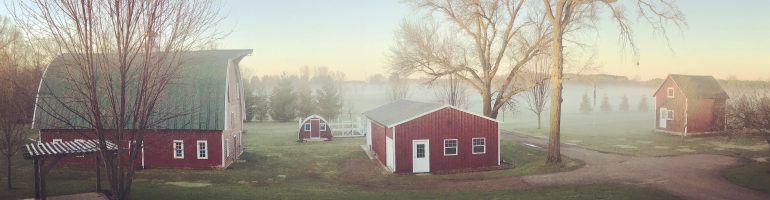
Although the weather has turned cooler the past few days, the month of October has been a series of one lovely fall day after another here in Minnesota.  The temperatures were above normal, the sun was almost always shining, and the fall colors seemed more vibrant than usual.  Like many, the weather drew me outdoors and I often found myself reaching for my phone to capture some of the beauty just outside my front door.  All the photos below were taken with my iPhone 5s and edited in Instagram.

This first photo was taken in the evening and features a small border garden along our granary with Sedum and ornamental grasses.  All of the red hues captured my eye.

IMG_0480

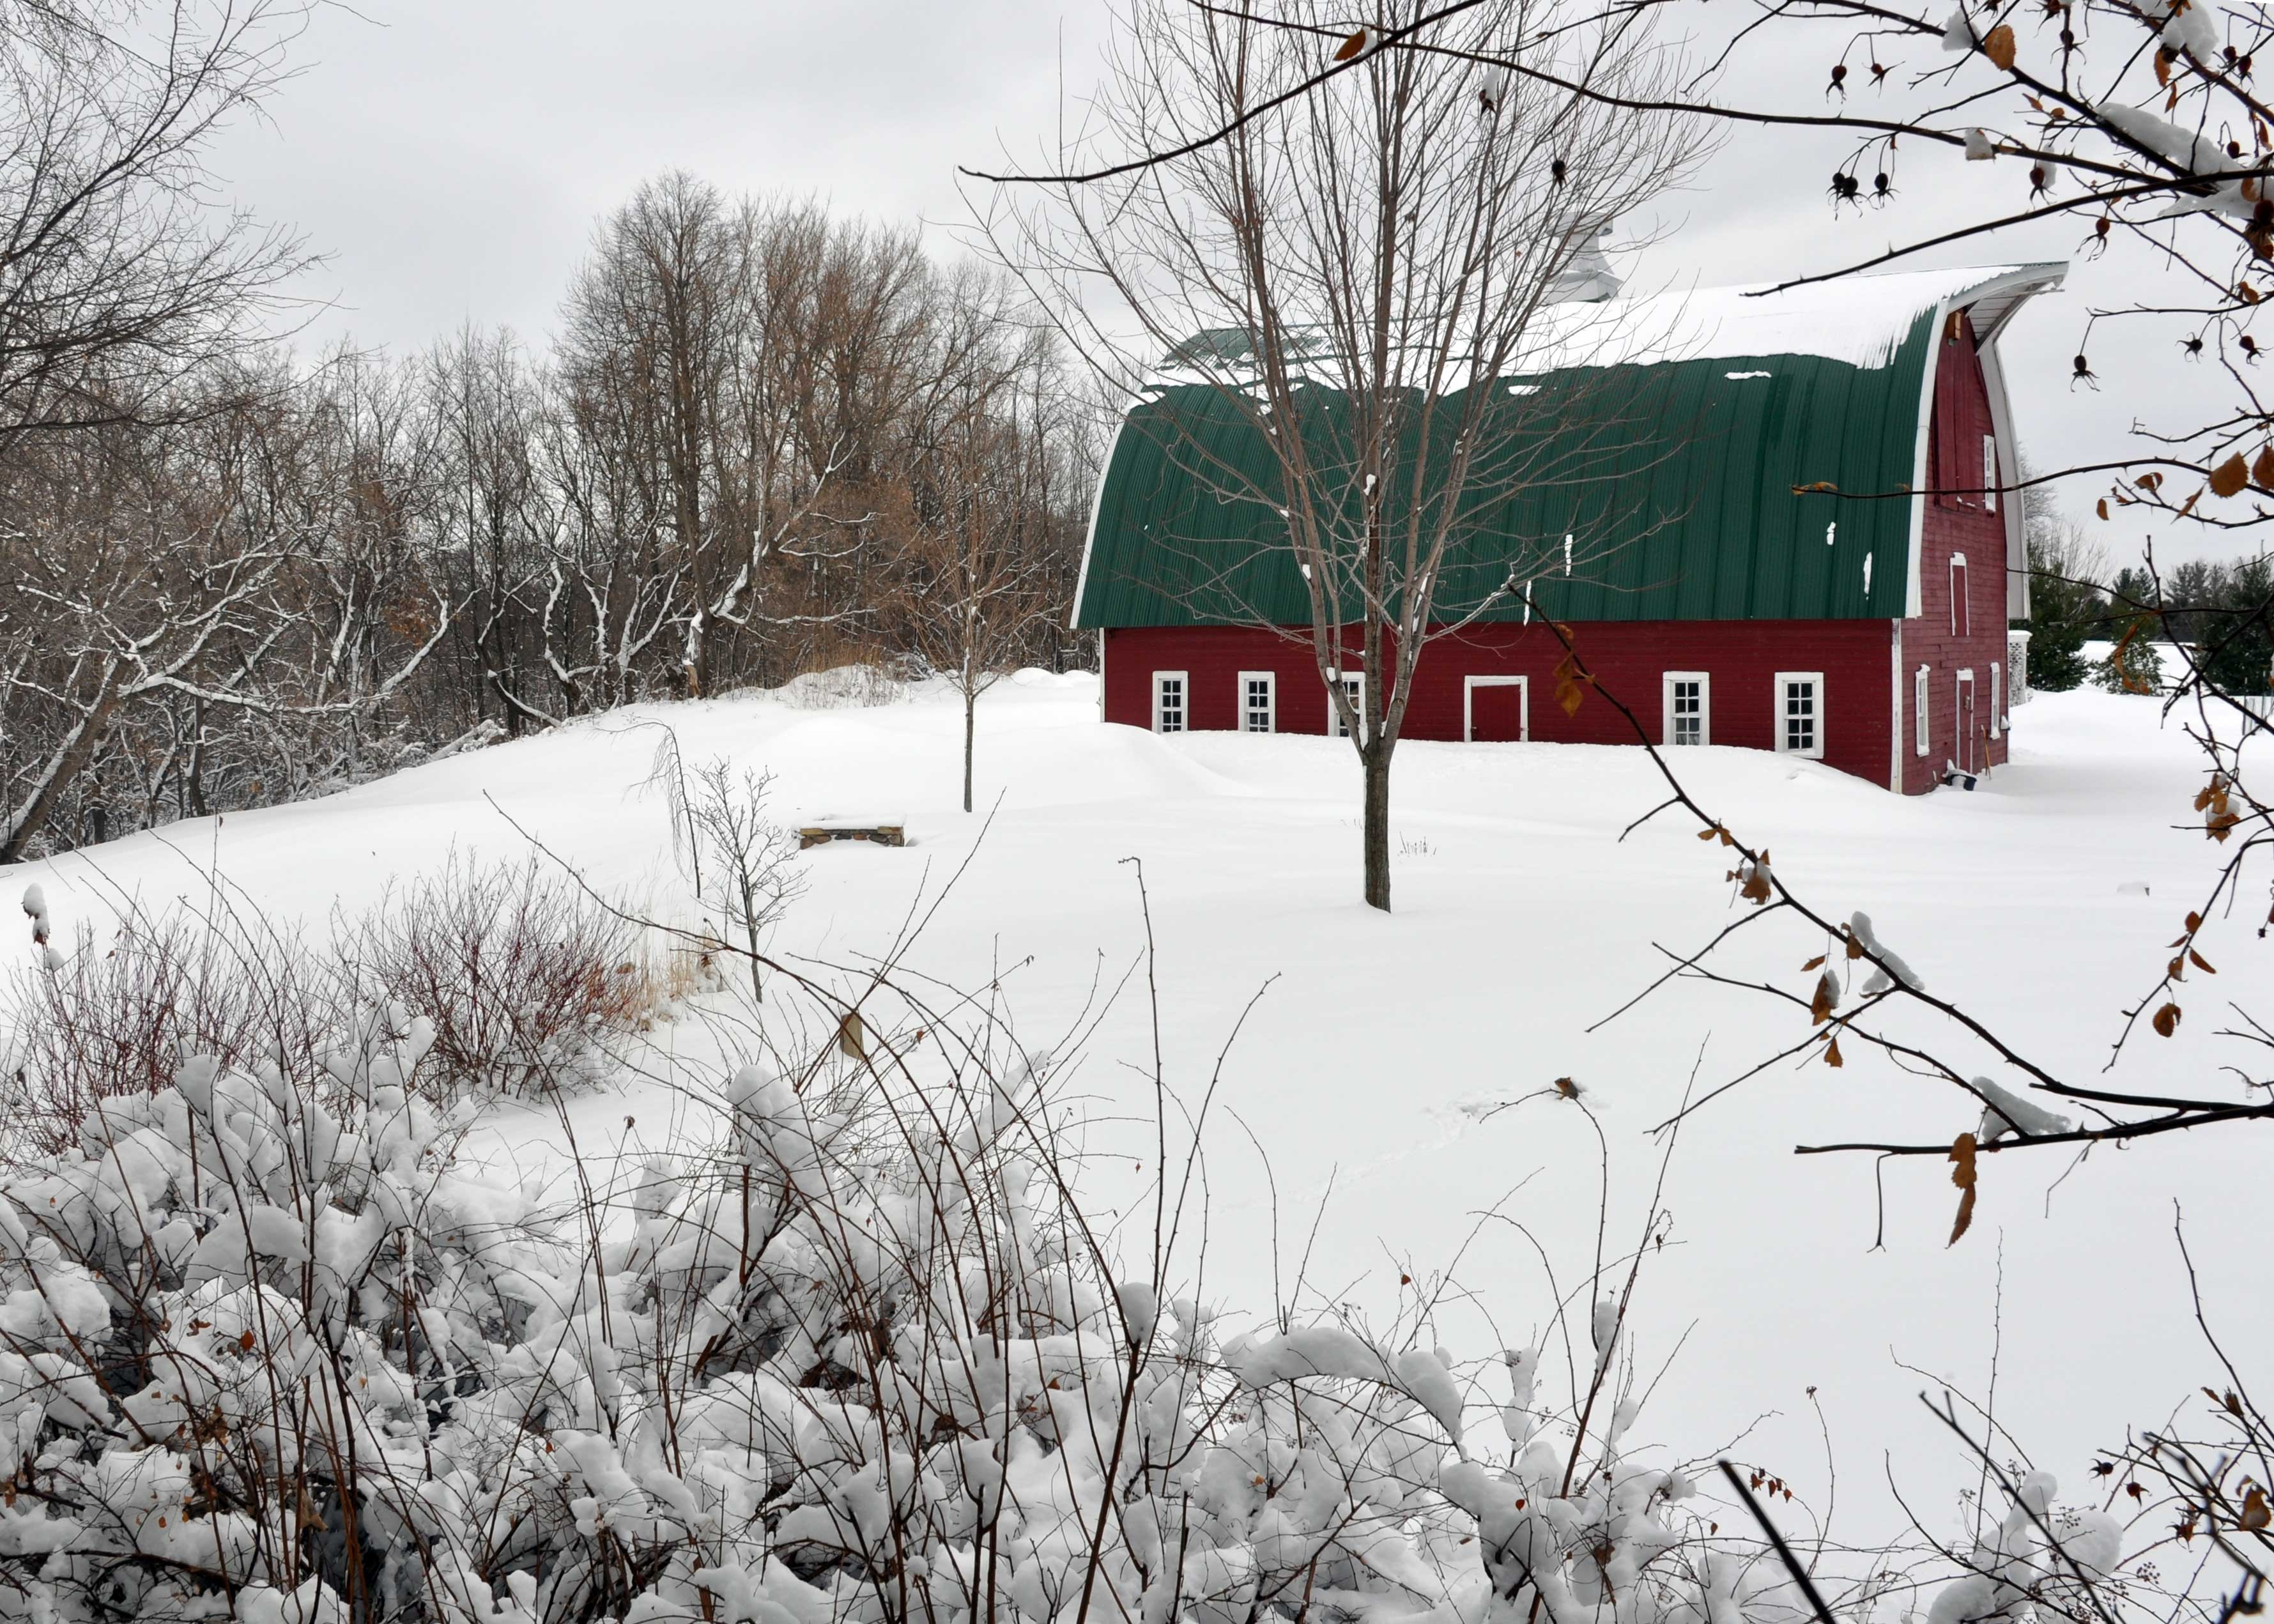
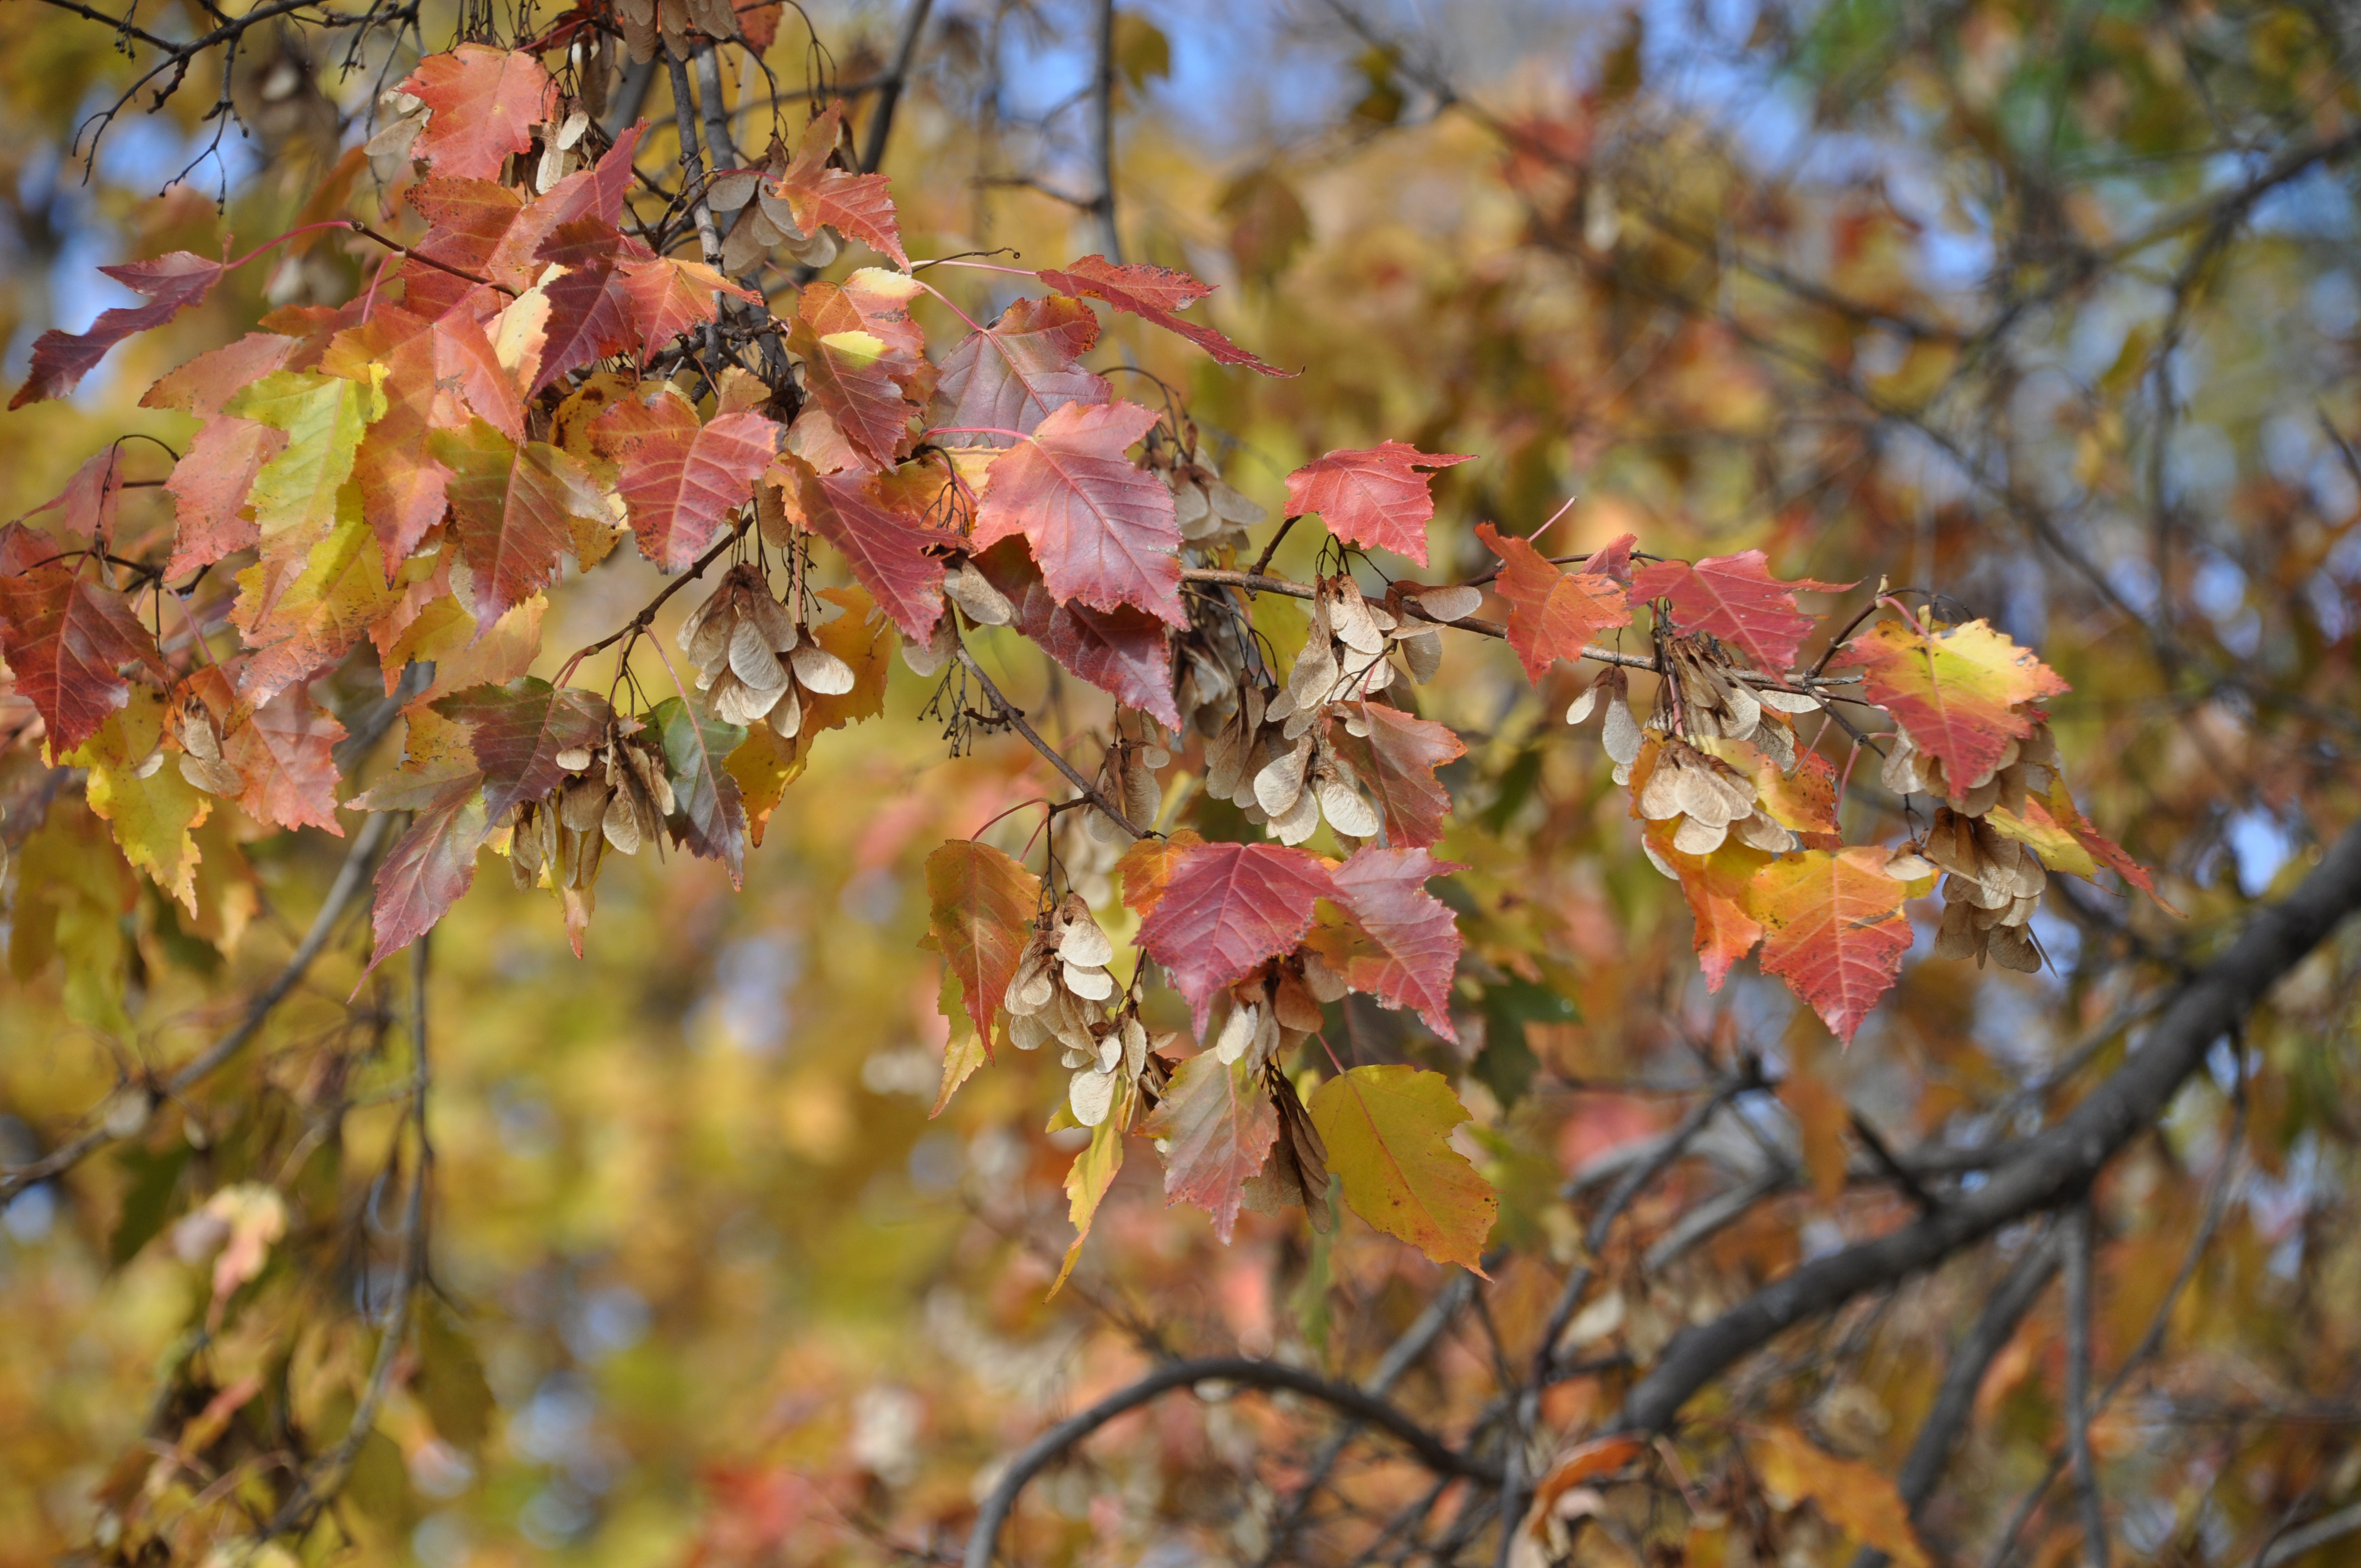
Outside in the garden one morning, I stopped to take a picture after noticing the rays of sunshine highlighting the yellow maple, contrasted with the still-blooming shrub roses and Russian sage in my garden.  The barn in the background was the perfect backdrop.

IMG_2913

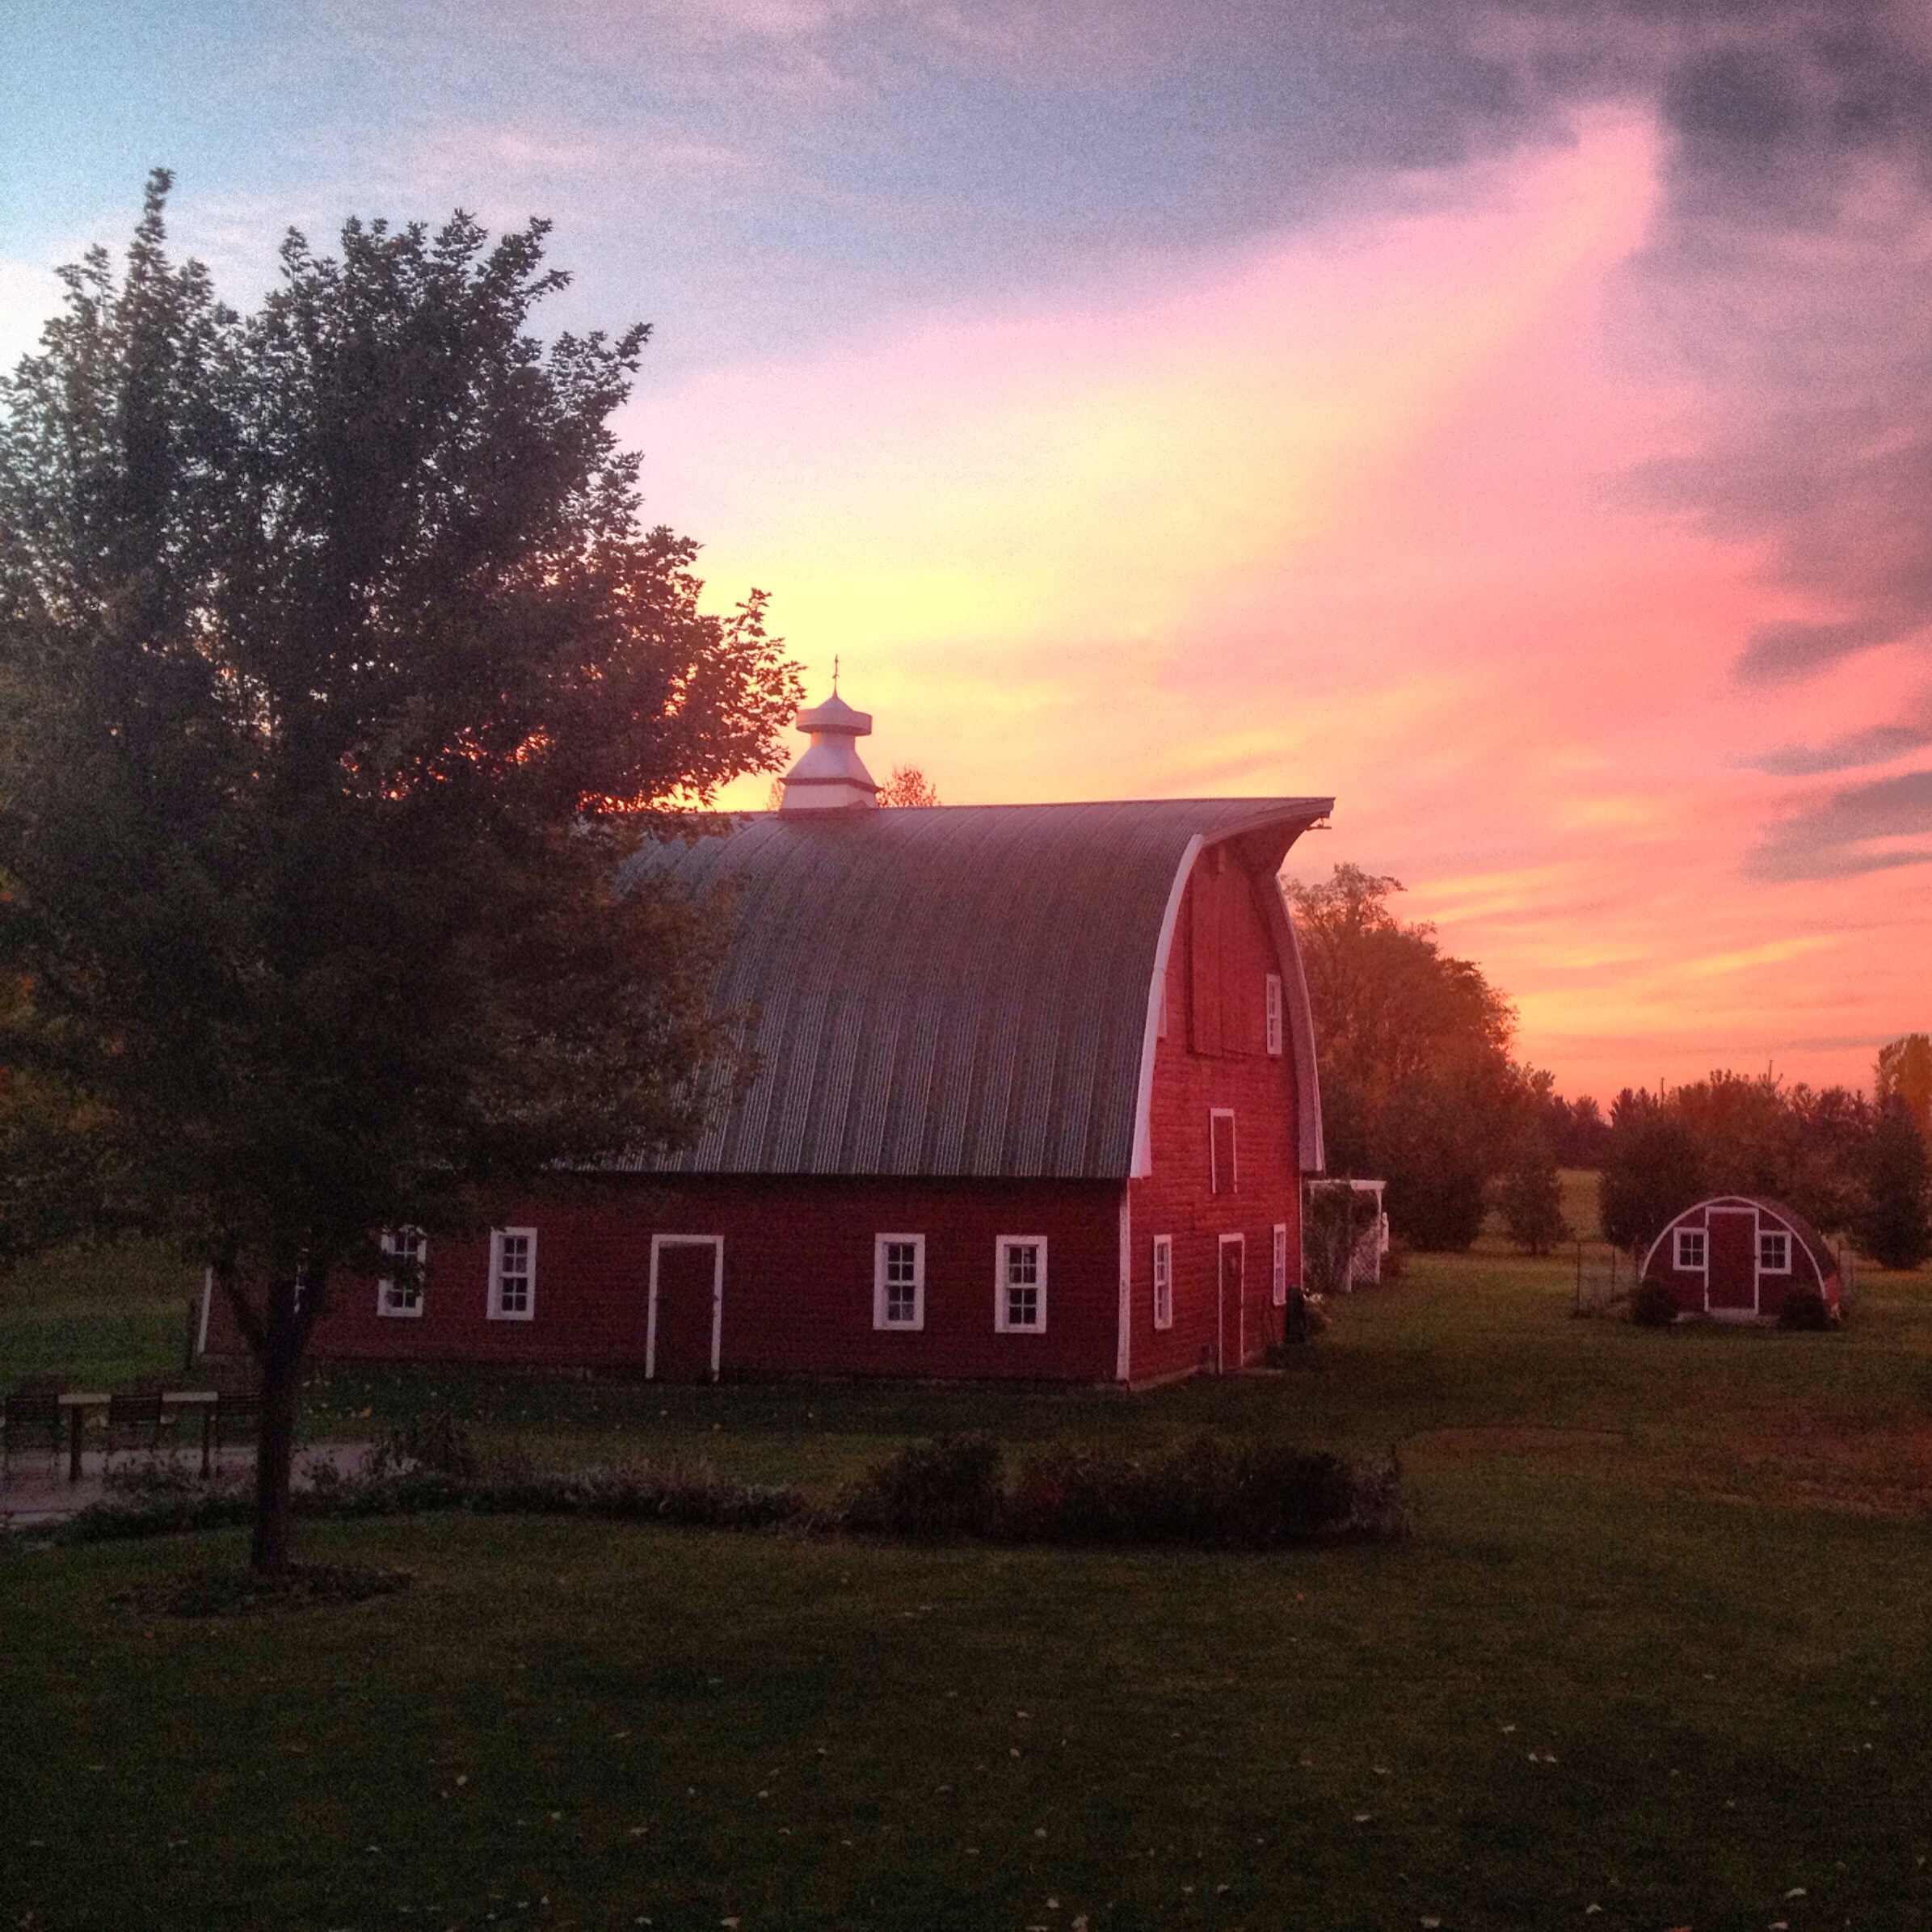
The lovely morning sunlight caught my eye once again a week or so later, as it lit up the Autumn Blaze Maple outside my bedroom window.

IMG_0490

And finally, this picture is from the woods that surround our home, spilling down the hillside to the river and to our field.  In the evening, as the sun would start to set, the warm light would shine through the yellow canopy of leaves and the scene felt so magical.  For about a week, I made sure to step outside each evening to take in the spectacle of light.

IMG_2989Wherever you might live, I hope your fall has been equally as splendid.  While the leaves have all fallen off the trees now, perhaps we will still be blessed with a few more days of warm temperatures and abundant sunshine. Once can always hope! 🙂

Lynell

1 Comment

Filed under Barn, Flower, Gardens, Photography

A Winter Blast

Our progress towards spring suffered a setback last night, as we awoke to around 8-9 inches of fresh snow.  School was canceled and we once again face the task of clearing and piling snow. Ugh! snow1 As discouraging as it is to see, with temperatures forecasted to reach into the 50’s and 60’s next week, we know this scene is only temporary.snow2 I decided to step out on to the porch this afternoon to capture a few pictures of the white stuff.  One of the things I enjoy about blogging, and one of the primary reasons I do it, is that it allows me to document events like this from year to year.  I always find it interesting to look back at pictures from earlier years to see evidence of late snowfalls and later proof that spring and summer eventually do arrive.  Last year, we received a big snow fall on April 18th.  A week later I posted and shared pictures of the dramatic changes that can occur in Minnesota during the spring time over a short period.  (See the post here).

snow4

Below is a shot from our porch towards the river.  Grudgingly, I must admit that it is a pretty sight today.

snow3Nonetheless, I am hoping that it looks very different by next week.  I am SO ready for winter to move along so that I can get outside and into my gardens.  Spring cannot come soon enough!

I hope spring has arrived in your neck of the woods!

Lynell


3 Comments

Filed under Miscellaneous, Outbuildings

Snowy Sunrise

We received another 10 inches or so of snow yesterday through this morning.  The wind is howling and the snow is drifting quickly.  School was canceled, yet again.  I was unsuccessful in making it out of our driveway this morning for work and got stuck in a three-foot snow drift.  There really is no point in complaining about the long winter any more though.  It is old news.

So, since I cannot think of anything very positive to say about Minnesota, our winters, the weather, etc., I thought I would just post this picture I took this morning.  I took it with my iPhone 5s and did a quick edit in Instagram.

photo

Hope you are staying warm and out of the howling winds.  Spring will come eventually, right?

Lynell

1 Comment

Filed under Barn, Daily life, Outbuildings

Seeing RED

The thing that I like least about blogging is the writing part.  Sometimes I just do not have anything particularly interesting to say.

The thing that I love about blogging is the pictures.  I love to take pictures. I love to see other people’s pictures.  And I love to share my pictures.

So, that’s exactly what I am going to do in this post – just share a few of my pictures.  As I looked at the latest collection of my shots, I noticed a lot featuring various shades of red. Below are just a few.

Our prairie-fire crabapple tree outside the kitchen window is full of red fruit and reddish leaves.

red
A closer-up view of the fruit.  And notice the red granary is in the background.DSC_0036

My Autumn Joy Sedum plants have turned a very dark pinkish-red.  Even after several hard frosts, they are still looking good. DSC_0050

Some leaves from one of our many Autumn Blaze Maple trees around here.  While many other trees have shed their leaves, these are hanging on to theirs for now.

DSC_0054

While walking through the woods behind the house to mark small maple trees for transplanting next spring, I came across this red fence post.  It is a remnant from the previous owners who once had cattle in the woods around the house.
DSC_0091

Our singular Amur Maple tree is showing off some nice shades of red.
DSC_0098

And one of my favorite sites around here…our red barn.  red2

A view of two of the brilliant-colored Autumn Blaze Maples.
red3

And last, but not least, here come the guys across the field on our Razor – Jesse on the left and our youngest behind the wheel.  Ok, this picture does not really fit into my “red” theme, but I like it anyhow.  And there are some red trees in the background. 🙂
red4We have spent today starting our preparations for winter.  Jesse started his first round of the leaf battle and I stayed inside to remove screens and wash the windows.  I want to make sure I have clear and unobstructed views when the snow starts to fall.  😦

Lynell

3 Comments

Filed under Barn, Daily life, Granary, Outbuildings, Photography

Morning Light

We left town last Friday morning for a long weekend out at West Point to visit our two cadets and to attend the Homecoming football game. As we were heading out the door on our way to the airport, the sun was coming up and it was just one of those sunrises…the pink, orange and yellow kind.

Jesse encouraged me to snap a few pictures with my iPhone.  The barn against the sky was just too pretty to go undocumented. I did a quick edit in Instagram to lighten it up.

barnskyThe weekend went by in a flash and we are back at home again on the farm.  Our cadets are coming home this upcoming weekend for a visit over a long weekend for them.  It will be nice to have everyone at home, even if it is only briefly.

Lynell

Where we love is home – home that our feet may leave, but not our hearts.

-Oliver Wendell Holmes


1 Comment

Filed under Barn, Photography

April 18th and Still Waiting…

We are still waiting on spring.  The six plus inches of snow we are receiving today is certainly not a welcome sight. As you will notice from the picture below, we have not gotten around to taking down our Christmas lights yet.  This picture could so easily be from the Christmas season, but sadly, today is the 18th day of April!!
21
These views from the farm might actually be considered pretty if taken during the Christmas season…or maybe even if it were February.

20

But it is not Christmas and it is not February. Did I mention it is the middle of April?!

Snow is not necessarily uncommon at this time of year in Minnesota, but this winter has been very long and we have had very few spring-like days.
22

The good news is that snow does not last long this time of year because the sun’s rays are much too powerful.  So, if the sun does ever come out, we know the snow will melt quickly.  I will cling to that thought..that’s all I can do at the moment to stay positive.

I hope the weather is better in your part of the country, wherever that might be!

From snowy central Minnesota,

Lynell

14 Comments

Filed under Daily life, Miscellaneous, Outbuildings

Cold-Smoking: Pork Ribs

I finally found time a few weeks back to fire up the smoke-house for some cold-smoking as the weather warmed up above freezing during the day.  Unless you are buying hogs by the 1/2 or 1/4, you will typically buy pork ribs from your grocer or butcher that are frozen. Since we have plenty of freezer space and a vacuum sealer, I like to smoke several racks of ribs so that we can pull them out of the freezer for a rib dinner whenever we are in the mood.

I start thawing the ribs two days before I’m going to run the smoker. One day to thaw, and another day (or at least overnight) to let them dry. After the ribs are thawed, I dry them off with paper towels and then liberally coat them with a dry rub. There are several good rubs available on the market; I like Famous Dave’s or Rendezvous (from Memphis), or you can mix up your own concoction.

ribs

Make sure to coat both sides and all the edges with the dry rub so that the seasoning can do its magic.ribs2

After the ribs are dry rubbed, separate them on cookie sheets so that they can dry in the refrigerator for 1 day or at least overnight. The reason to let them dry is that wet meats tend to allow the soot from the smoke adhere to the meat.

You can see that spring had not yet arrived (it still hasn’t), but with day time temps in the 20’s the heat from the smoker will keep the meat from freezing in the smokehouse. Frozen meat does not absorb smoke very well.

ribs3

After finally getting the firebox dug out from the snow, I was ready to start the fire. My favorite wood for smoking any kind of pork is white oak, although red oak is a close second. If I have some apple wood available, I will add a few sticks of apple to layer in some sweetness from the fruit wood.ribs4

I had enough space in the smokehouse to add in a chicken that I had brined in salt, sugar, and rosemary. If you haven’t yet tried brining your chickens and turkeys, I highly recommend it!

You can see the smoke starting to draft up through the floor of the smokehouse.

ribs5

Now that a good draft has started, I close the door and add a little more wood about once an hour. Depending on how smokey you like your ribs, you can smoke them from 2-6 hours. I like mine right at 4 hours.ribs6

This smokehouse is so easy and fun to use, but just to make sure everything goes right, I like to open a couple of beers and keep a close eye on it.ribs7

The last step of the process is to vacuum seal the ribs to ensure freshness for up to one year. If you don’t have a vacuum sealer, you can also wrap the ribs in a good butcher paper, but you will probably want to cook them within a few months.

ribs9

A few tips on cooking ribs. The key is to cook them low and slow. Coat them with a little barbecue sauce and place them in a cake pan covered tightly with tin foil, or you can wrap them individually with tin foil to seal in the juices. I like to cook them at about 220 F for about 4 hours, or just until they are ready to fall of the bone. Then I like to finish them off for a few minutes under the broiler in the oven or on the grill to give them a nice caramelized flavor, but don’t overdo this last step because it is easy to dry them out too much.

And the most important tip?  Enjoy with a nice full-bodied beer or a hearty glass of red wine!

Jesse

8 Comments

Filed under Food, Smokehouse, Smoking

Bat Removal and Relocation: Part I

We have a fairly healthy bat population in the hay loft of our barn. On summer evenings, we have stood near the barn and counted well over one hundred bats leave for their evening feed. In northern Minnesota a common bat type is the small brown bat. We have seen a few of our bats up close in the barn and they seem to be the size and description fitting the small brown bat.

Not everyone is comfortable with bats flying overhead at dusk or later sitting around the bonfire, but we have never had any problems. I think everyone is aware of how beneficial bats are for controlling mosquito and bug populations by eating as many as 5,000 bugs each night. Since our hobby farm is located along the Rum River, which has many stagnant backwater ponds, we would like to keep the bats around the farm doing their insect patrols.

While the barn has stood empty and mostly unused, we have slowly been making progress in removing calf pens and cow stanchions so that we can use the space for more garden and farm storage. The bats are mostly self-contained in the loft area of the barn, but from time to time a few of them end up in the lower area. In addition, the gaps in the floor boards of the hay loft allow bat guano to sprinkle down. So we decided that if we are going to continue to upgrade the barn, the bats needed to be relocated. Here you can see the thick layer of bat guano collecting on the hay loft floor.

DSC_0061

Here is the main entrance for the bats into the hayloft. You can see the heavy use around the hay-fork rail where they have worn off the paint from all the flights in and out.

entranceAlthough building a bat house is pretty straight forward and something we expected we would do ourselves based on plans in our “Country Wisdom & Know How” book from Storey Publishing, we also didn’t want to miss the opportunity to install the bat house before they began to return from migration. We found a design we liked from a bat conservatory organization in Michigan (www.batconservatory.org) that uses the proceeds from the bat houses to fund their projects. Here is a picture of the bat house we ordered that has the capacity for up to 300 bats. At the bottom there is a green landing mesh that is easy for the bats to land on when they are returning to their roost.box2
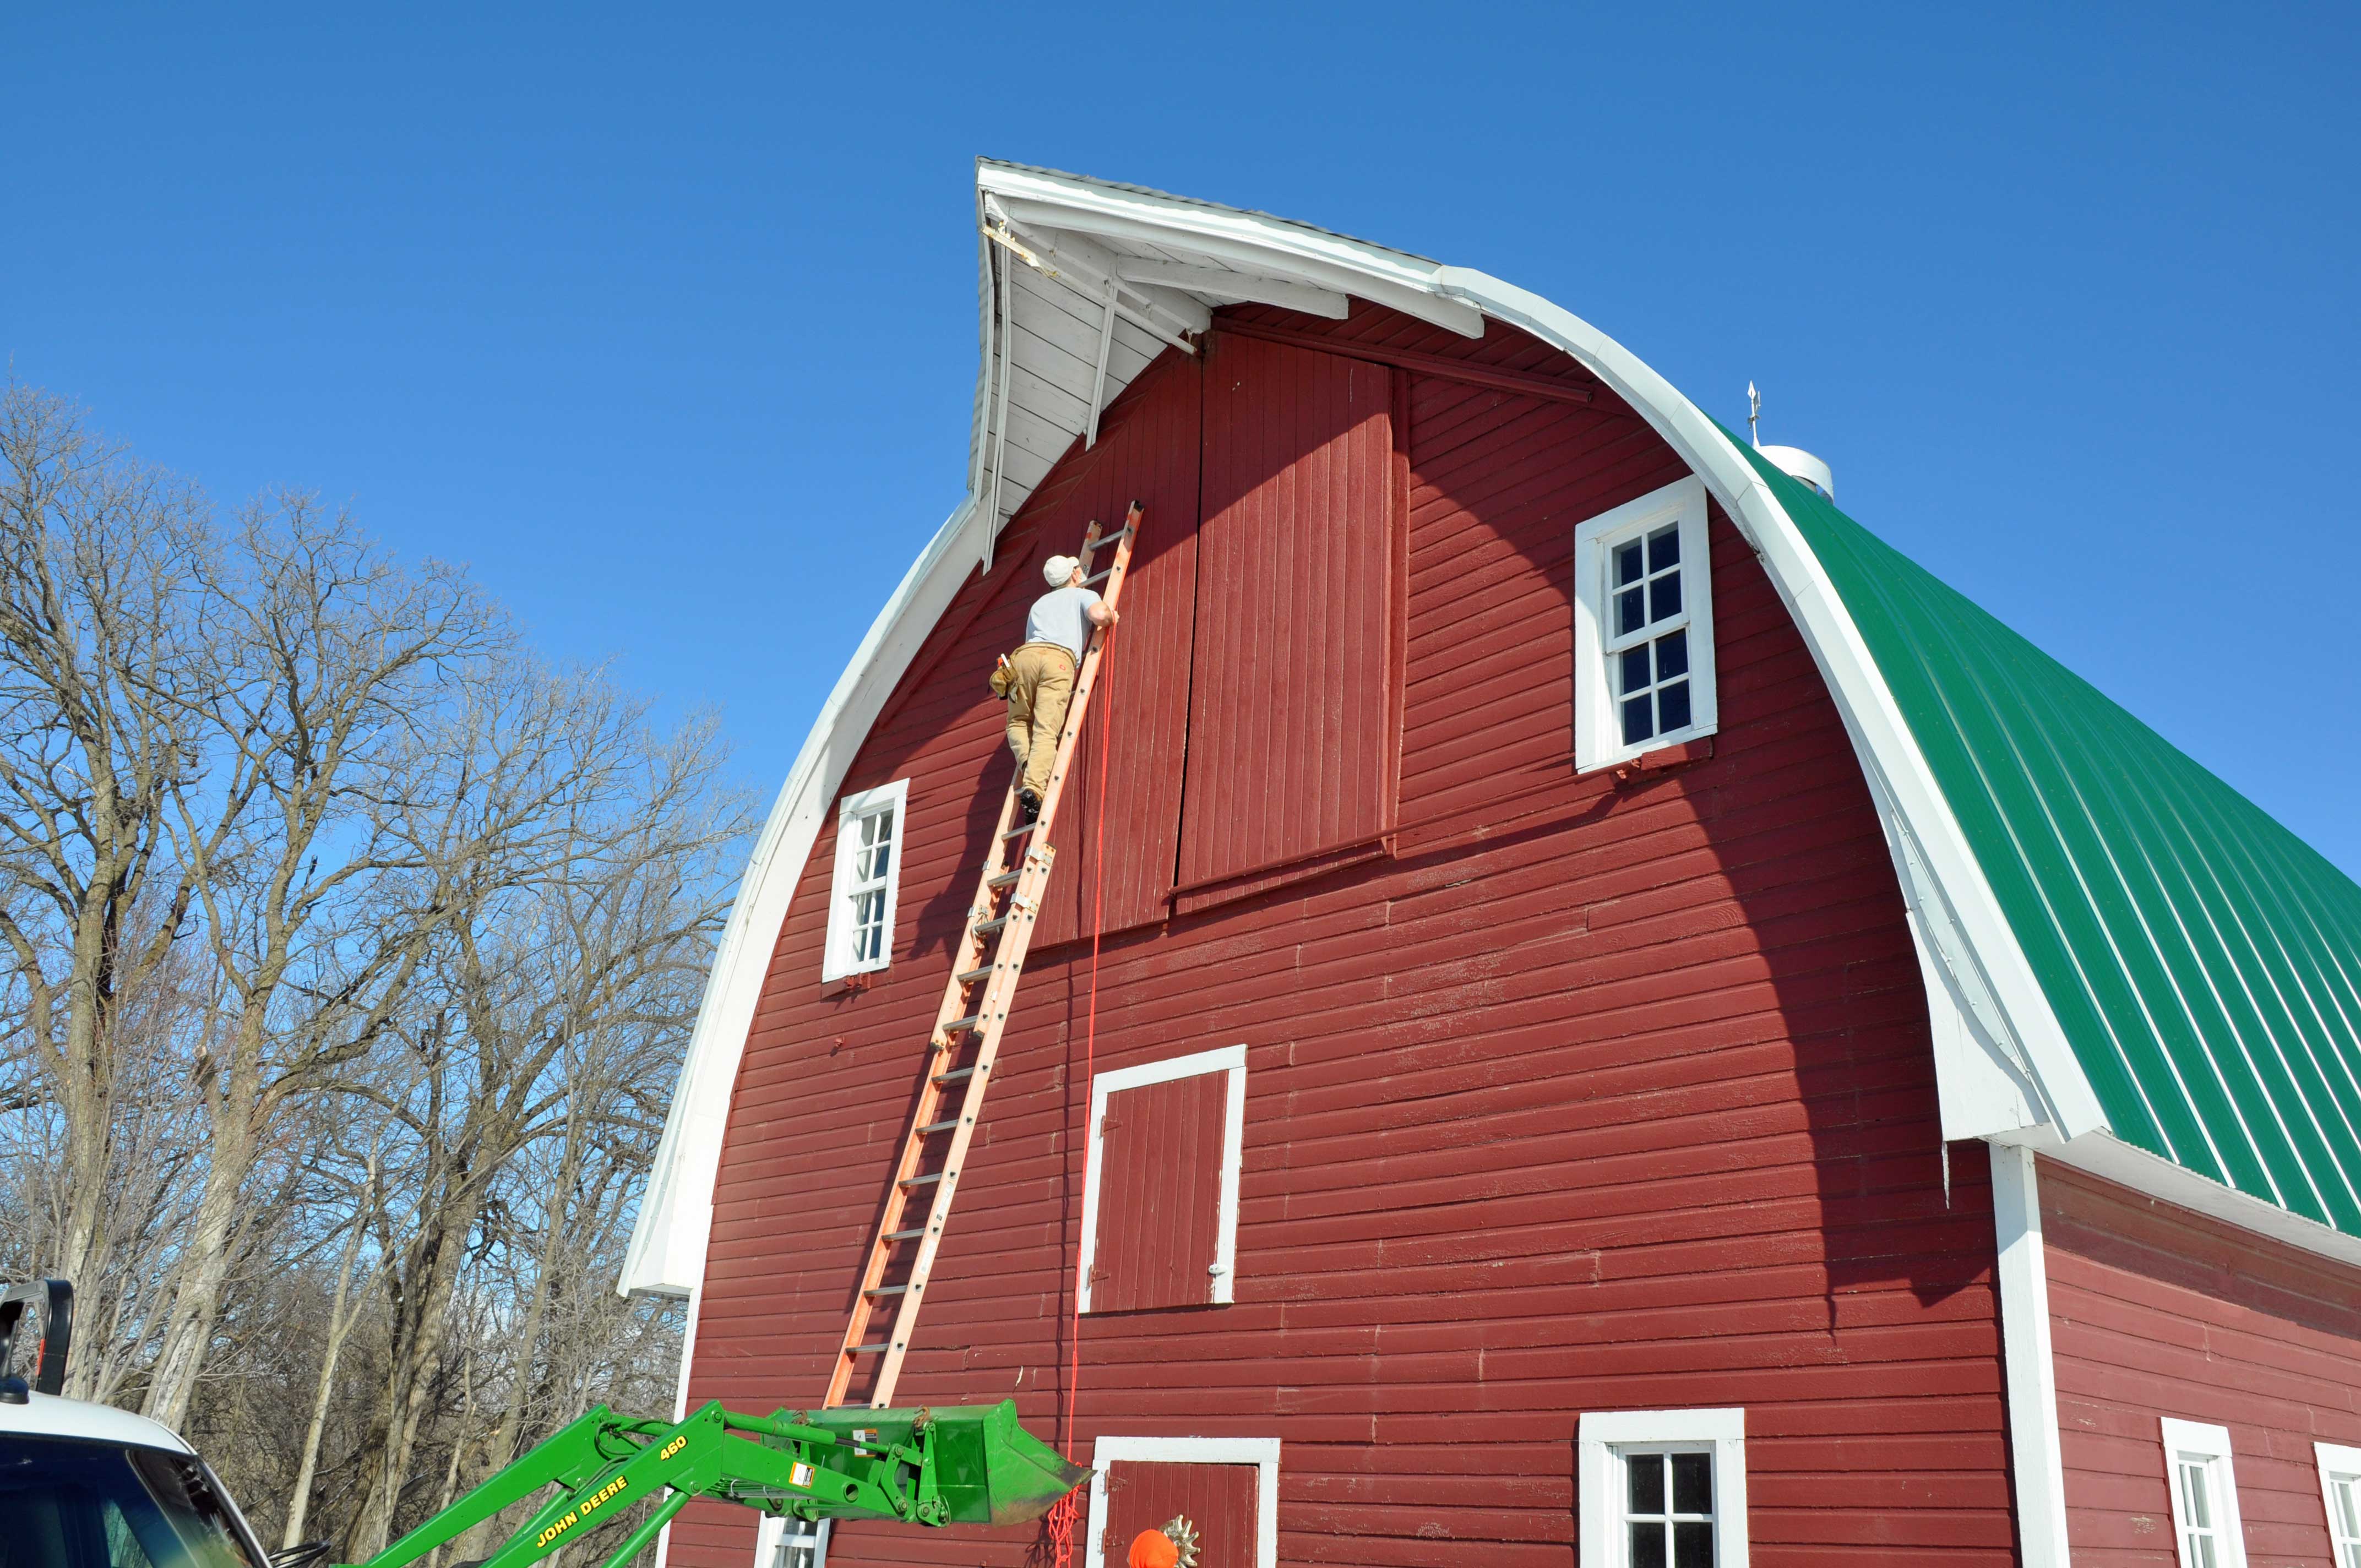
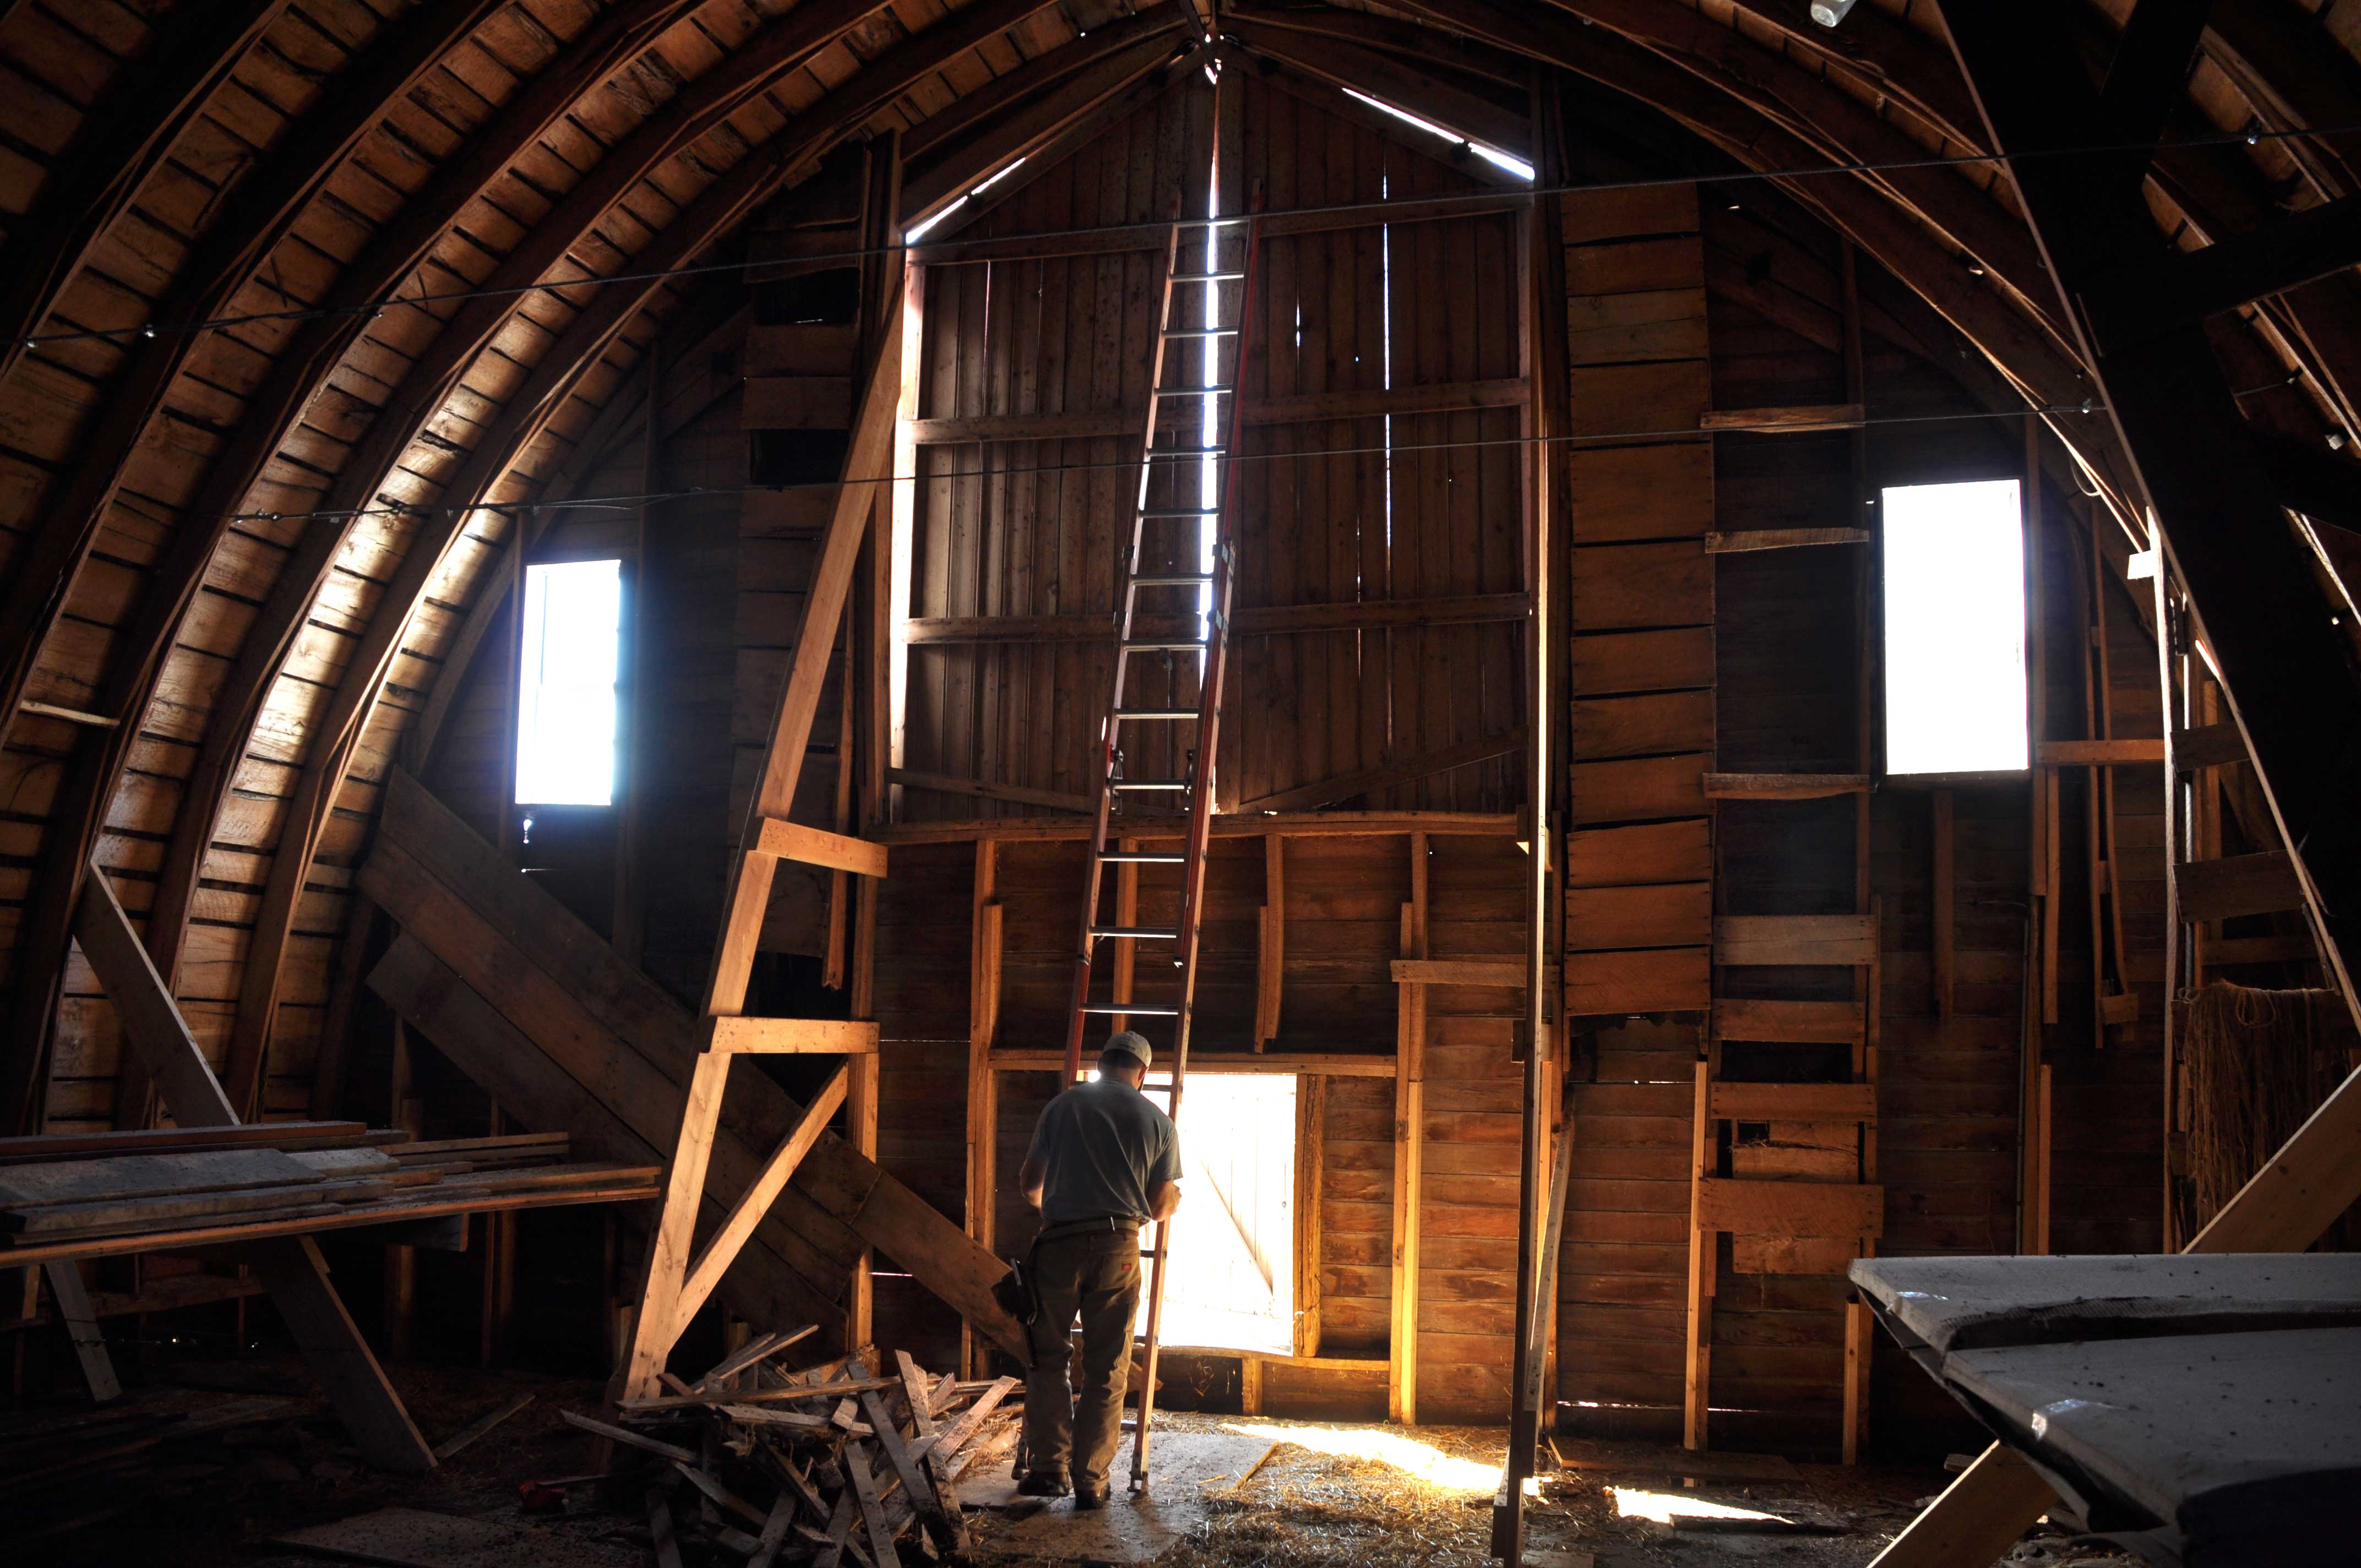
In the next picture you can see the tight crawl spaces that the bats like for roosting. When they pack themselves into these tight spaces it helps to retain their body heat and keep each other warm in cold weather.insideOur Storey book article on bats recommended “seasoning” the new bat house with guano so that it has a familiar scent. The process was to collect some guano from the hay loft and mix it with some water to create a slurry that could be poured into the bat house. This seemed kind of gross to us, but if it helps to make the bats feel comfortable in their new home then, why not?
guana2Here is our new “well-seasoned” bat house, ready for installation.inside2Our research indicated that to have the best chance for relocation, the new bat house should be located as close as possible to the current bat entrance. Well, that would be high up in the peak of the barn. The extension ladder wasn’t quite long enough, so in typical farm fashion, I placed the ladder into the bucket of the tractor. This type of work isn’t for everyone. We did luck out and it was a glorious warm sunny date for February. Even warm enough to wear a short-sleeved shirt!DSC_0028In order to have hands free for climbing the ladder, we attached a rope to the bat house so that it could be lifted up once I was comfortably positioned at the top.DSC_0031Up comes the bat house to its new location.DSC_0033It was a little dicey to hold the bat house in place and manage the screws and screw gun all at the same time. Note to self: next time start the screws in pilot holes before climbing the ladder!DSC_0036Here goes nothing…..do not stand under the ladder in case I drop something!DSC_0039

The installation is now complete. It would be nice to have positioned the bat house a little higher, but when you are on the top of the ladder it apparently seems high enough.DSC_0043
The next question to answer is whether or not the bats are hibernating in the barn or if they have migrated to somewhere warmer for the winter. Since our barn has no heating or cows keeping it warm in the winter, and since there is no evidence of bat sounds on warm winter days, we believe that our bats have migrated for the winter and will return in early spring. Our research didn’t offer any definitive answers on hibernating versus migrating for small brown bats, so we will have to keep an eye out for them inside the barn. If there are bats that become trapped in the barn, then we will have to install a one-way entrance so that they can get out but cannot come back in.

Now, what are we going to do with all those other openings in the barn wall that the bats can come through? Guess we have to start plugging them all. Small brown bats can crawl through holes as small as 3/8 inch in diameter, so every hole needs to be plugged or covered.  A sunny day is perfect for finding all the openings. Where to begin?DSC_0051

We decided that it would be easiest, low-cost, and fairly unobtrusive visually to install wire mesh over the openings – especially since there were some very large openings! We had a large roll of wire screen mesh leftover from the screened porch when we built the house. I save everything!DSC_0054

Wire screen mesh can be cut easily with a sharp sheet rock knife along a straight edge. I cut strips that were 6-8 inches wide the length of the screen and then installed them over the openings using a staple hammer. I used a lot of staples to make sure that the bats couldn’t find any new ways into the barn.
DSC_0059

We will likely not have covered every possible entrance, but we hope that enough have been covered that the new bat house looks more attractive and they make that there new home.

DSC_0097We should know in a few weeks whether we have been successful!

Jesse

6 Comments

Filed under Animals, Barn, Outbuildings

Cold-Smoking: Almonds and Cheese

Time has gotten away from me and I have not posted anything for a while.  I had started this post shortly after my last post on the cold-smoked pork chops and am finally getting around to finishing it up.

So, anyhow, along with those garlic sage pork chops that we smoked a few weeks ago, we also threw some almonds and a block of sharp cheddar cheese in the smokehouse.  We have tried smoking both in the past, but were disappointed with the overpowering smoke flavor.


This time around we smoked the cheese for about 1.5 hours and the almonds for about 2.5 hours.  Once again, the cheese was still too smokey and overwhelming for my taste.  I think we will cut back to an hour next time and see if that does the trick.

The almonds, however, turned out just perfect!  Unlike commercially “smoked” nuts that are commonly flavored with liquid smoke, the smokey flavor of these almonds was fresh and subtle.  You can see in the picture that we put them in a wire strainer basket to allow the smoke to circulate around the almonds.

After cold-smoking, we followed the recipe below to finish the flavoring process.

Spicy Smoked Almonds

  • 1 pound unblanched raw smoked almonds
  • 2 T. olive oil
  • 1/4 t. cayenne pepper
  • 1/2 t. garlic powder
  • 1 T. kosher salt finely ground (coarse salt doesn’t stick to the almonds very well)
  • 2 t. chili powder
  • 1 t. fresh ground black pepper

Preheat oven to 375 deg F.

Combine the olive oil and seasonings, then mix in the almonds until they are well coated. Spread them evenly on a cookie sheet (one with sides works best).

Bake the coated almonds for 15 minutes stirring them a couple of times to roast them evenly. Remove them from the oven and let them cool on the cookie sheet.

When cool they should look dry and coated with the seasonings, and they are ready to serve with no chemical smoke flavoring!

We enjoyed snacking on them while sipping a robust red wine. Give them a try some time and enjoy!

Lynell

2 Comments

Filed under Food, Smokehouse, Smoking

Cold-Smoking: Garlic and Sage Pork Chops

Cold temperatures and some much-needed spare time over the holidays provided the perfect opportunity to fire up the smokehouse and do some cold-smoking.  We decided to do some pork chops and turned to our favorite smoking resource for a brine recipe:  Charcuterie: The Craft of Salting, Smoking and Curing by Michael Ruhlman and Brian Polcyn.

Roughly following the recipe for the Garlic-Sage-Brined Pork Chops, we mixed up the following brine:

  • 2 quarts water
  • 1/2 c. kosher salt
  • 3/4 c. packed dark brown sugar
  • 4 T. fresh sage leaves (we used ground sage and only about 3 T.)
  • 2 garlic cloves, lightly smashed
  • 1 T. fresh ground black pepper

After mixing up the brine to dissolve all the ingredients, we placed 6 thick bone-in pork chops in a gallon Ziploc bag and put them in a cooler in the garage to soak overnight.

In the morning, we put the brined pork chops on the steel rack in the smokehouse and let them sit for a few hours to dry.

Jesse eventually fired up the firebox and smoked the chops for about 5 hours with apple wood. The smell was mouth-watering.

The chops were grilled on New Year’s Eve in 15 deg F weather. As usual with a finely cold-smoked meat product, the meat was pink all the way through the chop from the smoking, the brining kept the chops moist and flavorful, and a side dish of sauerkraut or applesauce were great complements. A cold Blue Moon beer was the finishing touch to a great meal. If only Jesse’s little brother would have sent us a nice hand-crafted box of chocolate truffles (www.intriguechocolates.com) for Christmas, the meal would have been perfect!

Happy New Year!

Lynell

5 Comments

Filed under Food, Smokehouse, Smoking