Category Archives: Smoking

Hot Smoking in the Barrel Smoker: Beef Brisket

We have posted a lot about cold-smoking in the past because that is what we use our smokehouse for and the process we use most often.  Every single day the blog receives many visits from people searching for information on building a smokehouse, cold-smoking, or some variation of those searches.  But in addition to cold-smoking, we also have a simple barrel smoker for hot-smoking that Jesse’s uncle brought up from Texas.  Although we do not fire it up real often, we did make some time this past weekend to smoke a beef brisket. Yum!!

The firebox is heavy gauge steel box construction with an inlet vent control in the door. The smoke box is a 30 gallon drum that is split in half and hinged on one side.
DSC_0009

We have the hot smoker located just outside the access door on the garage because this type of smoker requires a lot of attention for feeding fuel and adjusting the vents. The biggest mistake in smoking brisket is to let the fire flare up and get too hot. A good temperature range is 200-225 deg F.

DSC_0001

Jesse likes to pat the brisket dry the night before, apply the dry rub, and then let it further dry in the refrigerator overnight. Notice that this brisket is wide and flat, which is not good. We are having a hard time finding a full brisket that has the fat cap still in place. Without the fat cap the brisket tends to dry out much easier.

DSC_0003

Jesse placed the brisket on the top wire rack where it is a little farther from the heat source, giving some buffer to prevent over-heating. He also places a pan under the brisket to force the heat to roll around the sides and circulate the smoke.
DSC_0012

After getting started, a nice smoke is coming out of the top vent and out of the seams in the barrel. We have heard that some people worry about getting their smoker tight to reduce air leaks, but that is a mistake because you want the smoke to pass over the meat.   Making a tight smoker will cut air flow and cause moisture to build up in the smoker, which can promote an acrid flavor.

DSC_00013

After attending a class on smoking at a retail store last year, we purchased  this handy digital probe thermometer. Although there are 2 dial temp gauges in the barrel itself, one in the bottom and another in the top, the dual read digital probe gives the most accurate readings of what is happening right at the brisket. The dual probe gives the temp inside the meat, and another reading just outside the meat (oven temp).   DSC_0107

In this photo the temp had spiked up to 243 deg F, so Jesse had to turn the vent down to try to cool it back down to the desired range of 200-225 deg F.

DSC_0108

When the brisket reaches 170 deg F, Jesse removes the brisket from the smoker, wraps it tightly in tinfoil with a little barbecue sauce, and then places it in the oven at 220 deg F for another 2 hours for finishing. It took about 7 hours of hot-smoking on this day in the barrel smoker to reach the 170 deg F.  Adding on the extra 2 hours for finishing in the oven, you can see that cooking a brisket in our barrel hot smoker is a whole day affair.  After tasting the finished product however, I think everyone would agree that it was well worth the wait.

Lynell

1 Comment

Filed under Food, Smoking

A Snowy Sunday

We woke up Sunday morning to a dreary sky, cool temperatures and giant snowflakes streaming down.  After a trip to church, we hunkered down for a relaxing day around home. All three kids were under one roof, with our older two home on a long weekend break from West Point.  We had our usual Sunday brunch of crepes and homemade sausage and Jesse fired up the smokehouse in the afternoon to do some cold-smoking.
fallsnow

As the day went on, the snow eventually turned to a slushy mix that coated the ground.
fallsnow1

Jesse cold-smoked some cheese and almonds for snacking and some pork chops for dinner.  (You can see my earlier post on cold-smoking almonds and cheese here.)  As usual, everything turned out delicious. Yum!!

fallsnow2With temperatures only reaching into the 40’s, we had the fireplace going to cozy up the house.  We did not go anywhere all day.  What a treat for all of us.

And just like that…the weekend was over and we had to return the kids to the airport early this morning for their trip back to New York and West Point.  Winter is definitely on its way though…and although it is my least favorite season, the silver lining is that it also means that more breaks from school are on the way… along with some more cozy family time.  I sure can’t complain about that. 🙂

Lynell

1 Comment

Filed under Daily life, Smoking

Cold-Smoking: Pork Ribs

I finally found time a few weeks back to fire up the smoke-house for some cold-smoking as the weather warmed up above freezing during the day.  Unless you are buying hogs by the 1/2 or 1/4, you will typically buy pork ribs from your grocer or butcher that are frozen. Since we have plenty of freezer space and a vacuum sealer, I like to smoke several racks of ribs so that we can pull them out of the freezer for a rib dinner whenever we are in the mood.

I start thawing the ribs two days before I’m going to run the smoker. One day to thaw, and another day (or at least overnight) to let them dry. After the ribs are thawed, I dry them off with paper towels and then liberally coat them with a dry rub. There are several good rubs available on the market; I like Famous Dave’s or Rendezvous (from Memphis), or you can mix up your own concoction.

ribs

Make sure to coat both sides and all the edges with the dry rub so that the seasoning can do its magic.ribs2

After the ribs are dry rubbed, separate them on cookie sheets so that they can dry in the refrigerator for 1 day or at least overnight. The reason to let them dry is that wet meats tend to allow the soot from the smoke adhere to the meat.

You can see that spring had not yet arrived (it still hasn’t), but with day time temps in the 20’s the heat from the smoker will keep the meat from freezing in the smokehouse. Frozen meat does not absorb smoke very well.

ribs3

After finally getting the firebox dug out from the snow, I was ready to start the fire. My favorite wood for smoking any kind of pork is white oak, although red oak is a close second. If I have some apple wood available, I will add a few sticks of apple to layer in some sweetness from the fruit wood.ribs4

I had enough space in the smokehouse to add in a chicken that I had brined in salt, sugar, and rosemary. If you haven’t yet tried brining your chickens and turkeys, I highly recommend it!

You can see the smoke starting to draft up through the floor of the smokehouse.

ribs5

Now that a good draft has started, I close the door and add a little more wood about once an hour. Depending on how smokey you like your ribs, you can smoke them from 2-6 hours. I like mine right at 4 hours.ribs6

This smokehouse is so easy and fun to use, but just to make sure everything goes right, I like to open a couple of beers and keep a close eye on it.ribs7

The last step of the process is to vacuum seal the ribs to ensure freshness for up to one year. If you don’t have a vacuum sealer, you can also wrap the ribs in a good butcher paper, but you will probably want to cook them within a few months.

ribs9

A few tips on cooking ribs. The key is to cook them low and slow. Coat them with a little barbecue sauce and place them in a cake pan covered tightly with tin foil, or you can wrap them individually with tin foil to seal in the juices. I like to cook them at about 220 F for about 4 hours, or just until they are ready to fall of the bone. Then I like to finish them off for a few minutes under the broiler in the oven or on the grill to give them a nice caramelized flavor, but don’t overdo this last step because it is easy to dry them out too much.

And the most important tip?  Enjoy with a nice full-bodied beer or a hearty glass of red wine!

Jesse

8 Comments

Filed under Food, Smokehouse, Smoking

Cold-Smoking: Almonds and Cheese

Time has gotten away from me and I have not posted anything for a while.  I had started this post shortly after my last post on the cold-smoked pork chops and am finally getting around to finishing it up.

So, anyhow, along with those garlic sage pork chops that we smoked a few weeks ago, we also threw some almonds and a block of sharp cheddar cheese in the smokehouse.  We have tried smoking both in the past, but were disappointed with the overpowering smoke flavor.


This time around we smoked the cheese for about 1.5 hours and the almonds for about 2.5 hours.  Once again, the cheese was still too smokey and overwhelming for my taste.  I think we will cut back to an hour next time and see if that does the trick.

The almonds, however, turned out just perfect!  Unlike commercially “smoked” nuts that are commonly flavored with liquid smoke, the smokey flavor of these almonds was fresh and subtle.  You can see in the picture that we put them in a wire strainer basket to allow the smoke to circulate around the almonds.

After cold-smoking, we followed the recipe below to finish the flavoring process.

Spicy Smoked Almonds

  • 1 pound unblanched raw smoked almonds
  • 2 T. olive oil
  • 1/4 t. cayenne pepper
  • 1/2 t. garlic powder
  • 1 T. kosher salt finely ground (coarse salt doesn’t stick to the almonds very well)
  • 2 t. chili powder
  • 1 t. fresh ground black pepper

Preheat oven to 375 deg F.

Combine the olive oil and seasonings, then mix in the almonds until they are well coated. Spread them evenly on a cookie sheet (one with sides works best).

Bake the coated almonds for 15 minutes stirring them a couple of times to roast them evenly. Remove them from the oven and let them cool on the cookie sheet.

When cool they should look dry and coated with the seasonings, and they are ready to serve with no chemical smoke flavoring!

We enjoyed snacking on them while sipping a robust red wine. Give them a try some time and enjoy!

Lynell

2 Comments

Filed under Food, Smokehouse, Smoking

Cold-Smoking: Garlic and Sage Pork Chops

Cold temperatures and some much-needed spare time over the holidays provided the perfect opportunity to fire up the smokehouse and do some cold-smoking.  We decided to do some pork chops and turned to our favorite smoking resource for a brine recipe:  Charcuterie: The Craft of Salting, Smoking and Curing by Michael Ruhlman and Brian Polcyn.

Roughly following the recipe for the Garlic-Sage-Brined Pork Chops, we mixed up the following brine:

  • 2 quarts water
  • 1/2 c. kosher salt
  • 3/4 c. packed dark brown sugar
  • 4 T. fresh sage leaves (we used ground sage and only about 3 T.)
  • 2 garlic cloves, lightly smashed
  • 1 T. fresh ground black pepper

After mixing up the brine to dissolve all the ingredients, we placed 6 thick bone-in pork chops in a gallon Ziploc bag and put them in a cooler in the garage to soak overnight.

In the morning, we put the brined pork chops on the steel rack in the smokehouse and let them sit for a few hours to dry.

Jesse eventually fired up the firebox and smoked the chops for about 5 hours with apple wood. The smell was mouth-watering.

The chops were grilled on New Year’s Eve in 15 deg F weather. As usual with a finely cold-smoked meat product, the meat was pink all the way through the chop from the smoking, the brining kept the chops moist and flavorful, and a side dish of sauerkraut or applesauce were great complements. A cold Blue Moon beer was the finishing touch to a great meal. If only Jesse’s little brother would have sent us a nice hand-crafted box of chocolate truffles (www.intriguechocolates.com) for Christmas, the meal would have been perfect!

Happy New Year!

Lynell

5 Comments

Filed under Food, Smokehouse, Smoking

More on Building a Smokehouse

As it turns out, my original post on building our smokehouse has been the number one hit that brings people to my blog.  Based on the level of interest and/or lack of information out there on the web, I thought I would try to post some more information for people interested in constructing their own smokehouse.

The most helpful resource we found when researching how to build a smokehouse was a little publication by Storey Publishing appropriately titled, Build a Smokehouse.  It is available on Amazon for $3.95, a real bargain, or visit their website at www.storey.com and search for “smokehouse.”

This great little book goes through some basic information on smoking food, explains the differences between hot-smoking and cold-smoking, and provides a helpful description of how smokers and smokehouses work. There are also detailed instructions for building a block smokehouse similar to the design that we used, and some smaller smoker projects if you don’t want such a large structure. The “hot smoke pit” is cheap and easy to build anywhere. In addition, the “barrel smoker” and the “box smoker” are also very good alternatives for cold-smoking smaller quantities at a much lower cost.

Feel free to ask questions in the comment section and we will do our best to answer them.

Lynell

2 Comments

Filed under Outbuildings, Smokehouse, Smoking

Making Sausage: A Family Tradition

My husband and I have hung out for a long time:  we dated for 8 years and have been married for 20 years.  Early on in our relationship, he introduced me to his family’s mostly-annual tradition of making German sausage.  I do not remember the year I was first invited to join in the tradition, but I do remember being amazed, and maybe even a little shocked by the process.  Although I too was a farm kid, I had never thought about how the sausage that I ate was actually made.

The event took place at his parent’s house and I managed to avoid participating up until it was time to weigh and package the newly ground sausage.  Someone handed me a big stainless steel bowl of fresh sausage and instructed me to start weighing and packaging the sausage in one-pound packages.  Being a teenager, and new to the family besides, I felt like I had no other choice than to roll up my sleeves, wash my hands in bleach water, and get started.

The sausage-making tradition has continued through the years, taking place in different locations and with different combinations of family members in attendance.  The equipment has been upgraded, the recipe is always being altered/improved, and the process continues to be refined.  Over the past several years, we have hosted the event at our home on the day after Thanksgiving.  We choose this weekend because people are free for the holiday weekend and the temperatures are typically cold enough that we do not have to worry about keeping the meat cold throughout the process.

Although I am unsure how far back this family tradition dates, I know it goes back at least to my husband’s childhood when they used to make sausage at his grandma and grandpa’s farm.  The recipe is of German origin, but has been changed over the years based on available ingredients and in response to discussions about possible improvements.  One thing has remained the same however, this family knows how to make good sausage.

Cleaning and Setting Up

We hosted this family event at our house again this year.  The preparation process is a long one and requires completely cleaning out our garage, mopping the floors with bleach water, hauling equipment in from various storage locations, and setting everything up.  We place clean plastic on all the tables and wipe them down with bleach water.  Cutting boards, knives and containers are also washed.  We do all this prep work on Thanksgiving evening, so it helps us work off that big turkey dinner.

Mixing the Spices

In addition to the cleaning and setting up, another important preparation that we do the night before is to mix the spices.  My mother-in-law purchases all the spices, mostly in bulk, and works with our three kids to measure them out into pint jars.  Each jar is enough spices to season 30 pounds of sausage.  The kids stand in a line and she gives them the measurement and they pass each ingredient down the line, placing the correct amount in the jars in front of them.

My mother-in-law is in charge of the recipe so I don’t know the exact ingredients, but the spices at least include various amounts of salt, black pepper, sage, coriander, summer savory, all-spice, fennel seed, cayenne pepper, sugar and clove oil.

Sectioning and Cutting

In the morning of sausage-making day, someone goes to the locker to pick up the hogs.  This year we ordered 2 whole hogs, each with a hanging weight of around 220 pounds.  Our oldest son and an uncle both got a deer during hunting season this year, so we purchased an extra 30 pounds of pork trimmings to mix with the venison to make sausage.

Once people start to arrive, the cutting begins.  The hogs are cut into sections and the people cutting are given sections from both the front and rear quarter for cutting.  The idea is to get a good blend of the different cuts of the hog, mixing together both the premium and more standard meat.  The meat is cut off the bone into cubes or chunks for grinding.  We had three tables set up for cutting.

Whole Hog Sausage

Sausage is commonly made from the scraps and least desirable cuts of the hog.  In contrast, the sausage we make is a “whole hog” sausage, which means that it includes all parts of the hog, including the premium cuts: ham, tenderloin, shoulder, etc.

Grinding

As the meat is cut off the bone, the chunks of meat from each table are moved over to the grinding area.  A few years ago, the family purchased a 1.5 horsepower commercial grinder to improve the process.  It has been a great addition to the sausage-making equipment.

The ground pork is put into a tub and weighed.  The batches of sausage we make consist of 24 pounds of ground pork mixed with 6 pounds of ground beef.  Once there are 24 pounds of ground pork ready for processing, the mixing begins.

Mixing

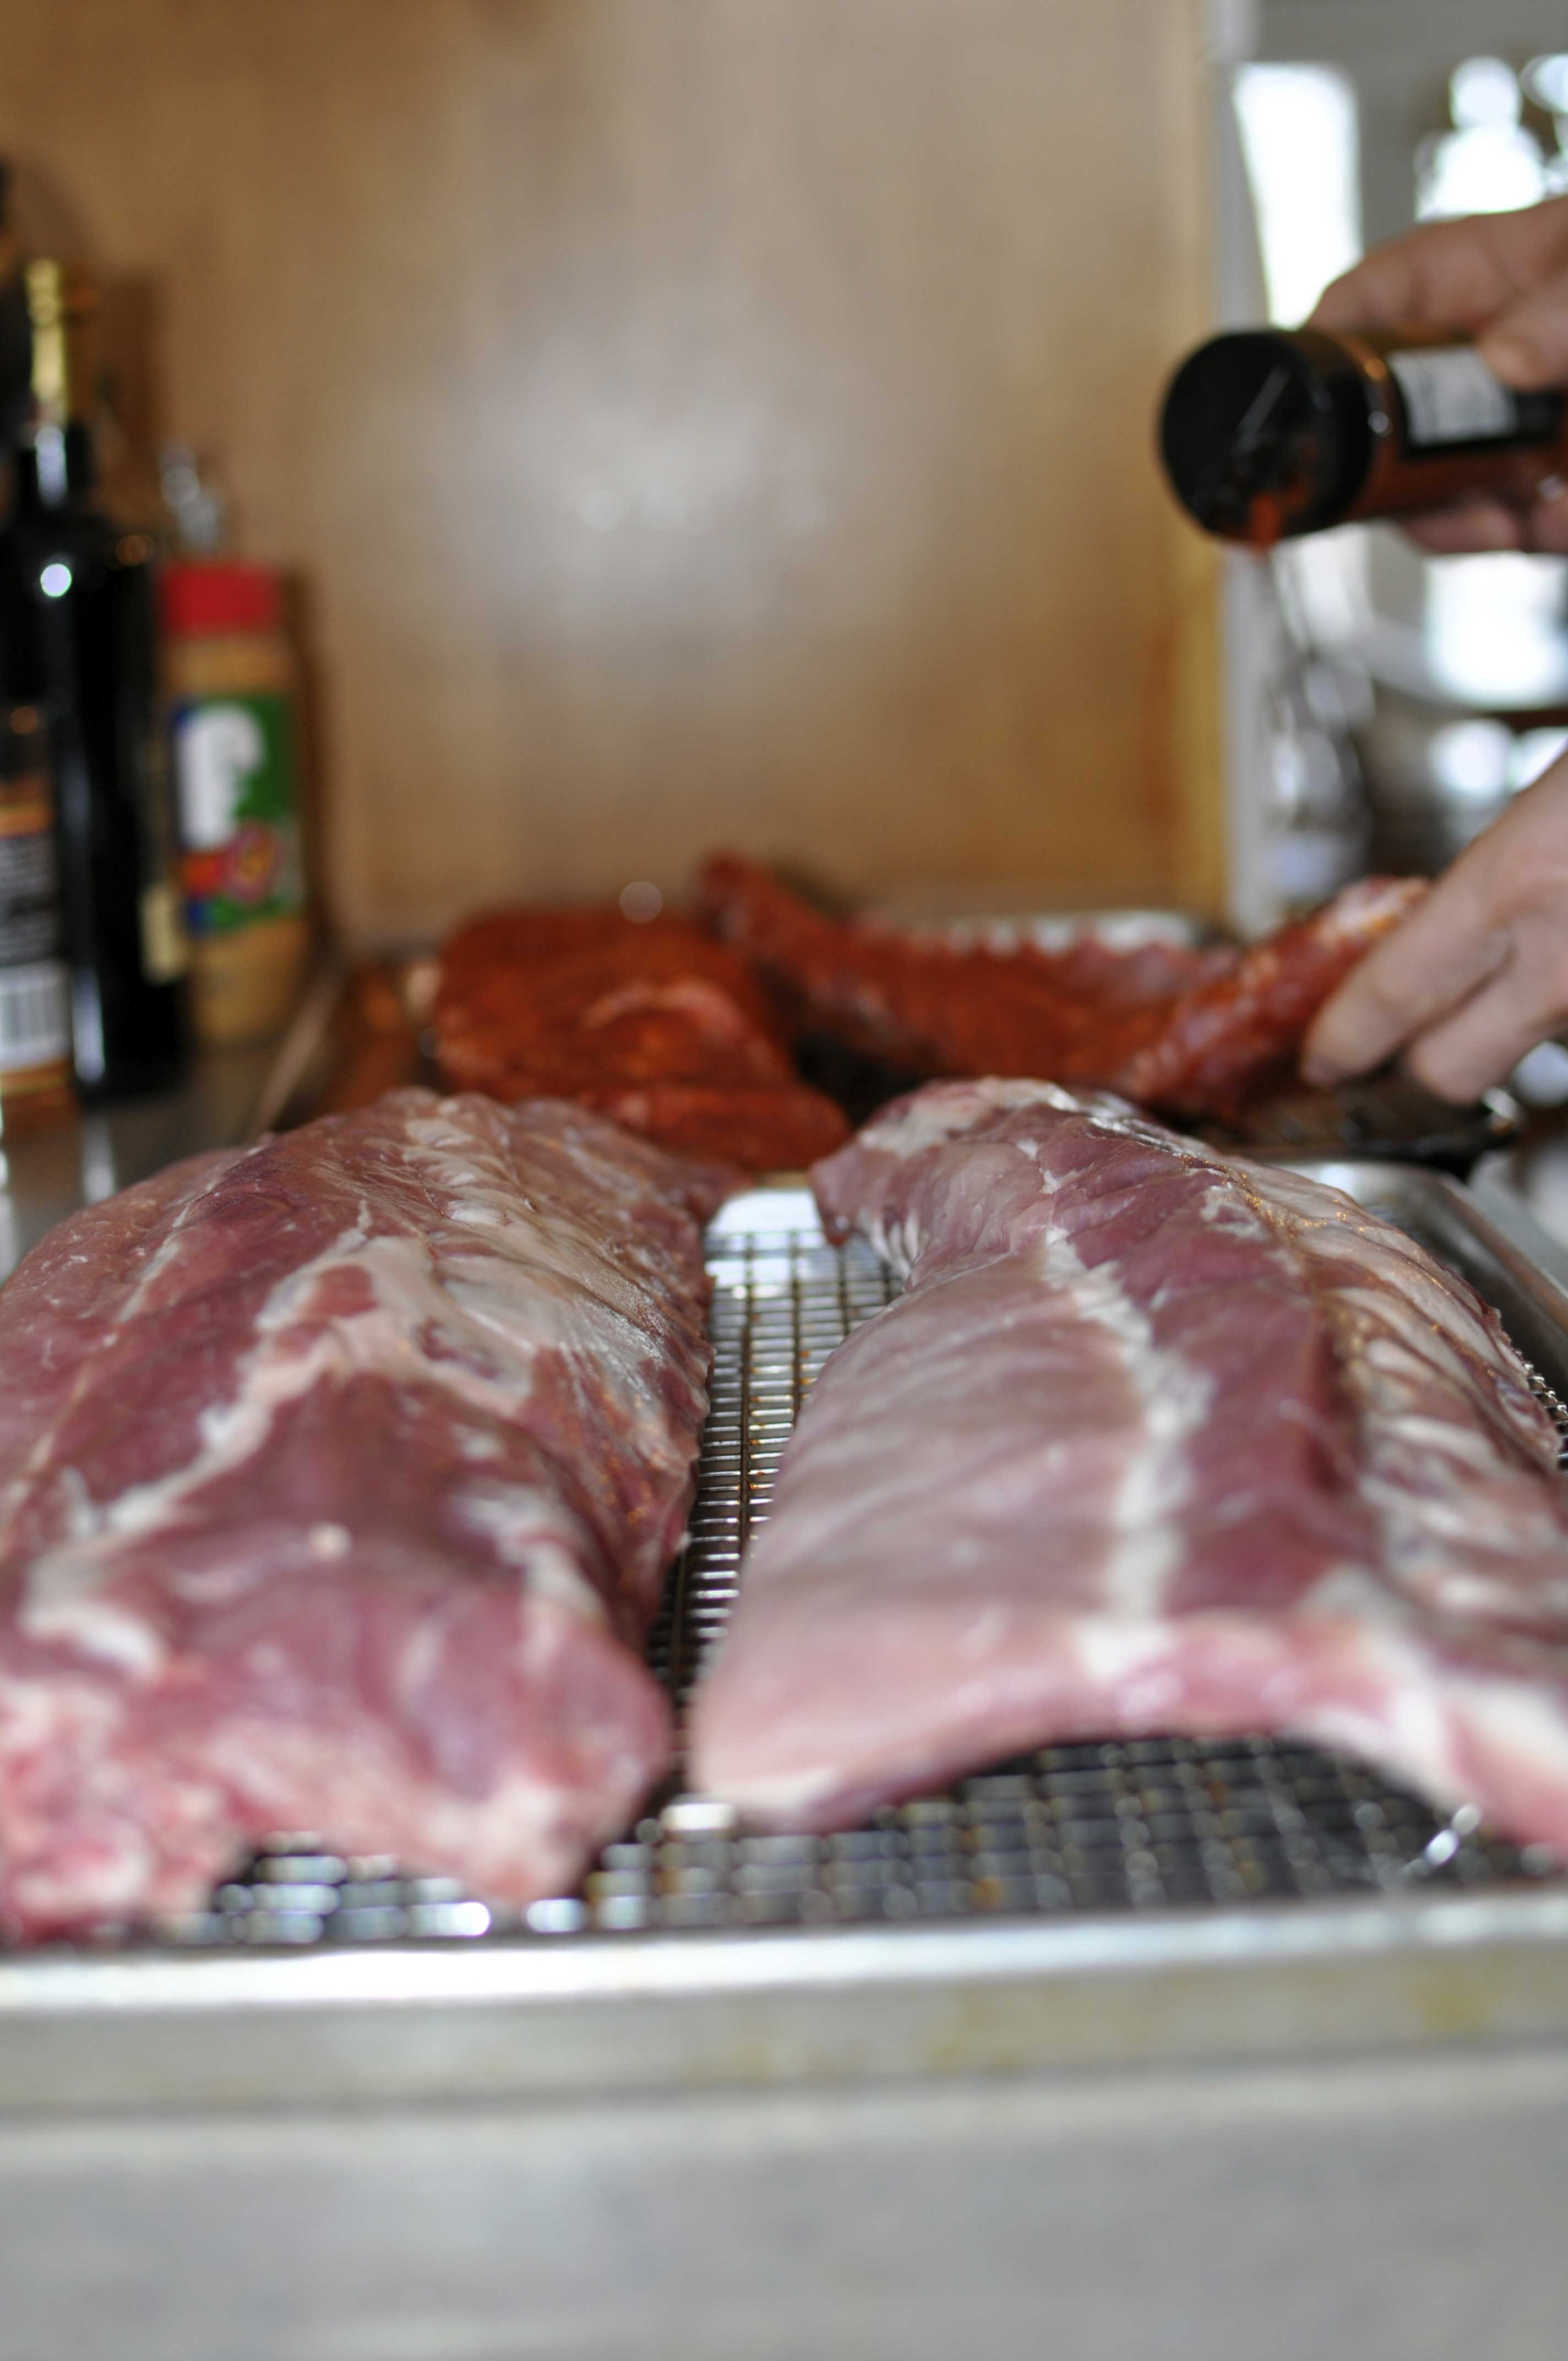
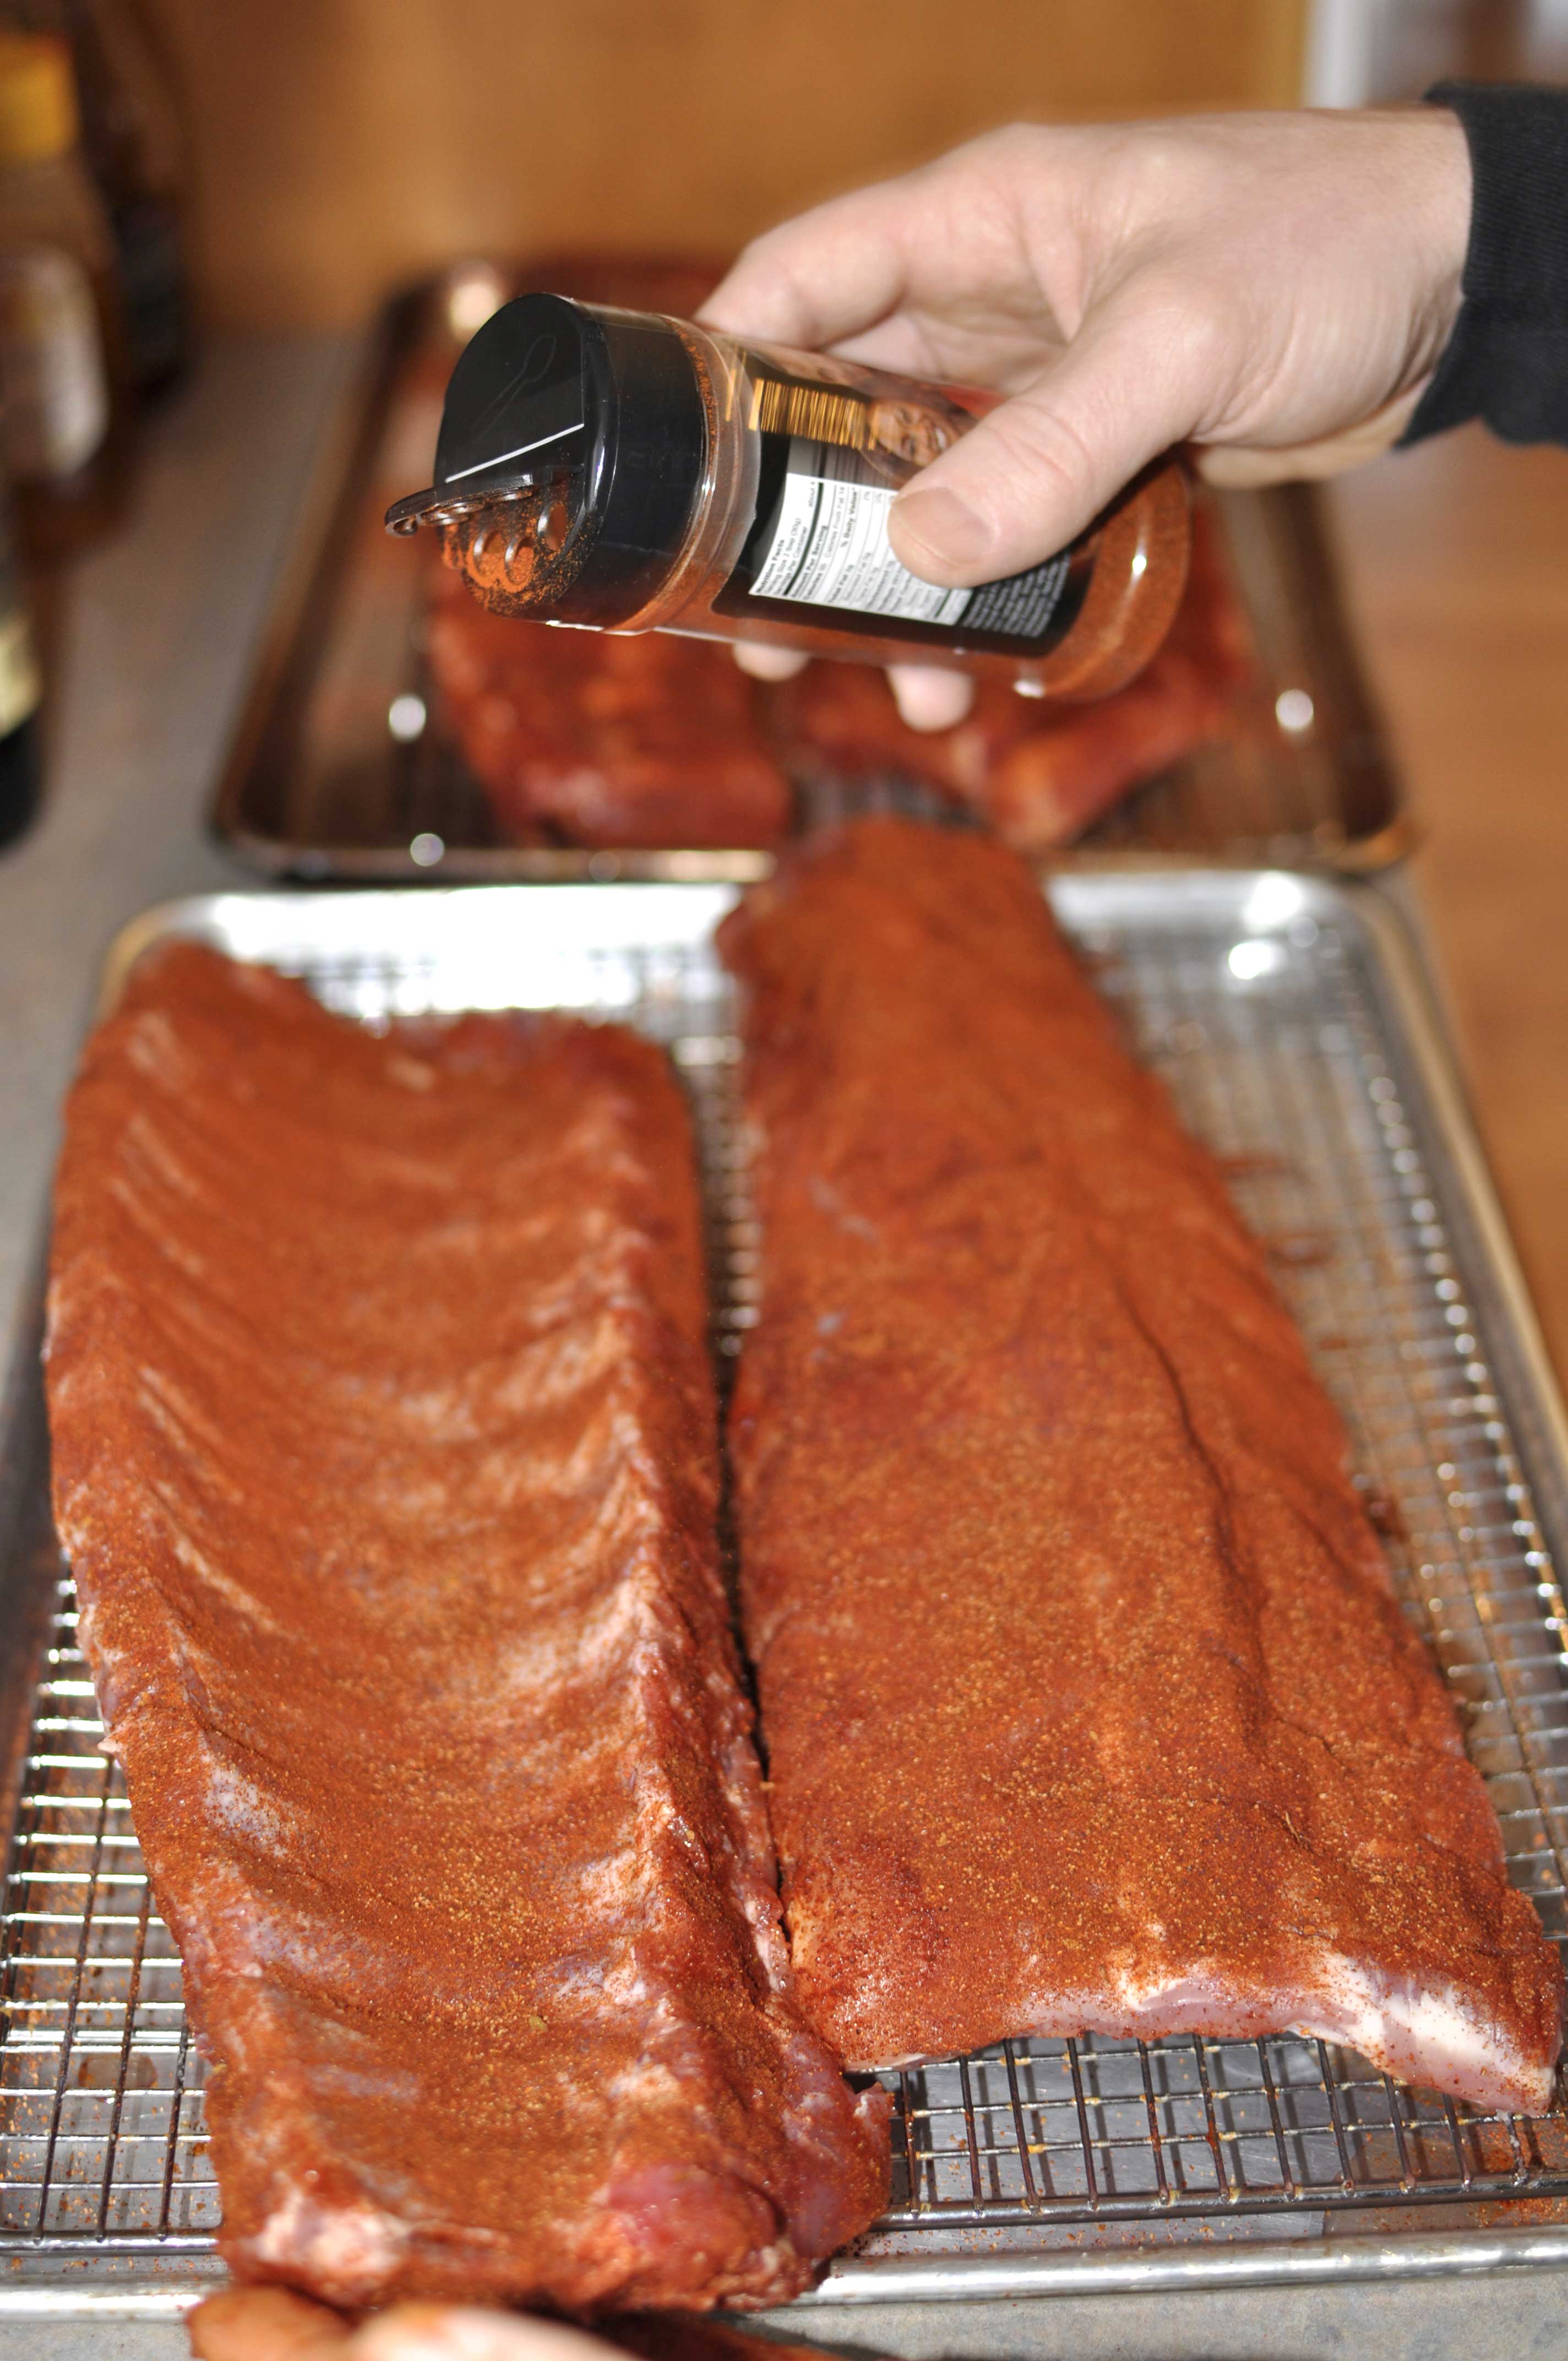
Each 30 pound batch of sausage is seasoned with one of those pint jars of spices mixed the night before.  A quart of ice water is also added to the mixture to add moisture and to help distribute the spices.

The mixing is done by hand, usually by two brave people.  The sausage is really, really cold and the spices make your skin itch and burn.  There are discussions about purchasing a hand-crank mixer for next year to improve this part of the process.

Bulk Sausage

After the sausage goes through the mixing process, it is ready to be packaged as bulk sausage or eaten.  We always try out the freshly made sausage for lunch.  It’s always really yummy, even though the spices have not had a chance to fully set.

The grand total for the pork sausage this year was around 300 pounds – 10 of the 30 pound batches.  Of that 300 pounds of sausage, we wrapped about 120 pounds into 1 pound packages of bulk sausage.

Link Sausage

The remaining bulk sausage is processed into links.  I find this part of the process…ummm…interesting.  Mostly because of the use of hog intestines.

The vessel for stuffing the sausage is hog casings, the intestines of the hog.  They are removed during the butchering process, rinsed and packed in salt.  We purchase the casings from the meat locker where we get the hogs.  My daughter and mother-in-law have the job each year of giving these casings another rinse before they are used.

In the first several years of my exposure to the sausage-making tradition, I truly found this part of the process disgusting.  Just the idea of it.  I had a hard time eating the link sausage because of it and would often peel off the casing.  Over time, I have gotten over it and I just try not to think about it too much.  🙂

Stuffing

After the casings are double-rinsed for good measure, they are put on the stuffer.  With one person turning the crank and the other holding the casings, the bulk sausage is stuffed into the casings.

The sausage links are then weighed for record-keeping and to help figure out the amount available for distribution to all the workers.  The total link pork sausage processed this year was 200 pounds.

Venison Sausage

Once all the pork is ground up and mixed, the crew starts cutting up any venison that we have for the year.  This year we had about 60 pounds of venison.  The venison sausage is also mixed in 30 pound batches, with 20 pounds of venison and 10 pounds of pork trimmings.  The rest of the process is the same as the pork, even the spices used.  We make all of the venison into link sausage.

Smoking

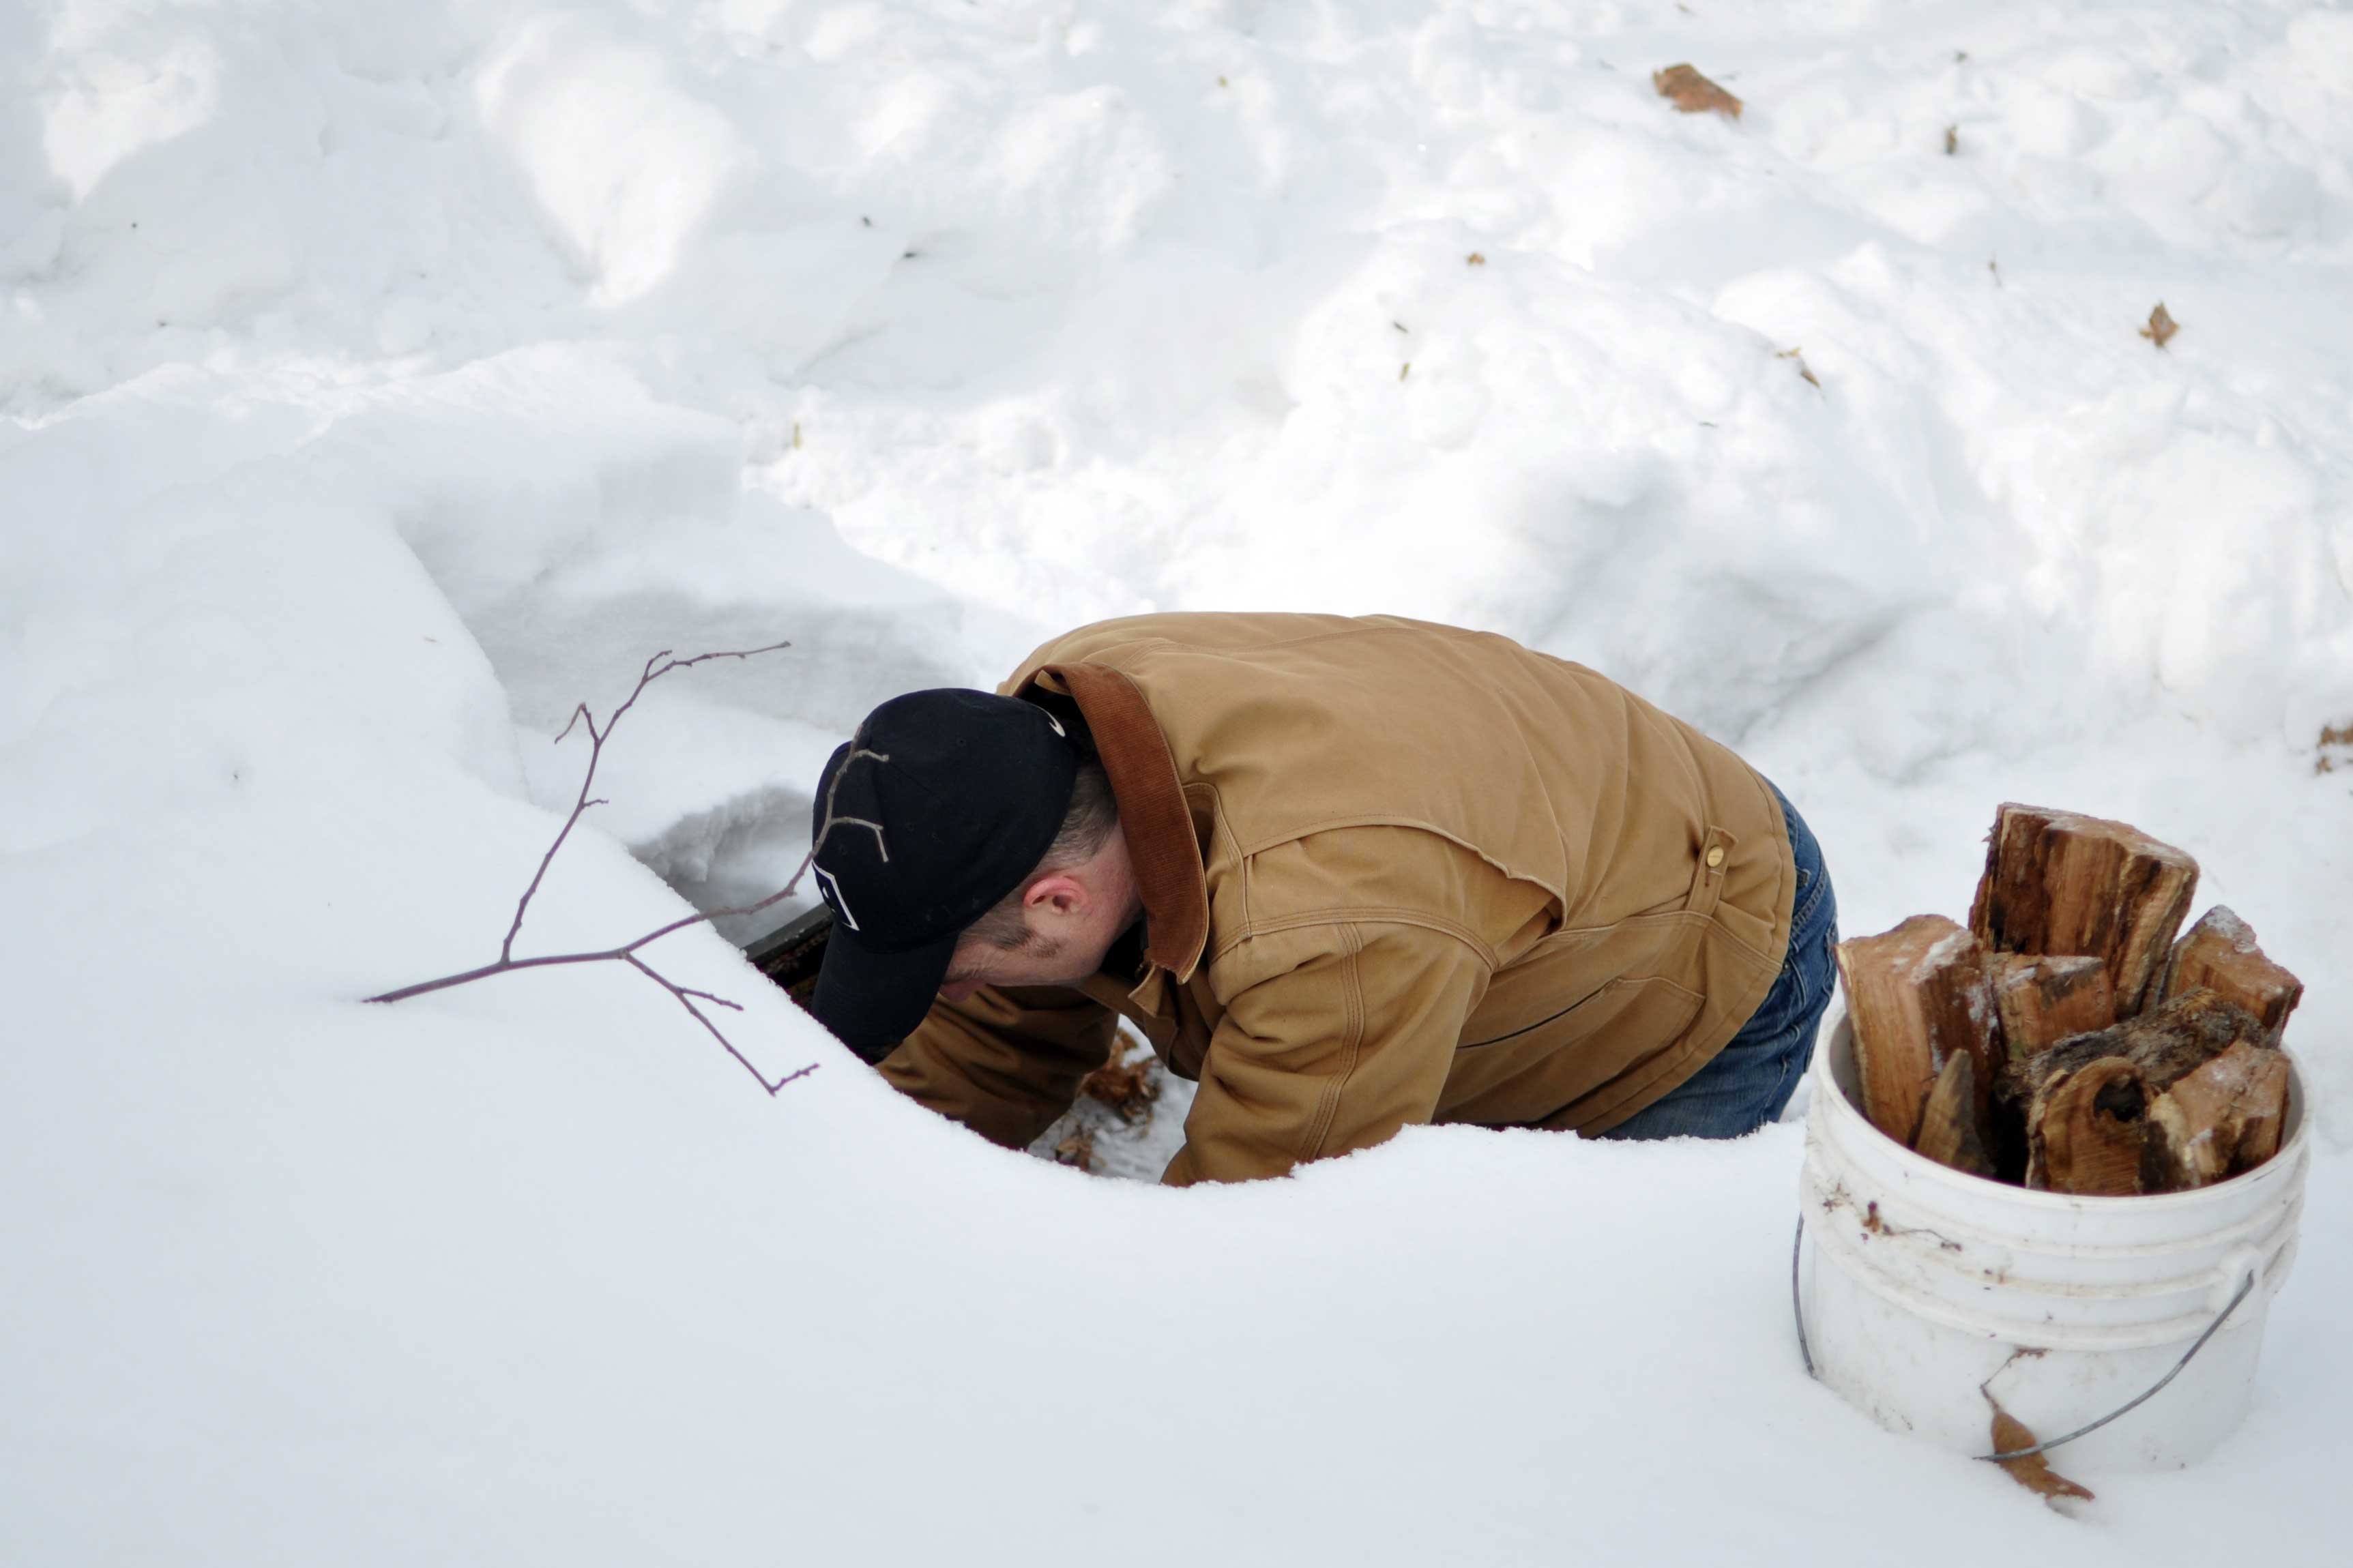
The last step in processing the link sausage is cold-smoking.  This family tradition of making sausage is the primary reason Jesse decided to build our smokehouse.  Interestingly, my post on building our smokehouse is the primary search term that brings people to my blog.  If you are interested in building a smokehouse, check out the post here.

The 300 pounds of link sausage is carried tub-by-tub out to the smokehouse and placed on racks for drying.

The sausage is hung in the smokehouse to dry overnight to form a pellicle.  The pellicle refers to the tacky surface that develops when food is dried and to which the smoke sticks, thereby adding the desired smokey flavor.


Early the next morning, Jesse fired up the smokehouse to start the cold-smoking process.  The art of cold-smoking is to keep the meat below 70 degrees F to inhibit bacteria growth and to not cook the meat.  (Refer to this post about building our smokehouse for more information on how our smokehouse works).
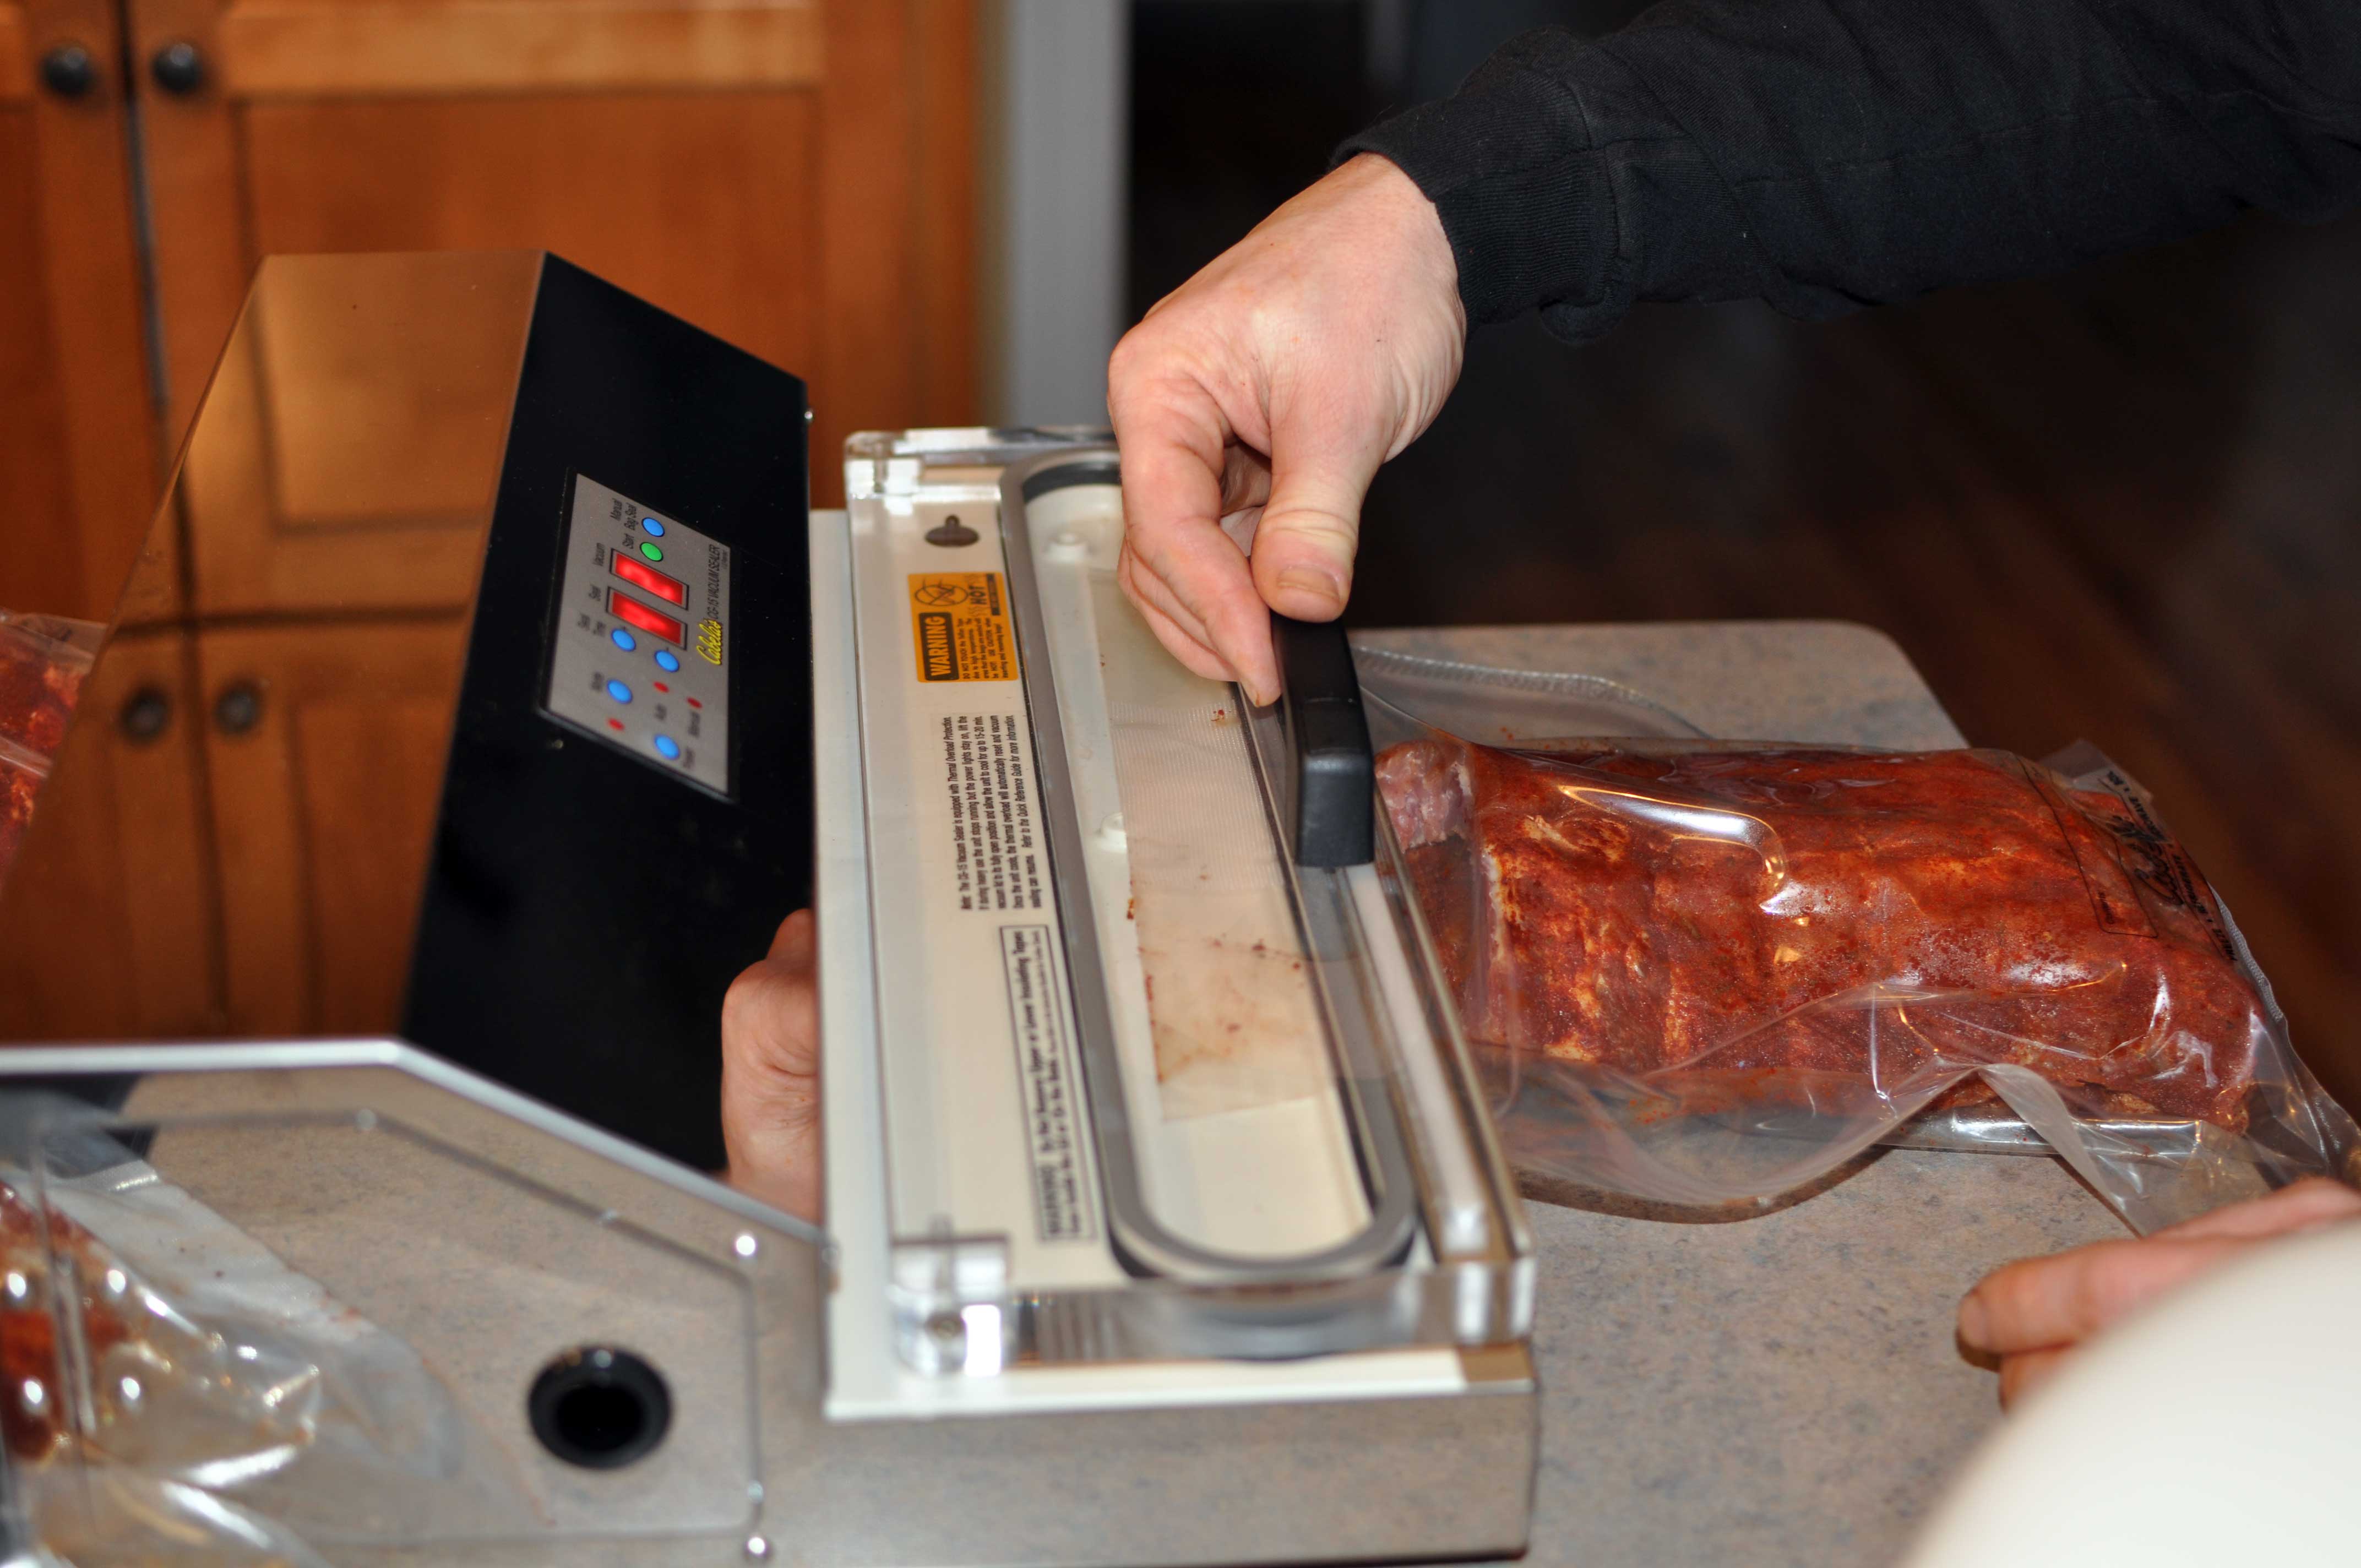
Wrapping

After about 5 hours of gentle cold-smoking, the link sausage is finally finished and ready for wrapping.  A work crew assembles once more to cut the links into 1 pound servings for packaging in freezer paper.

We divide the sausage between the various individuals and families according to their preference ratios of bulk versus link.

The grand totals of sausage processed for 2010:

120 pounds of bulk pork sausage

200 pounds of link pork sausage

90 pounds of venison sausage

So, after a few long days of hard work and good company we are done making sausage for the year.  In addition to the great family memories we create each year through this tradition, we get to enjoy some amazing sausage over the next 12 months.

Does anyone else make sausage as part of a family tradition?  Please share your stories in the comments!

Lynell


16 Comments

Filed under Food, Smokehouse, Smoking

Cold-Smoking: Salmon

Prior to building our smokehouse last year, Jesse used a home-made barrel smoker and an electric smoker to do all of his food smoking.  These styles of smokers limited him to hot-smoking, which is a process that actually cooks the meat slowly while smoking it by keeping temperatures above 150 degrees F.

Cold-Smoking

Cold-smoking is an entirely different process that involves keeping the temperature during the smoking process somewhere below 70 degrees F.  The primary reason we built our smokehouse was to be able to cold-smoke the traditional German sausage that Jesse’s family has been making for years. The large size of the smokehouse is because Jesse wanted to have the capacity to smoke 400-500 lbs of the sausage in a single batch instead of staying up nights tending the firebox. A nice side benefit is that he is also able to cold-smoke fish, cheese, ribs, chickens, turkeys, etc… which turns out a completely different product from hot-smoking.

The key design criteria for cold-smoking is to locate the firebox away from the smoking chamber to allow the smoke to cool before entering the smoke chamber. In Jesse’s design he has located the firebox 8 feet away and slightly down the hill from the smokehouse. The firebox and flue are built into the hillside, which allows the heat to be pulled out by the cooler soil temperature. It is also important to make sure that the flue pipe is at a slight incline to encourage proper drafting of the smoke from the firebox into the smokehouse and out the roof venting. Adequate venting is important to make sure that moisture does not build up in the smokehouse.

Making Cold-Smoked Salmon

Jesse cold-smoked some salmon last weekend.  It was his second attempt and the texture and flavor turned out much better this time.  The first attempt was with refrigerated salmon with no skin attached. The second attempt was with frozen wild salmon provided by a co-worker. We have found some information that frozen salmon is actually preferred for cold-smoking because it enables the curing process.

Before cold-smoking, the salmon needs to be thawed and cured.  Curing preserves meat or fish with salt.  There are endless variations of curing recipes, but the dry cure recipe that Jesse used this time was from Charcuterie; The Craft of Salting, Smoking and Curing. This book provides a wealth of information on these topics and has been an invaluable learning resource.

The dry cure recipe called for the following ingredients:

  • 1/2 cup kosher salt
  • 1/4 cup dark brown sugar
  • 1/4 cup sugar
  • 1 tsp. pink salt
  • 1 tsp. ground white pepper
  • 1 tsp. ground allspice
  • 1/2 tsp. ground cloves
  • 1/2 tsp. ground mace
  • 1 1/2 T. dark rum
  • 1 1/2 lbs. salmon fillet in one piece (skin on is preferable)

After mixing all the dry cure ingredients together, spread half of the mixture out in a dish or pan.  It is helpful to choose a dish that is around the same size as the salmon fillets because the curing process extracts liquids out of the fish.  Having a dish around the same size allows these liquids to remain in contact with the fish and becomes a natural brine for curing.

Time to sprinkle on the dark rum and add the rest of the dry cure mixture over the top. Make sure to sample the rum during this part of the process to make sure it is of good quality.

Once the salmon is covered with the remaining dry cure, cover it with plastic wrap. Sample the rum again, just to be sure.

Place a pan (or pans) on top of the salmon and put some type of weight in it to help extract the moisture.  We used cans and a dressing bottle in between for weight.

Now it is time to put it in the refrigerator and let the curing process begin! It wouldn’t hurt to sample the rum again for good measure.

Jesse let the salmon cure for about 36 hours.  You can tell when the curing process is complete because the salmon will become firm.

Once it is finished curing, it needs to be rinsed thoroughly under cold water to remove the excess salt.

After patting it dry with paper towels, we placed it on a rack out on the screen porch to dry.  Drying is also an important part of the process because it allows the food to form a pellicle. The pellicle refers to the tacky surface that develops when food is dried and to which the smoke sticks, thereby adding the desired flavor.  We dried the salmon for about 6 hours, but it could dry cure for up to 12 hours if needed for pellicle formation.

It’s finally show time!  Time to fire up that smokehouse.  Jesse used maple wood to smoke the salmon. His first attempt was with oak wood because he forgot he had a whole tree worth of maple sitting behind the garden. The maple wood had a much mellower flavor that we enjoyed.

I could not resist poking fun at these two little salmon fillets taking center stage in this ridiculously large smokehouse, but Jesse reminded me that the operating costs were still zero since the wood was stacked head high from a downed tree in the woods.

We thought the salmon was too smokey last time after being smoked about 6 hours, so this time he only smoked it for about 4 hours. Just about the right amount of smoke for our tastes.

After all the work that went into building the smokehouse, it is fun to see it get some use (even if it only for two measly slabs of salmon).

The finished product!  I think it is best on a cracker with a thin layer of cream cheese.  The smokey flavor was perfect;  not too overpowering. Jesse will fine tune this recipe with some fruit woods in the future, and he has promised to also work harder to remove ALL the pin bones next time!

3 Comments

Filed under Food, Smokehouse, Smoking