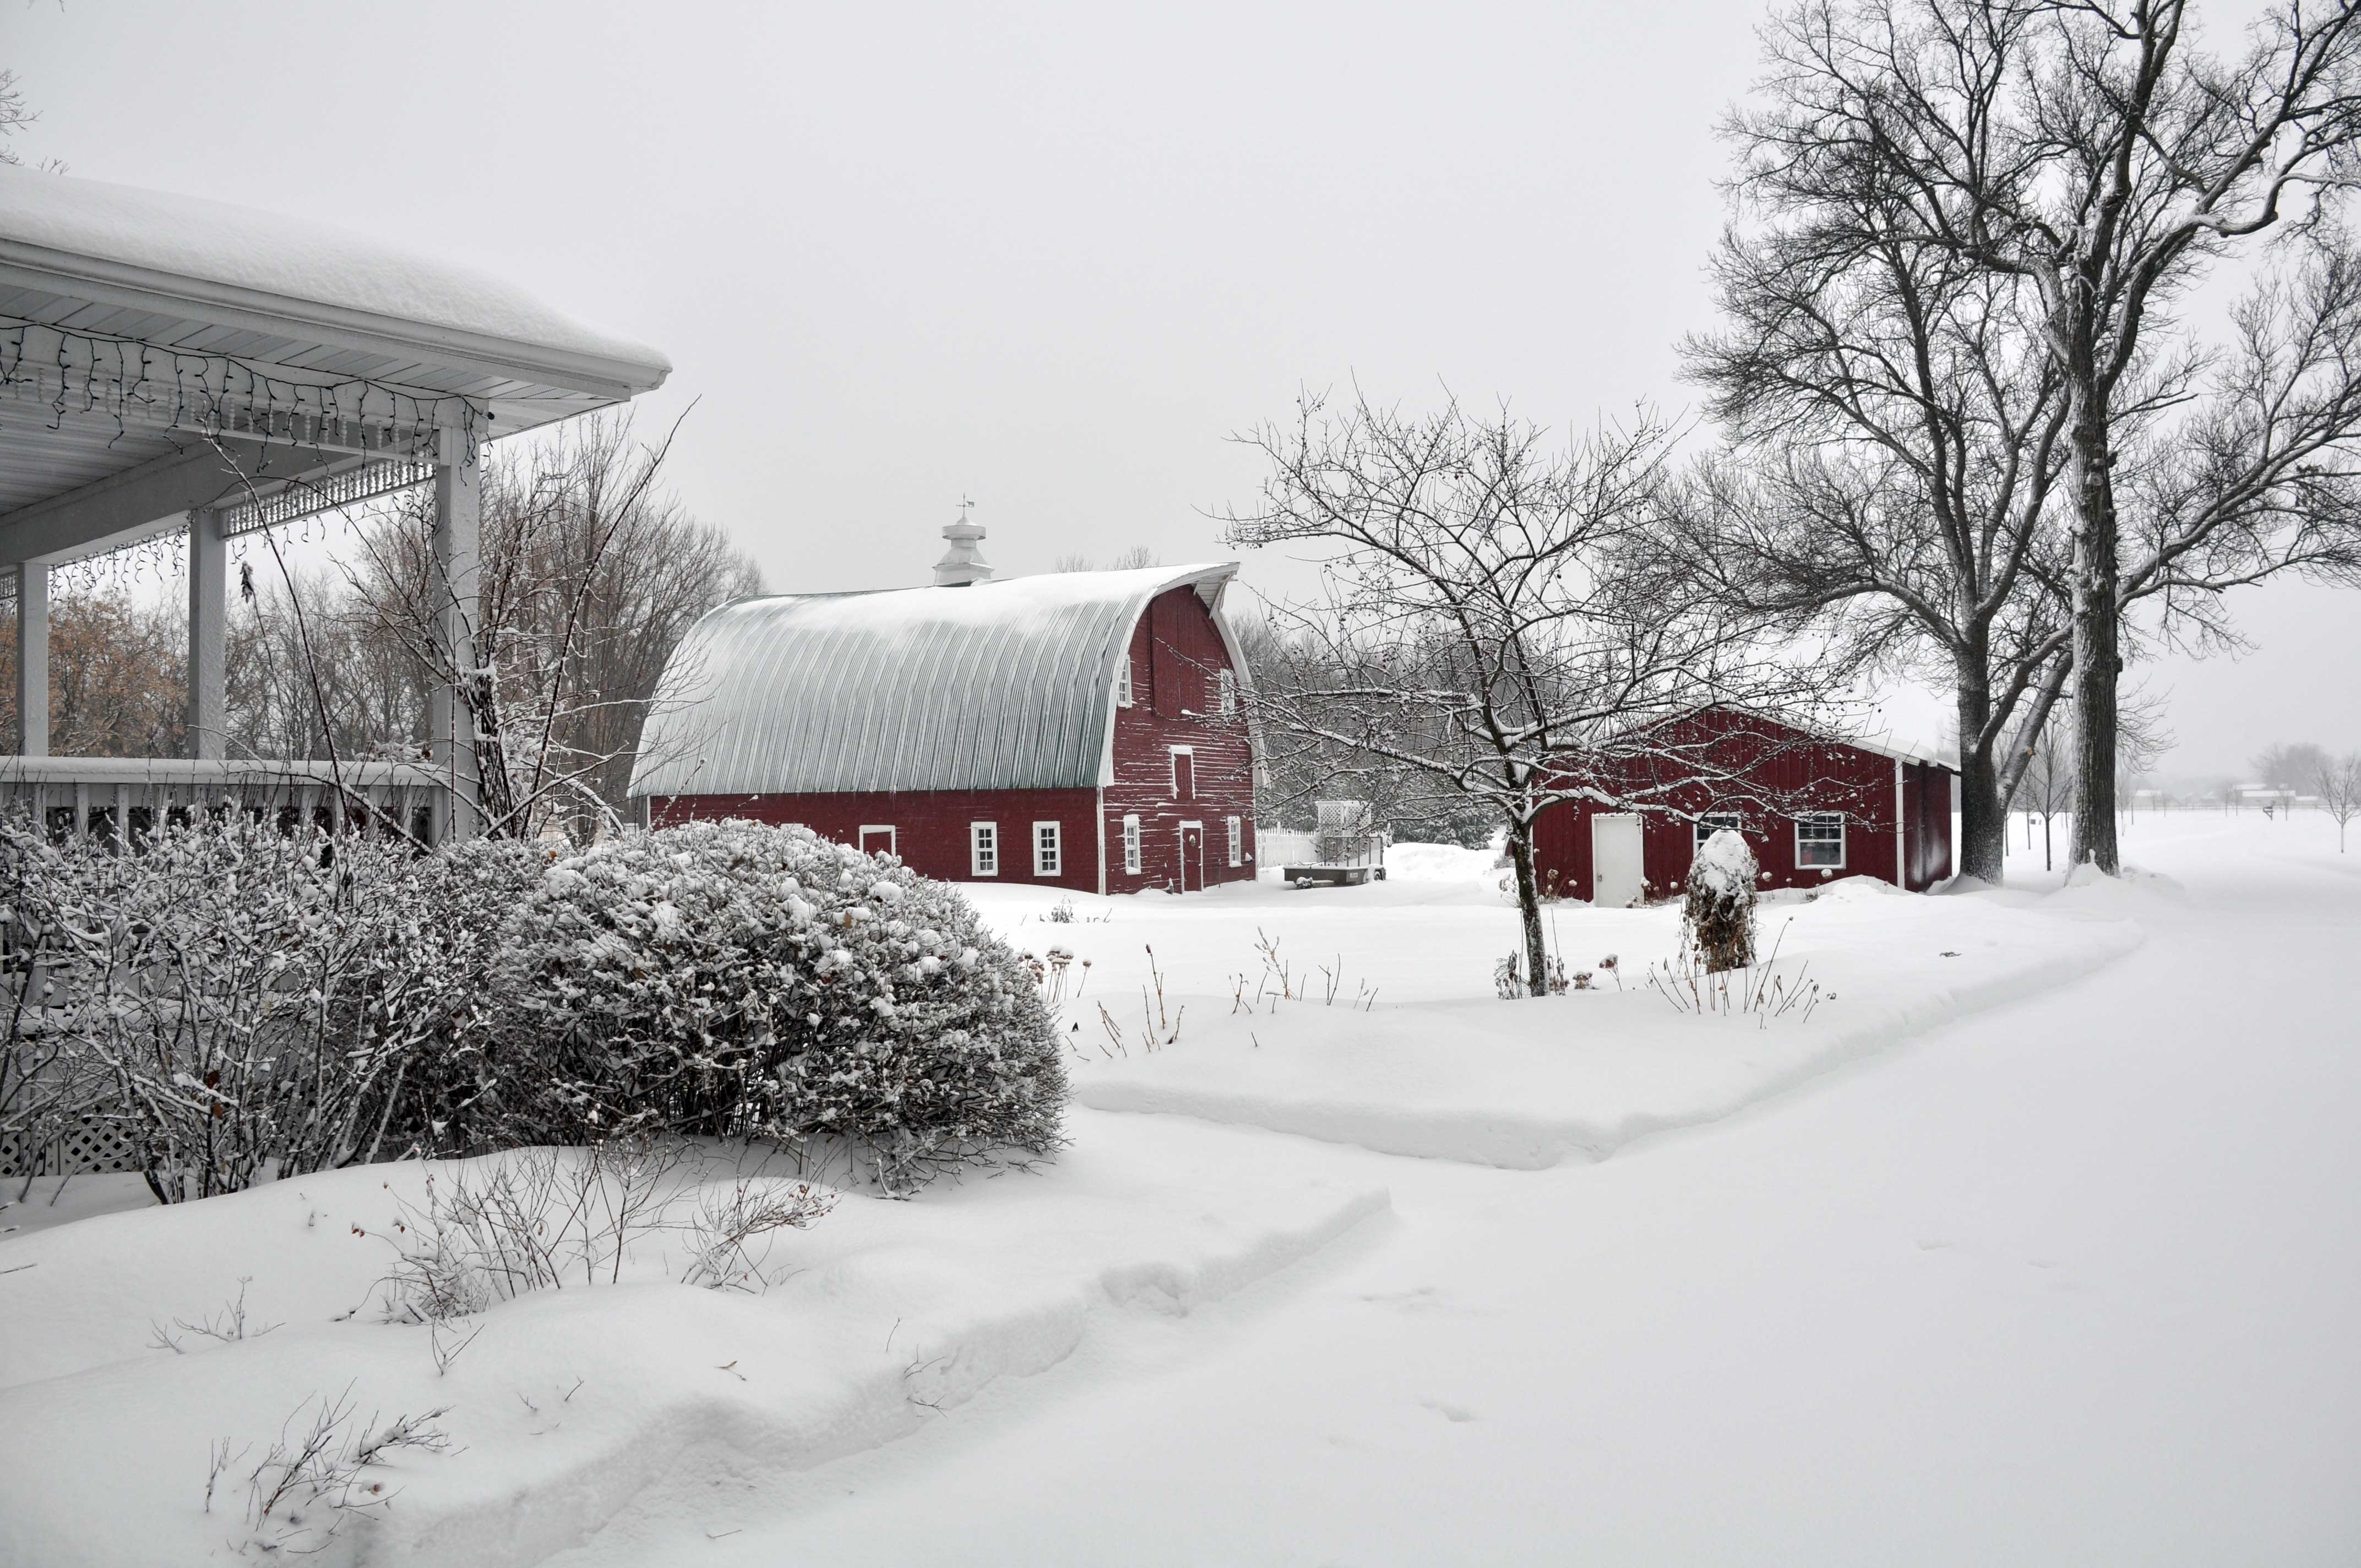
For years, we have wanted to grow blueberries here on the farm. Last spring we decided this was the year we were going to tackle that project and invest the time and money in establishing our very own blueberry patch. Turning to one of my favorite resources for Minnesota gardening, the University of Minnesota Extension website, I found some great information on growing blueberries for home landscapes. (See article).
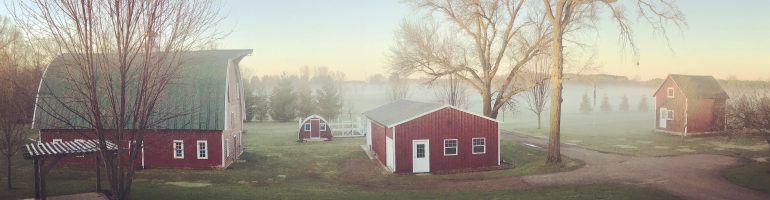
A little research about blueberries and their preferred growing conditions and we knew that they would not thrive, and may not even survive, in our soil conditions. As I have mentioned before, our soil is heavy clay, with the exception of the area around the barn, and other areas like our front yard and perennial gardens where we have amended the soil.
Blueberries are acid-loving plants that enjoy soils with a pH of around 4.0 to 5.0 that are well-drained, loose, and high in organic matter. My dad, who has spent much of his life farming, advised me that our clay soil, and even our areas with amended soil, would not have pH levels in that range.
Hoping that we could get by using a stockpile of rich organic soil stored behind our barn, we sent the soil in to be tested at the U of MN Soil Testing Facility. We have done this before for our vegetable garden and perennial garden areas. It is actually a very easy process and the report provides great information about the quality of your soil and recommendations for fertilizers or additions to enhance growing conditions for your intended use.
Just as my dad had predicted, the soil test report indicated that our pile of rich black dirt had a pH of around 7.0, which is far too neutral for blueberries.
Since my dad still owned a few acres of farm land, he suggested that we go load up some of the sandy soil from one of the parcels, even directing us to an area of the field that he thought would be more acidic. Trusting that the soil would be closer to the required pH range, we decided we could make any necessary amendments to increase the acidity to the right levels. So, we took him up on the offer and Jesse loaded up the skid steer and went to collect some dirt for our blueberries. We piled the sandy soil outside our pole shed and took more samples to send in for testing to confirm that it was acidic enough.
While we waited for the soil results, Jesse went to work building us some raised beds for the blueberries. He constructed two raised beds, measuring 4′ W x 16′ L x 16″H.

When our soil test came back, we were pleased to learn that the pH was in the low 5’s. Knowing that we could go ahead with the planting, we moved the planters outside and I mulled over where to locate them.
 After much deliberation, I decided we would place them along the south side of the fence surrounding our vegetable garden. In addition to the delicious fruit they produce, blueberry plants are attractive plants that have pretty white blossoms in the spring and glossy green leaves in the summer, which turn a lovely red in the fall. Predicted to reach heights of 36″ – 48″, I am hoping that as the bushes grow taller, their presence will soften the appearance of the massive white fence.
Seeking out cultivars that would thrive in our frigid climate, I ordered some bare-root plants through the mail and picked up some at a local nursery. Anyone who has purchased bare-roots knows however, how pathetic and sad the little twigs look when you first get them. I therefore opted to also buy a few potted plants from the nursery for some instant impact.
In total, I ended up planting the following:
10 Northblue (bare-roots ordered through the mail)
6 Northland (bare-roots from a local nursery)
2 Chippewa (potted plants from the nursery)
2 Superior (potted plants from the nursery)
 Feeling some sticker shock at the high cost of blueberry plants (even the bare-root ones were as expensive as $10/ twig), we decided that we would plant some strawberries at the end of the planters to fill up the space. After seeing how the blueberry plants do this coming season, we will decide whether we want to add more plants.
My pictures of the raised blueberry beds are from early in the season, shortly after planting. The plants grew quite well over the summer, although we did lose a few of the pathetic bare-root plants that we ordered through the mail. Some of the potted plants that we purchased even produced a few blueberries!

We mulched the blueberries last fall with a thick layer of pine needles, which are acidic. We are anxious to see if the plants make it through the winter and how they do this growing season. According to the experts, the flowers should be removed in the spring in the first two years after planting to encourage stronger vegetative growth. After waiting this long for blueberries in our garden, I do want them to thrive, so I will grudgingly follow the advice and pinch off the flowers come spring time…at least on most of them.
In addition to being expensive, blueberry plants are extremely long-lived plants (30-50 years), so it is well worth it to plan carefully when establishing your blueberry patch. We are hoping the research and time we put into creating our new blueberry patch will pay off and reward us with bountiful fruit over many years.
–Lynell
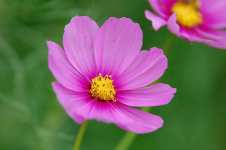
 So, I decided to treat myself and I chose a beautiful pink color for big impact. I couldn’t wait to get them home.
 I feel so much better already. Life is so dull without flowers. Thank you, Target, for this lovely pick-me-up.


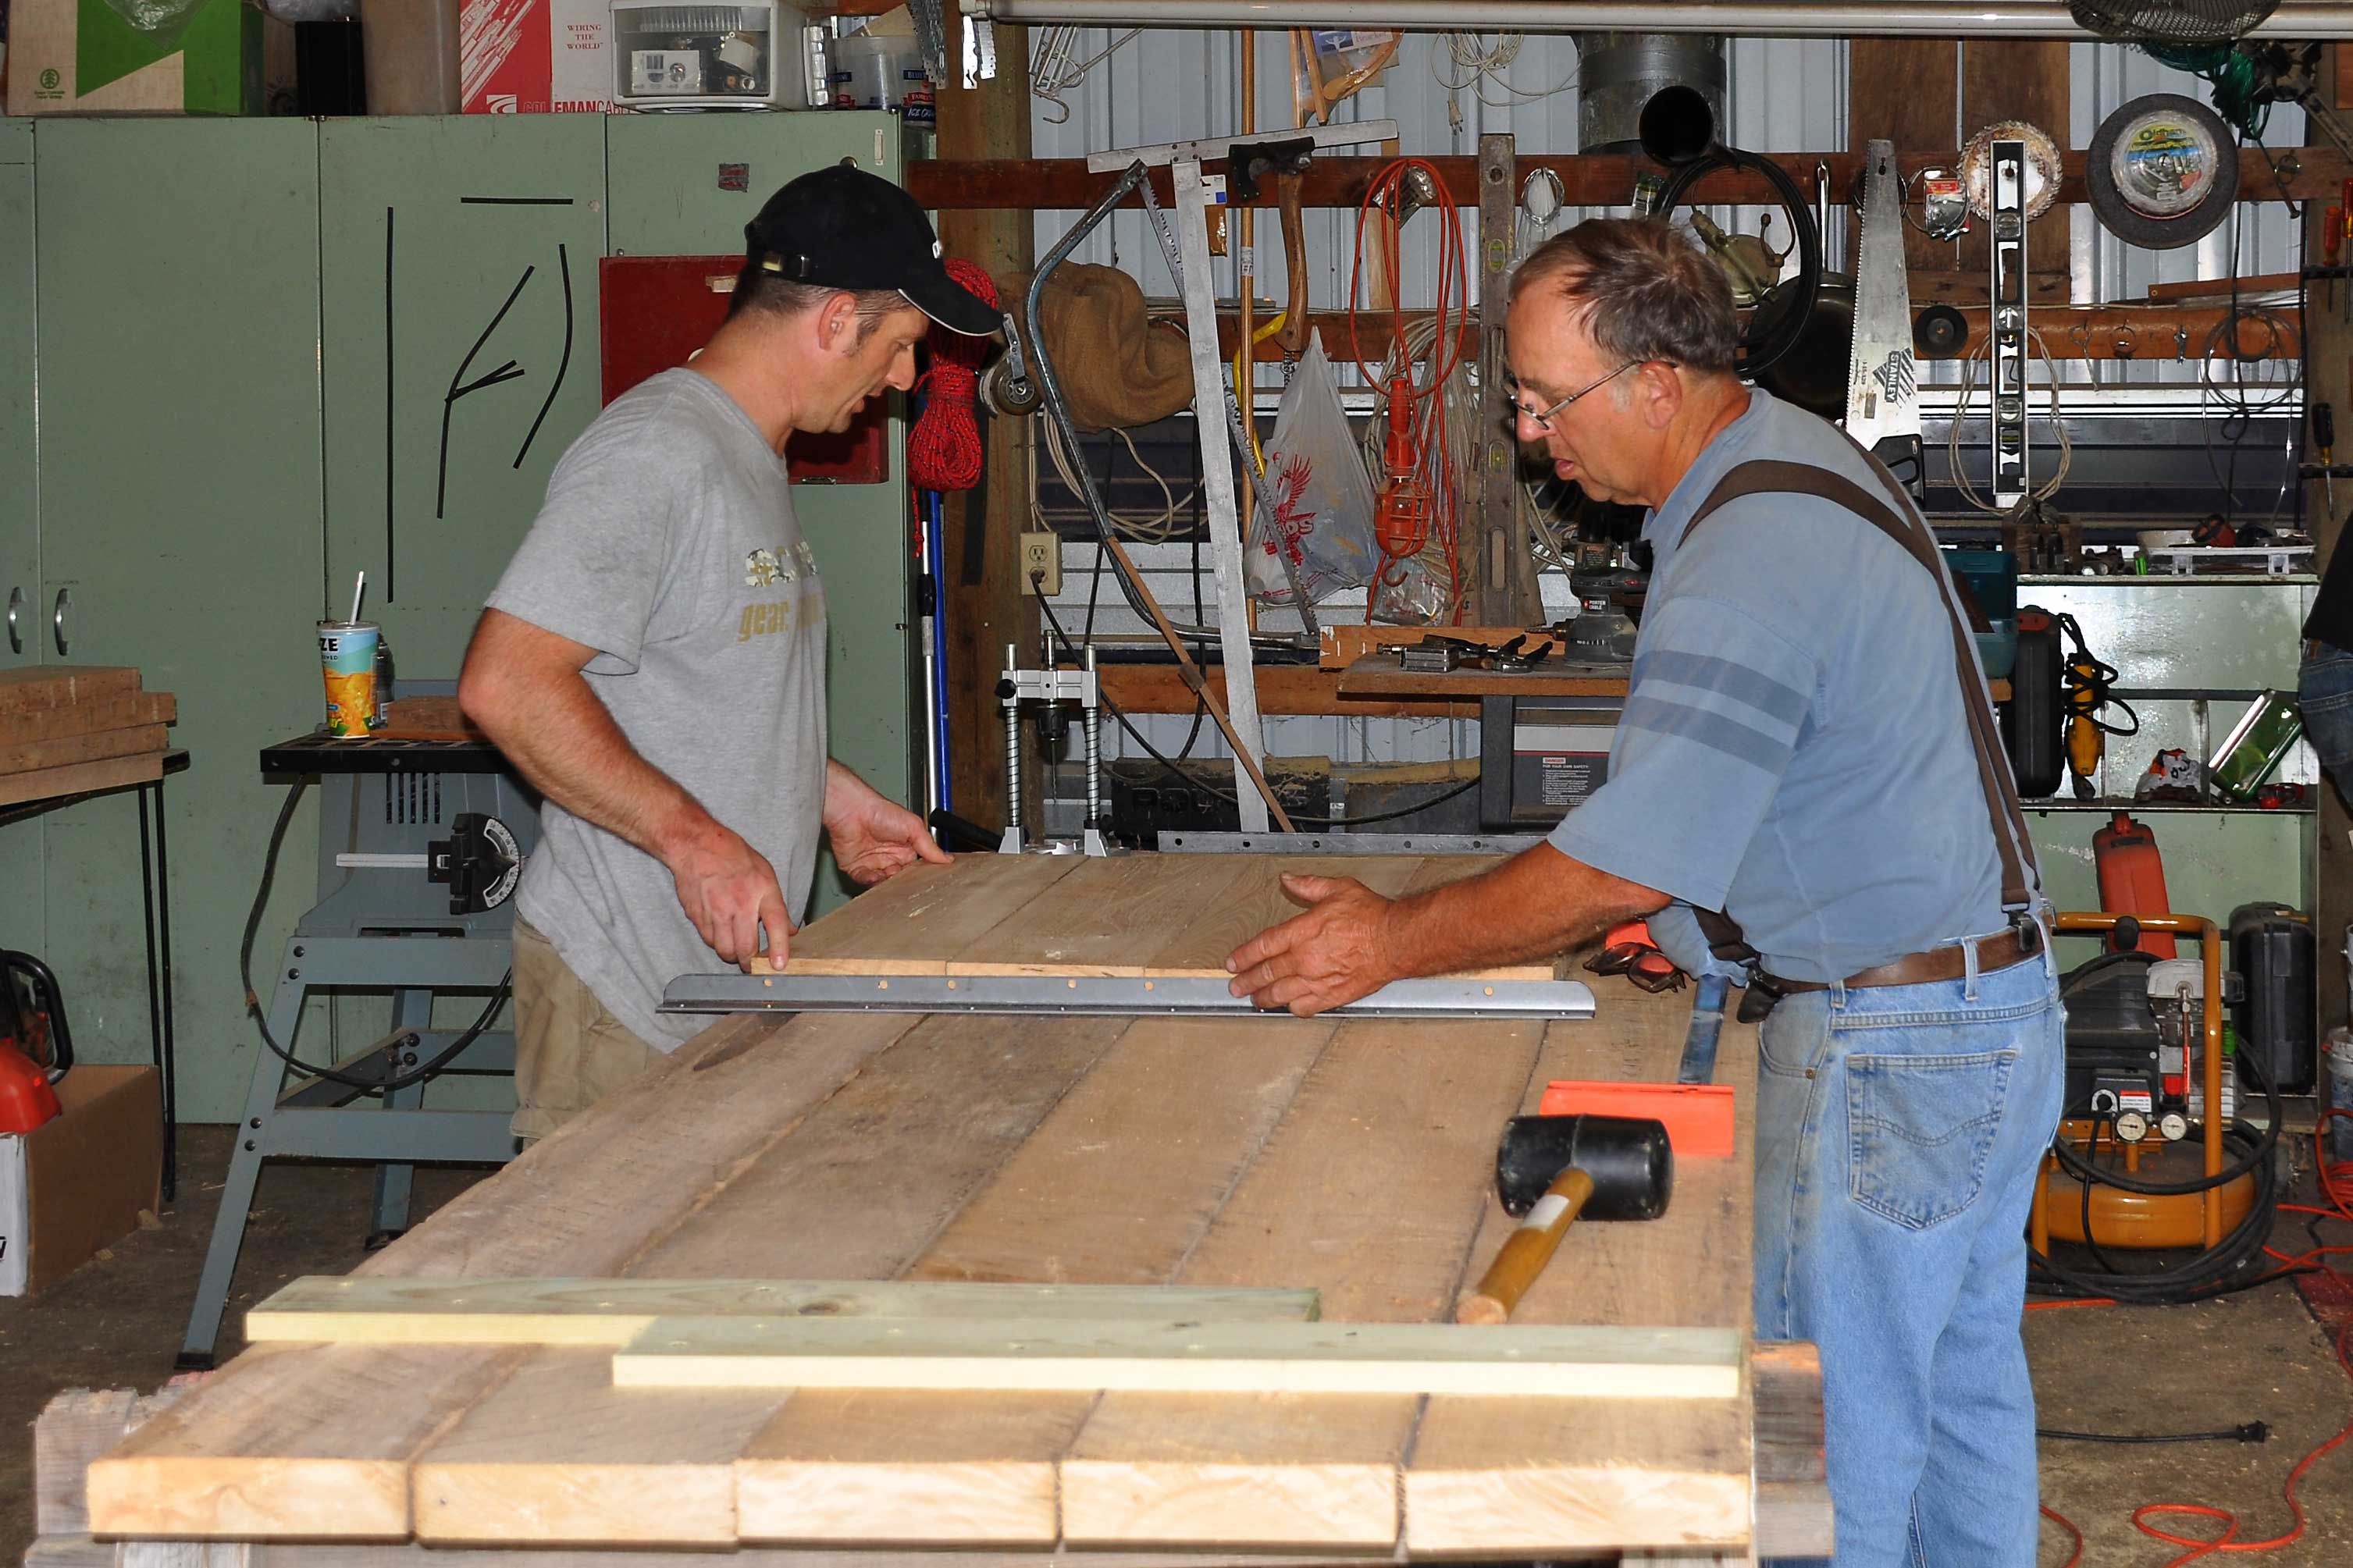
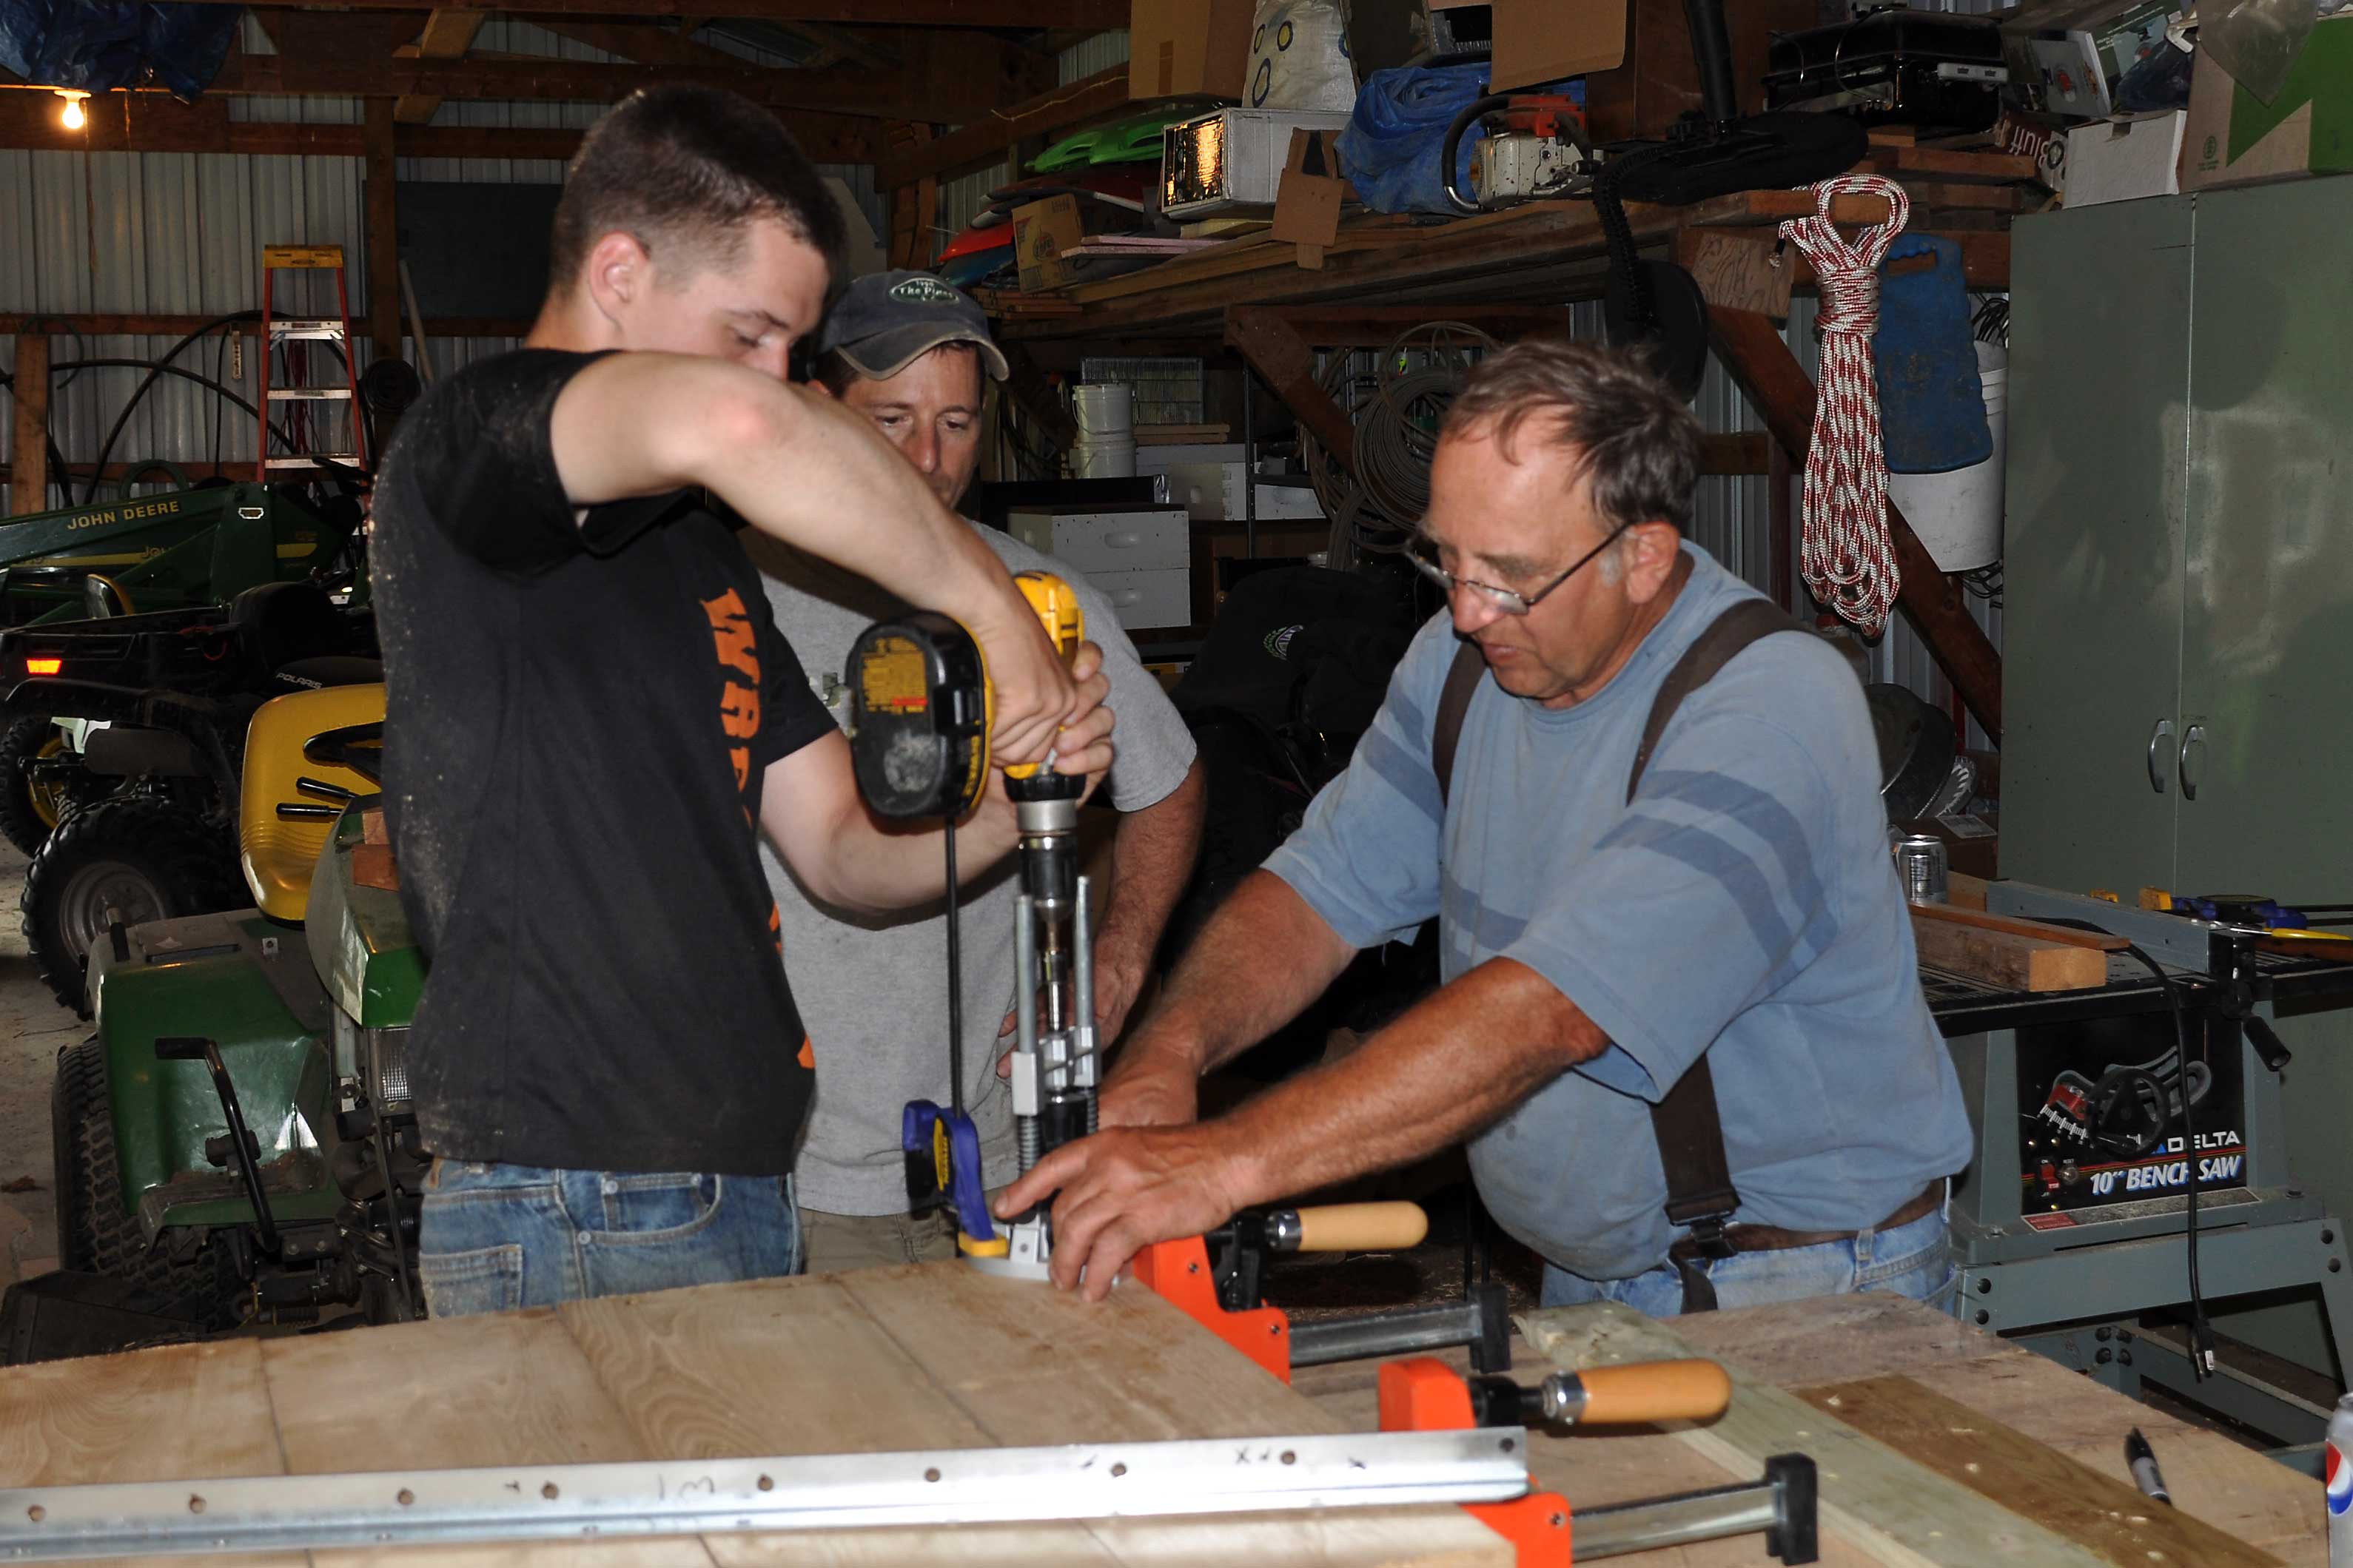
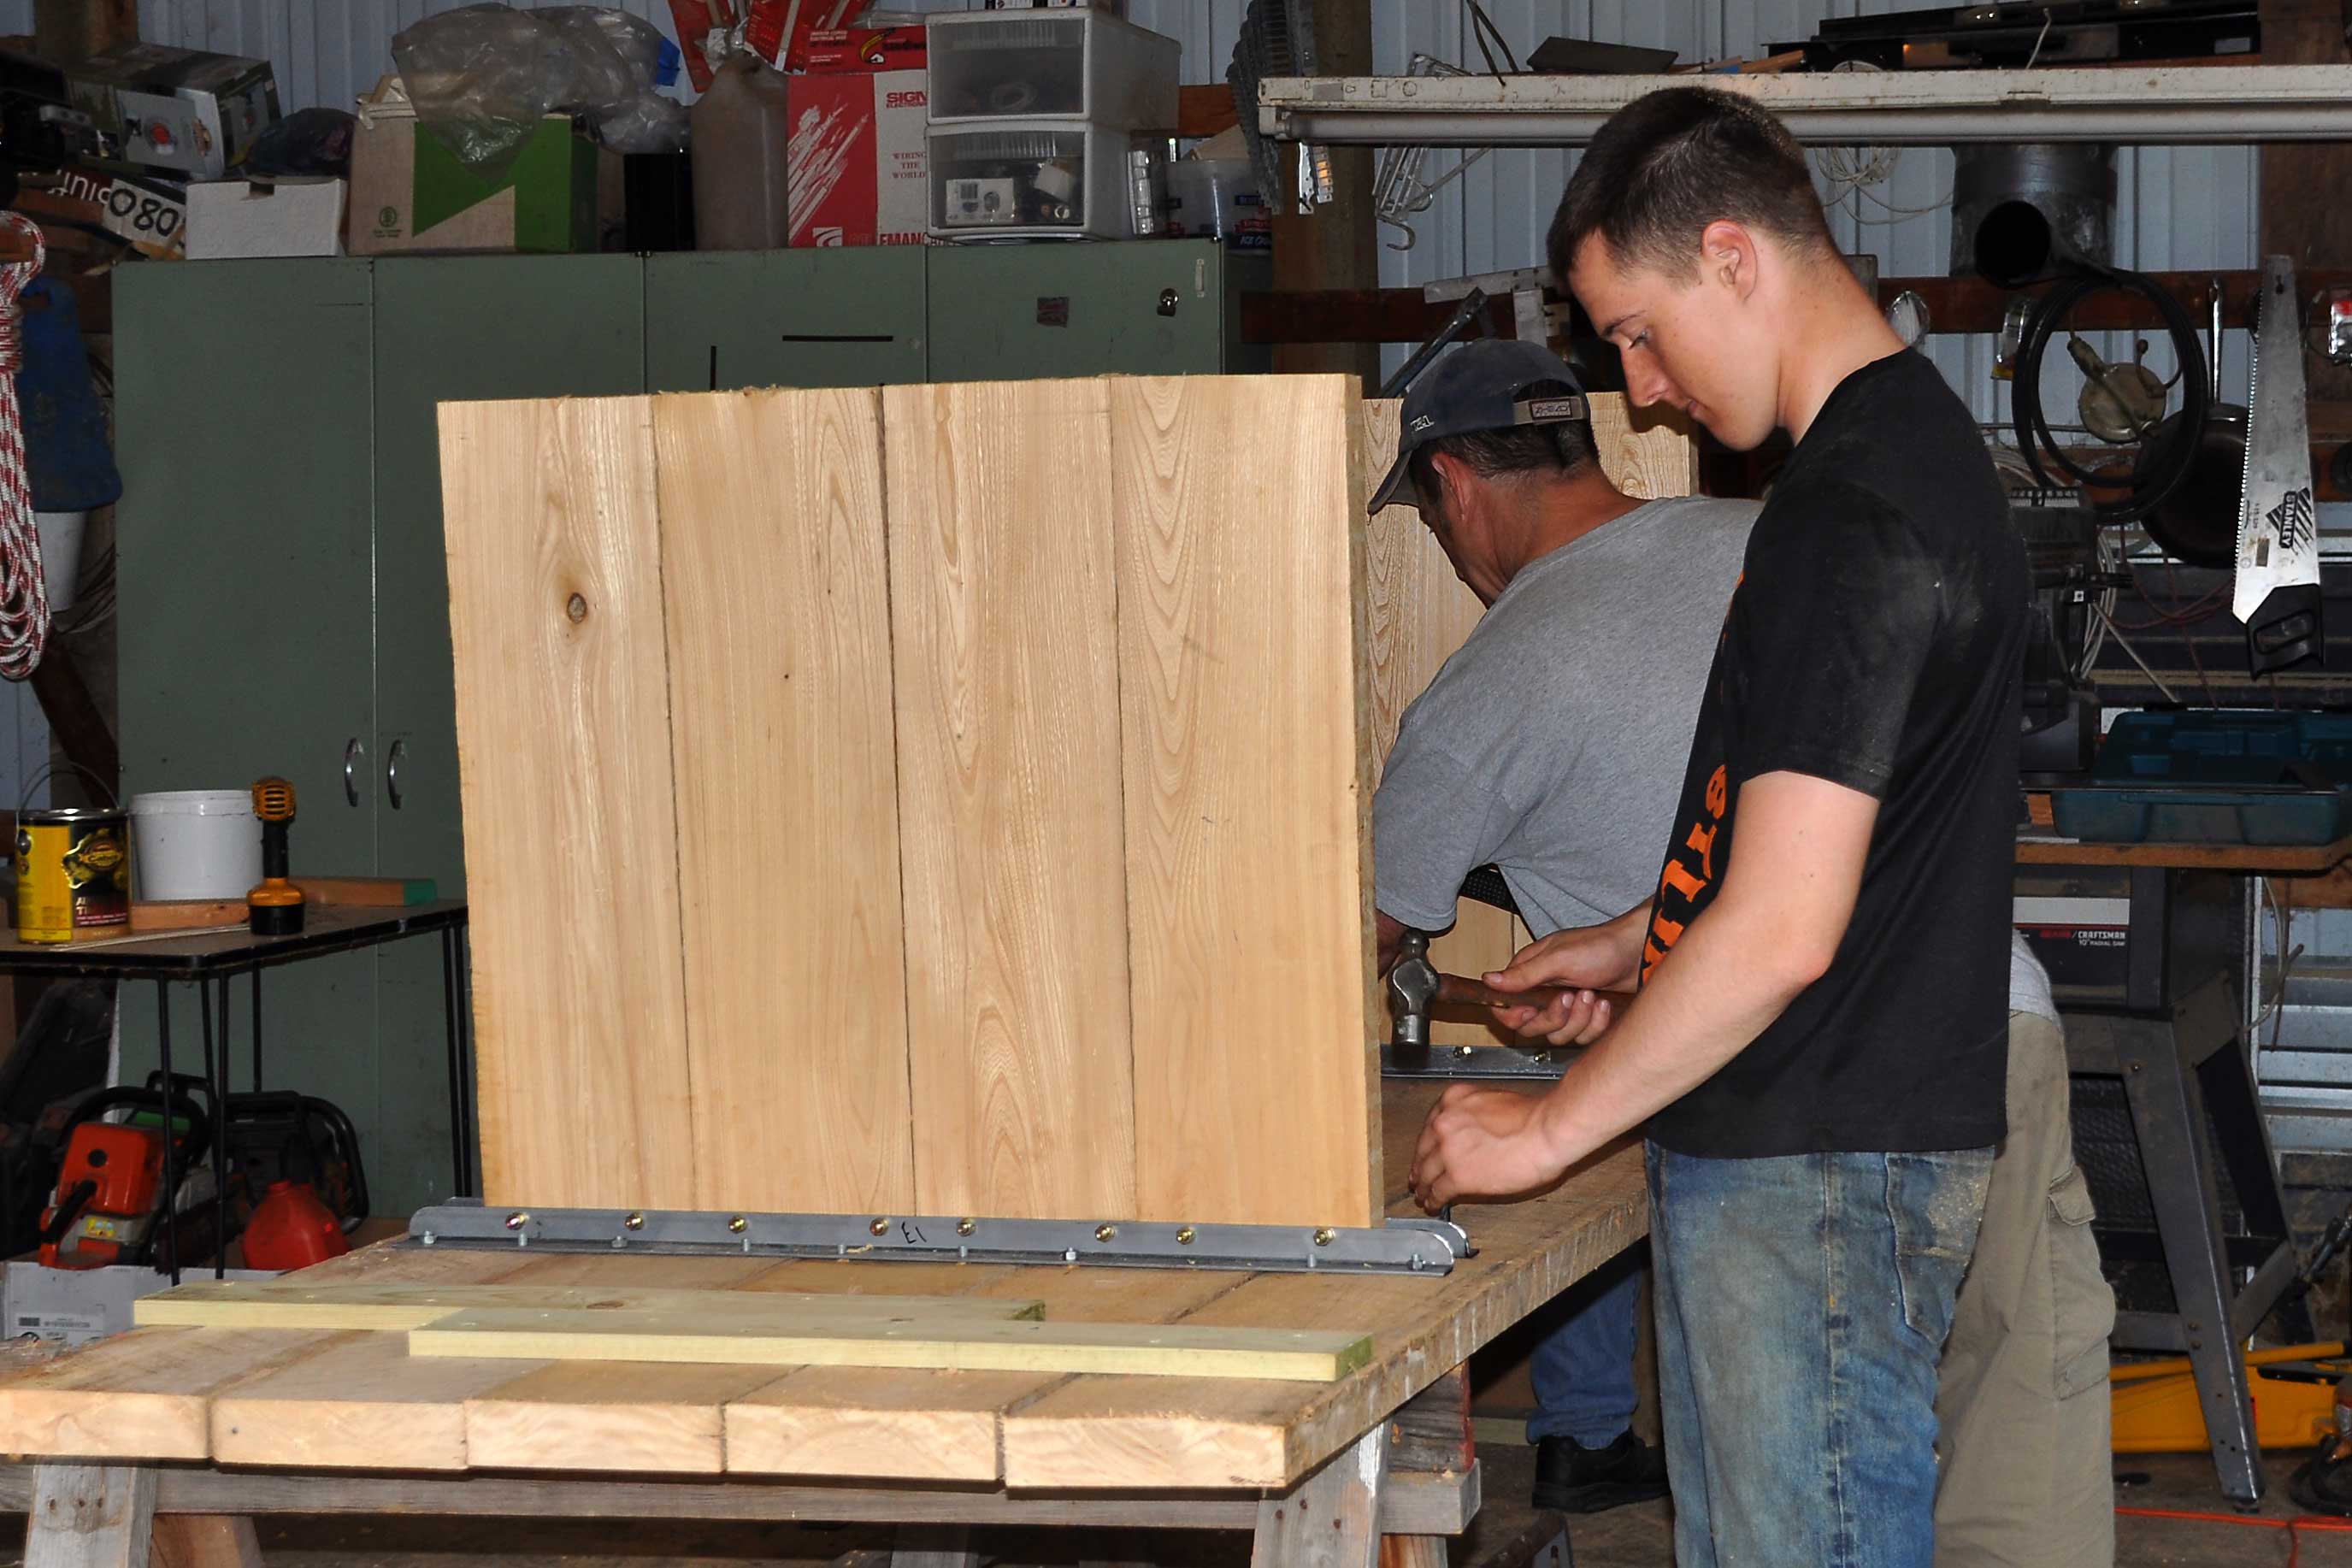
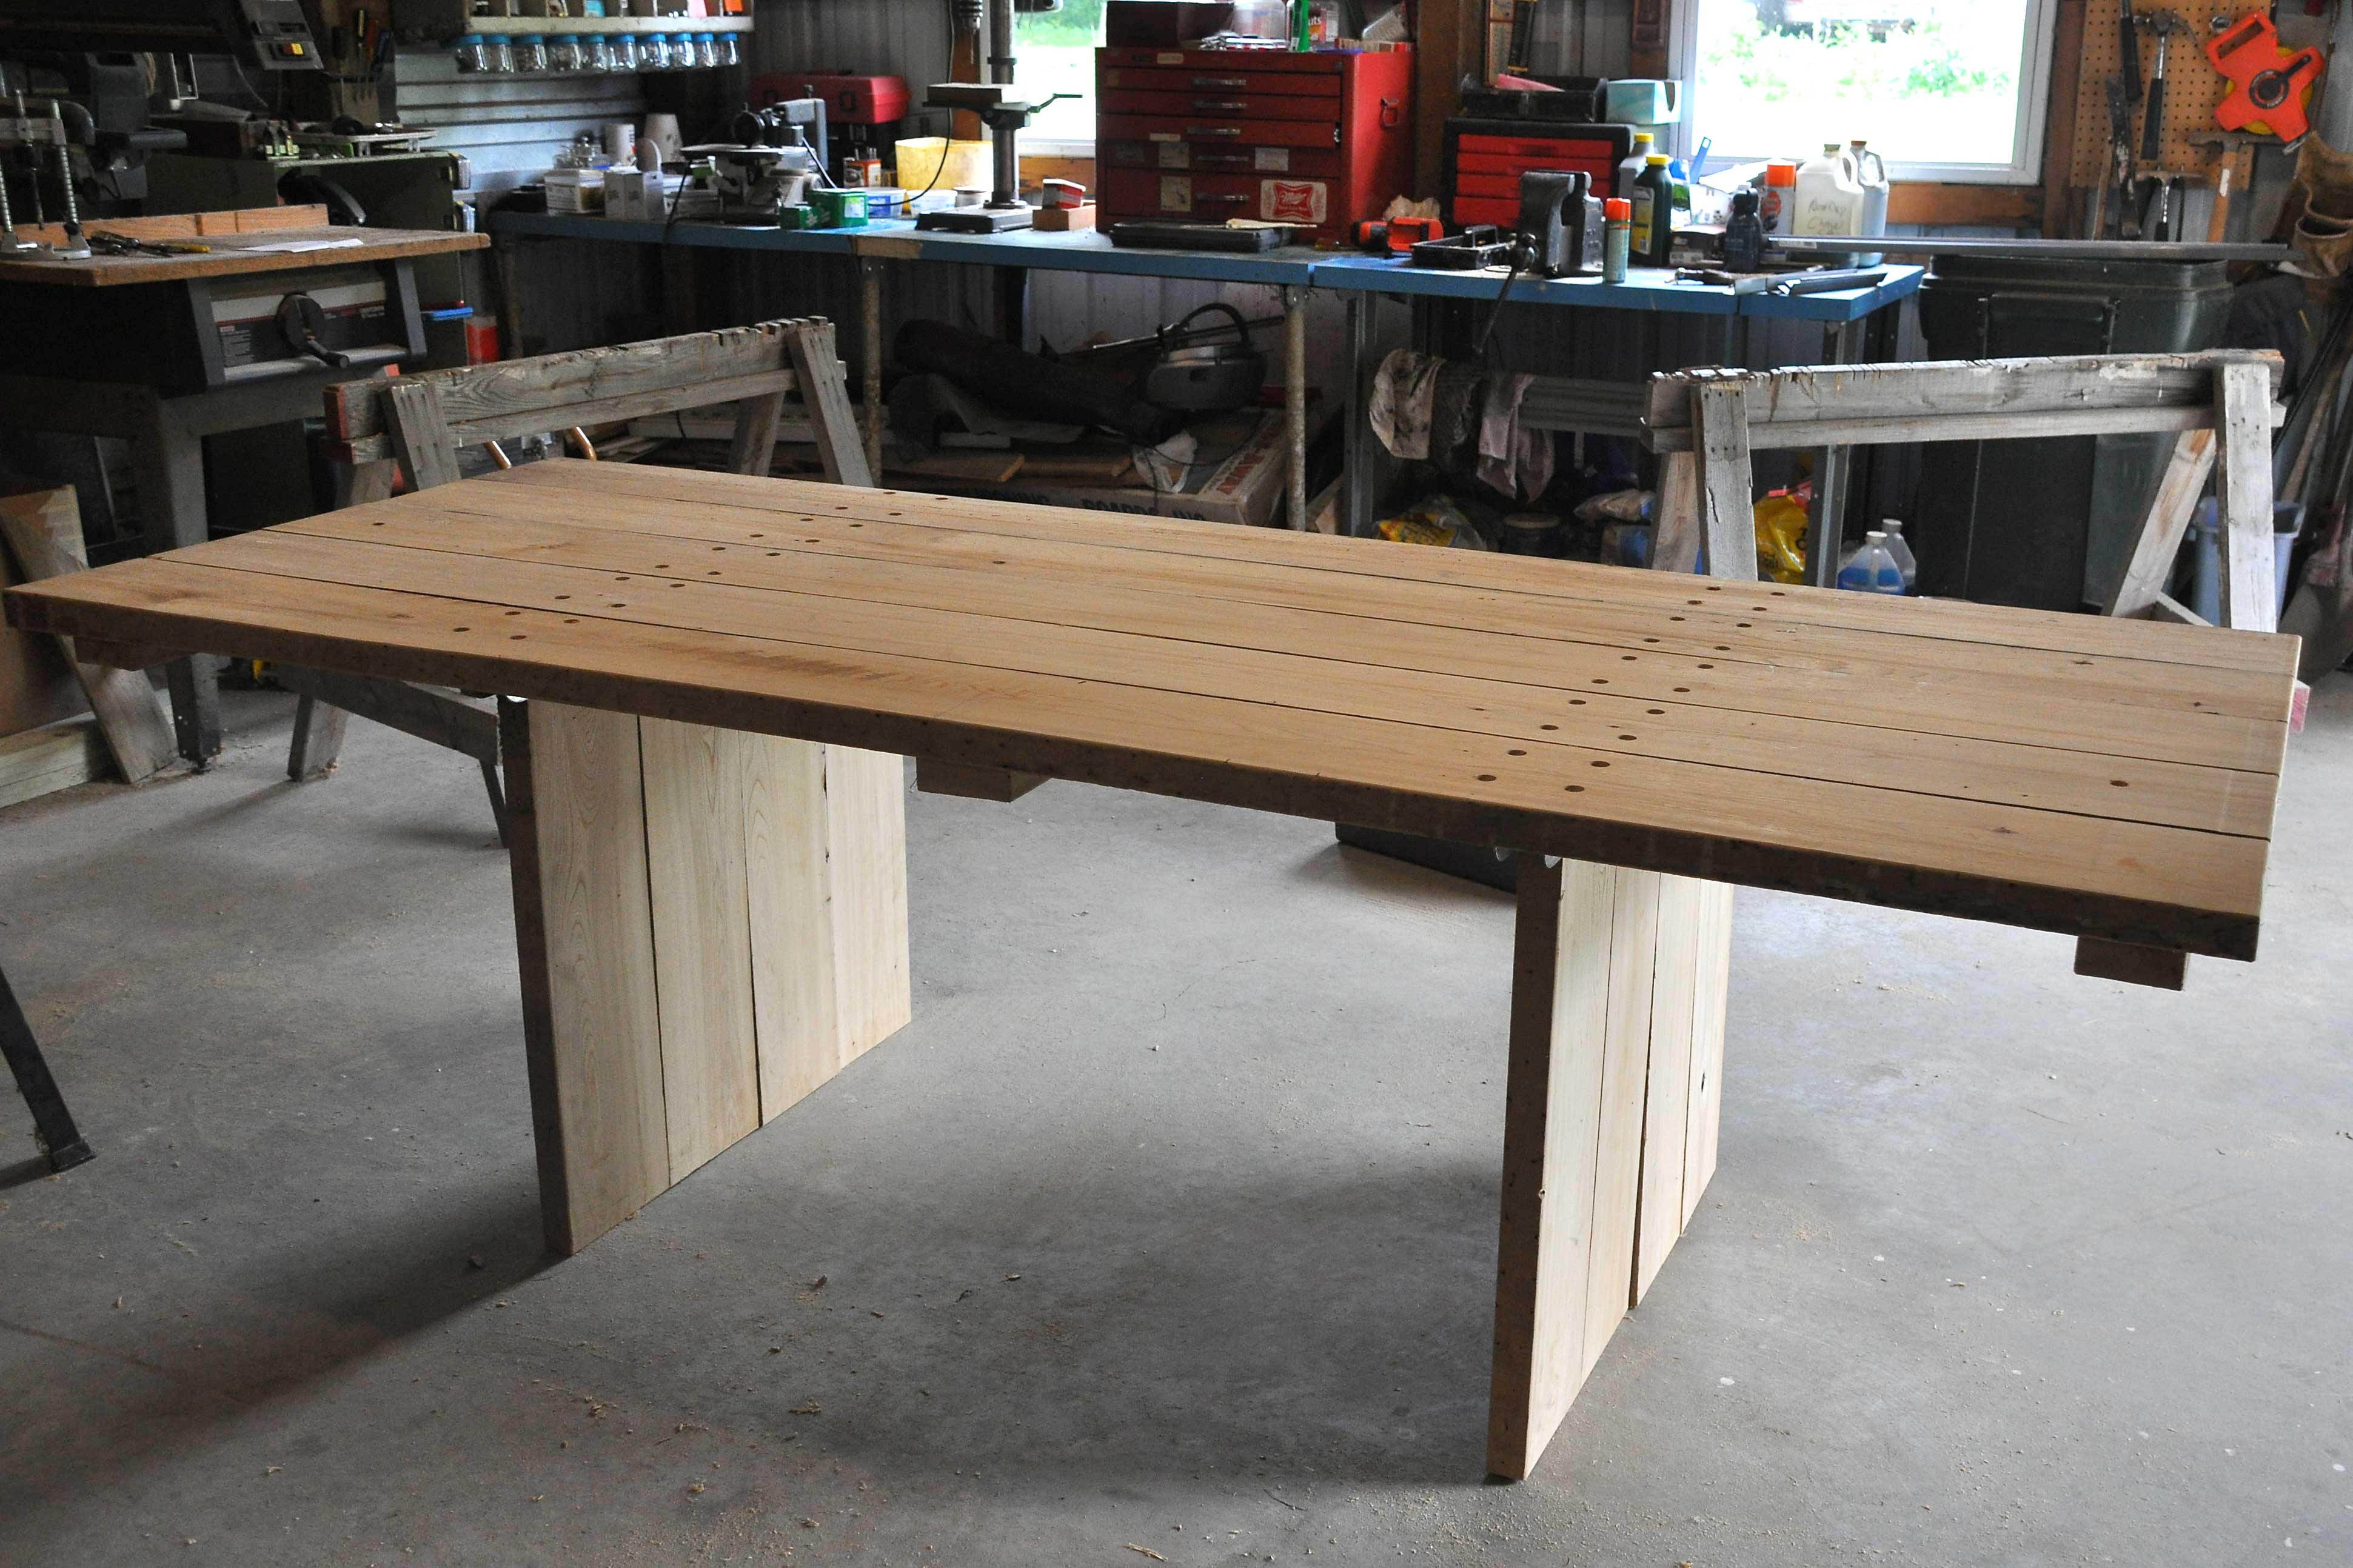
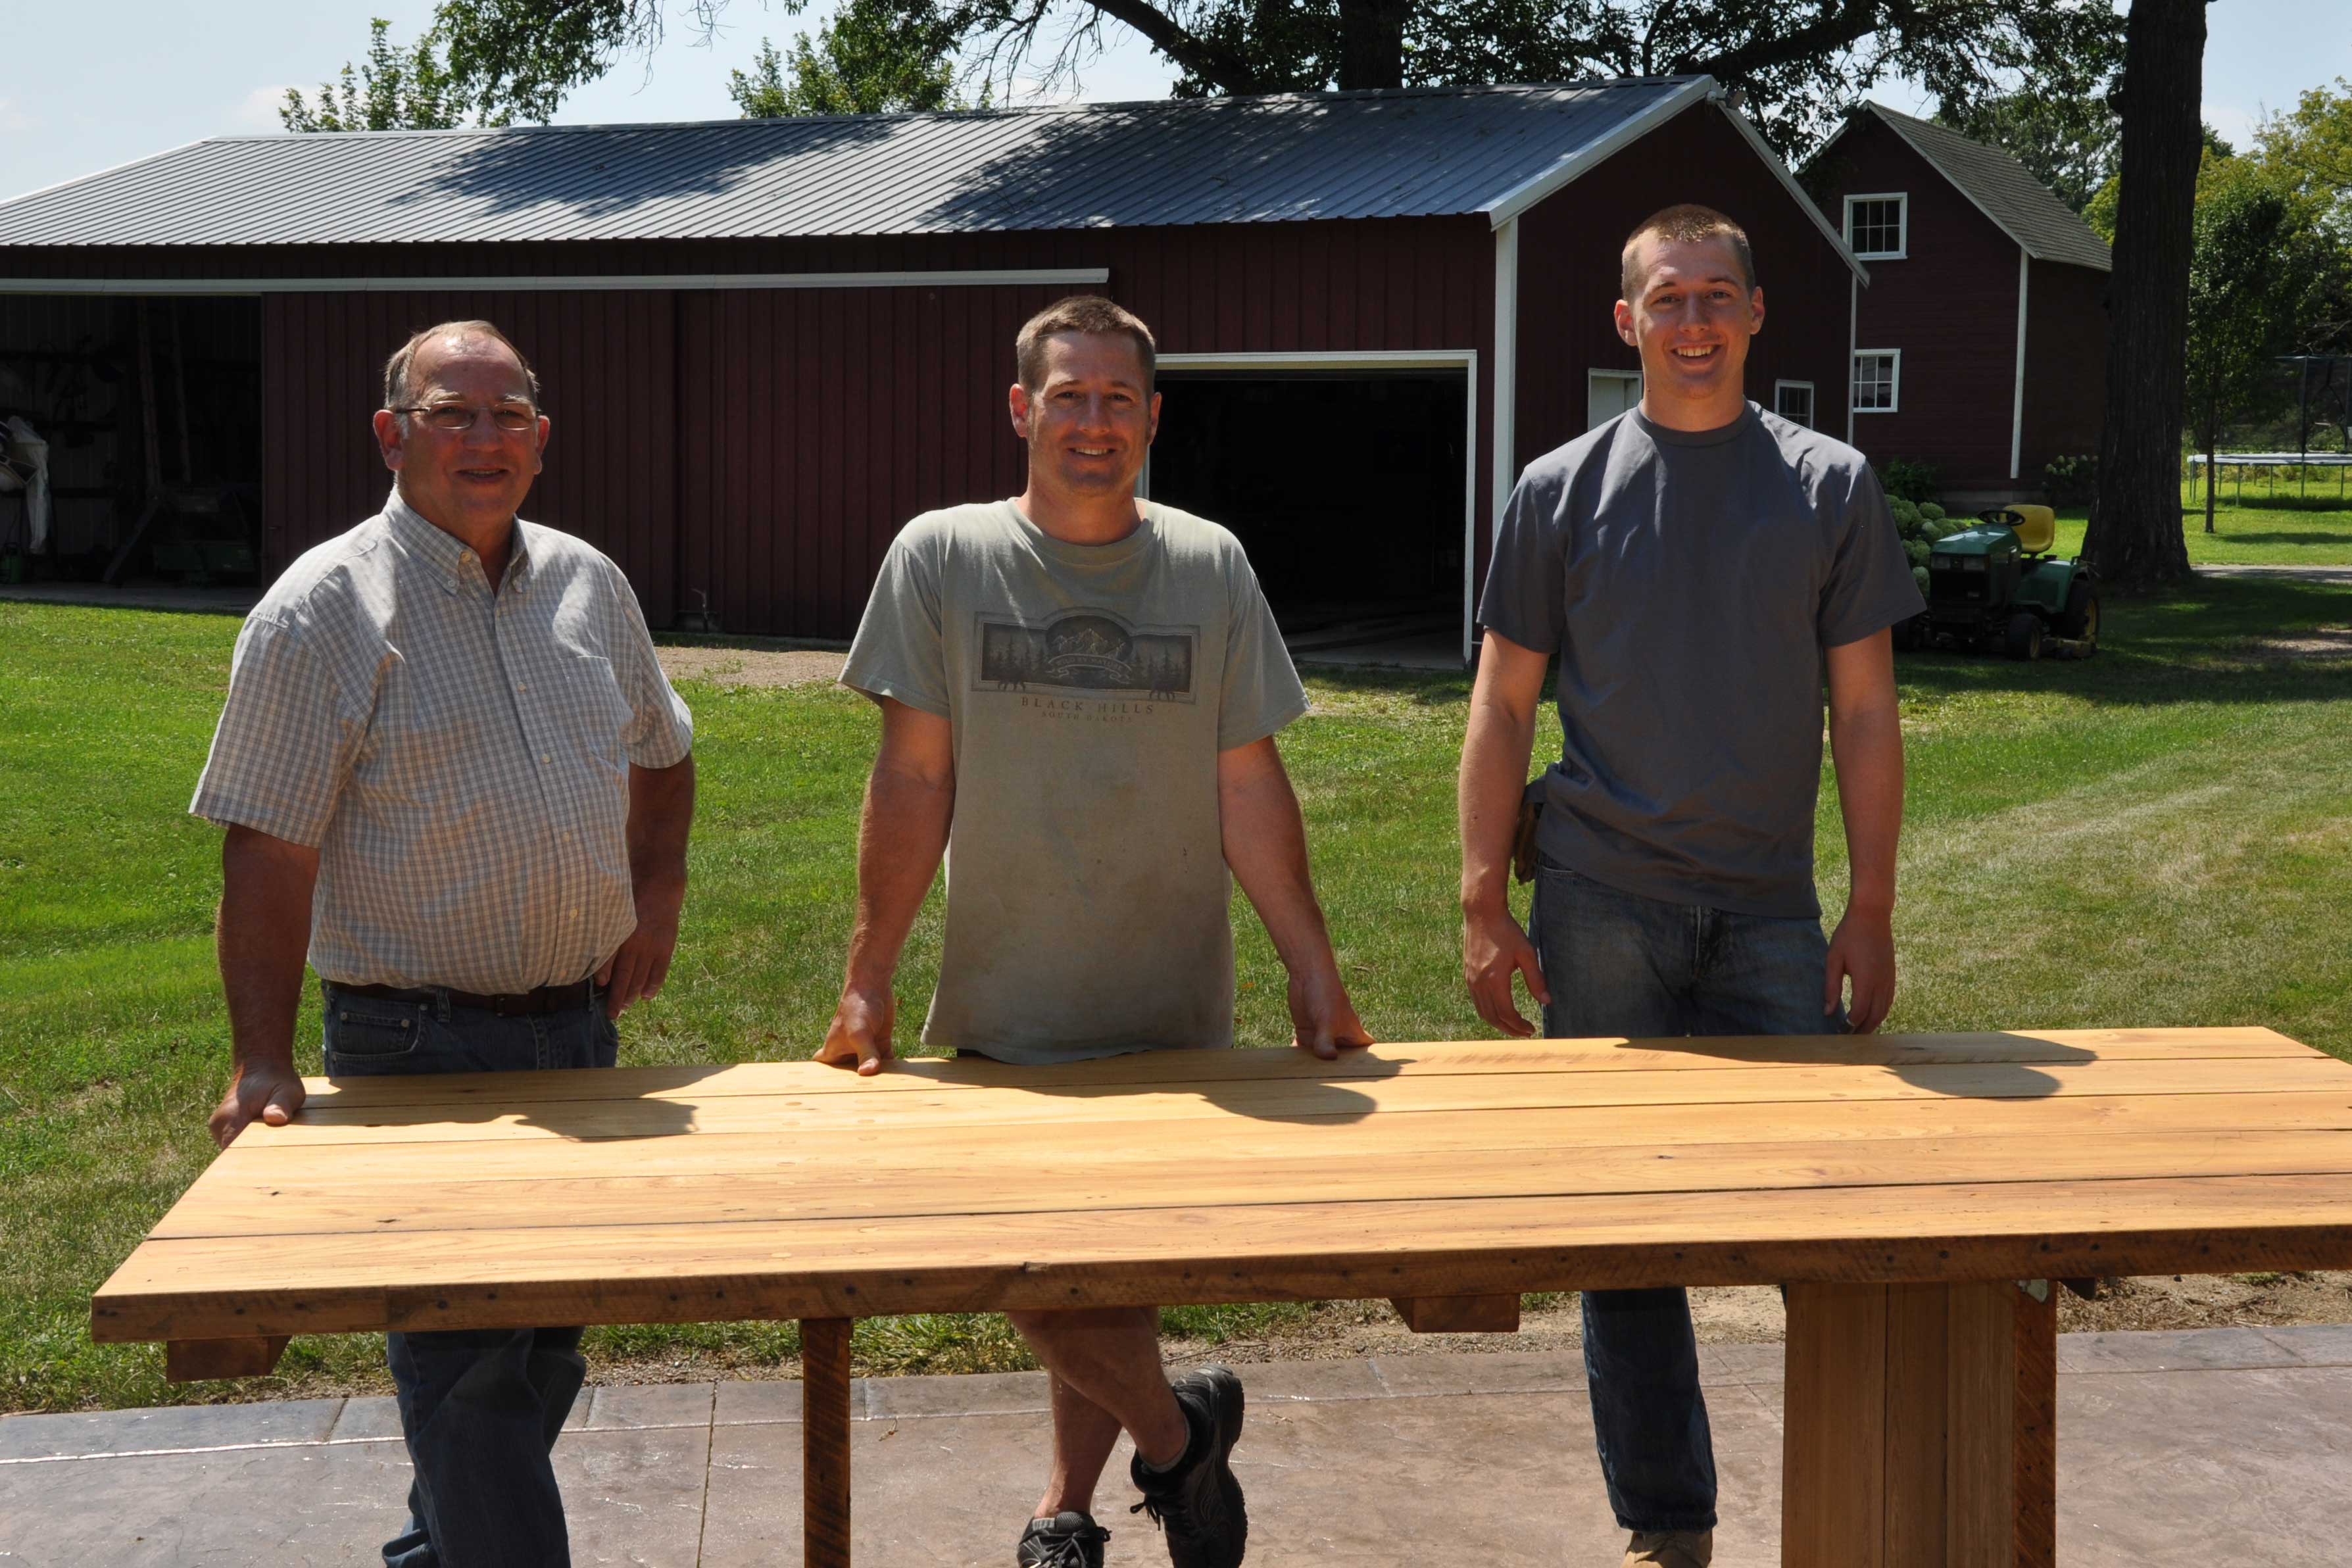
 Once the boards for the table top were planed and cut to the proper length it was time to work on the structure that would hold everything together. The guys decided that 1 1/2 in. angle iron would provide the proper strength and be consistent with the rugged appearance. Our son started to measure, mark and drill the holes in the angle iron that the carriage bolts would be bolted through.


